Category: power lift chairs
Posted by 2025-12-11 11:12
hoyer lift assembly
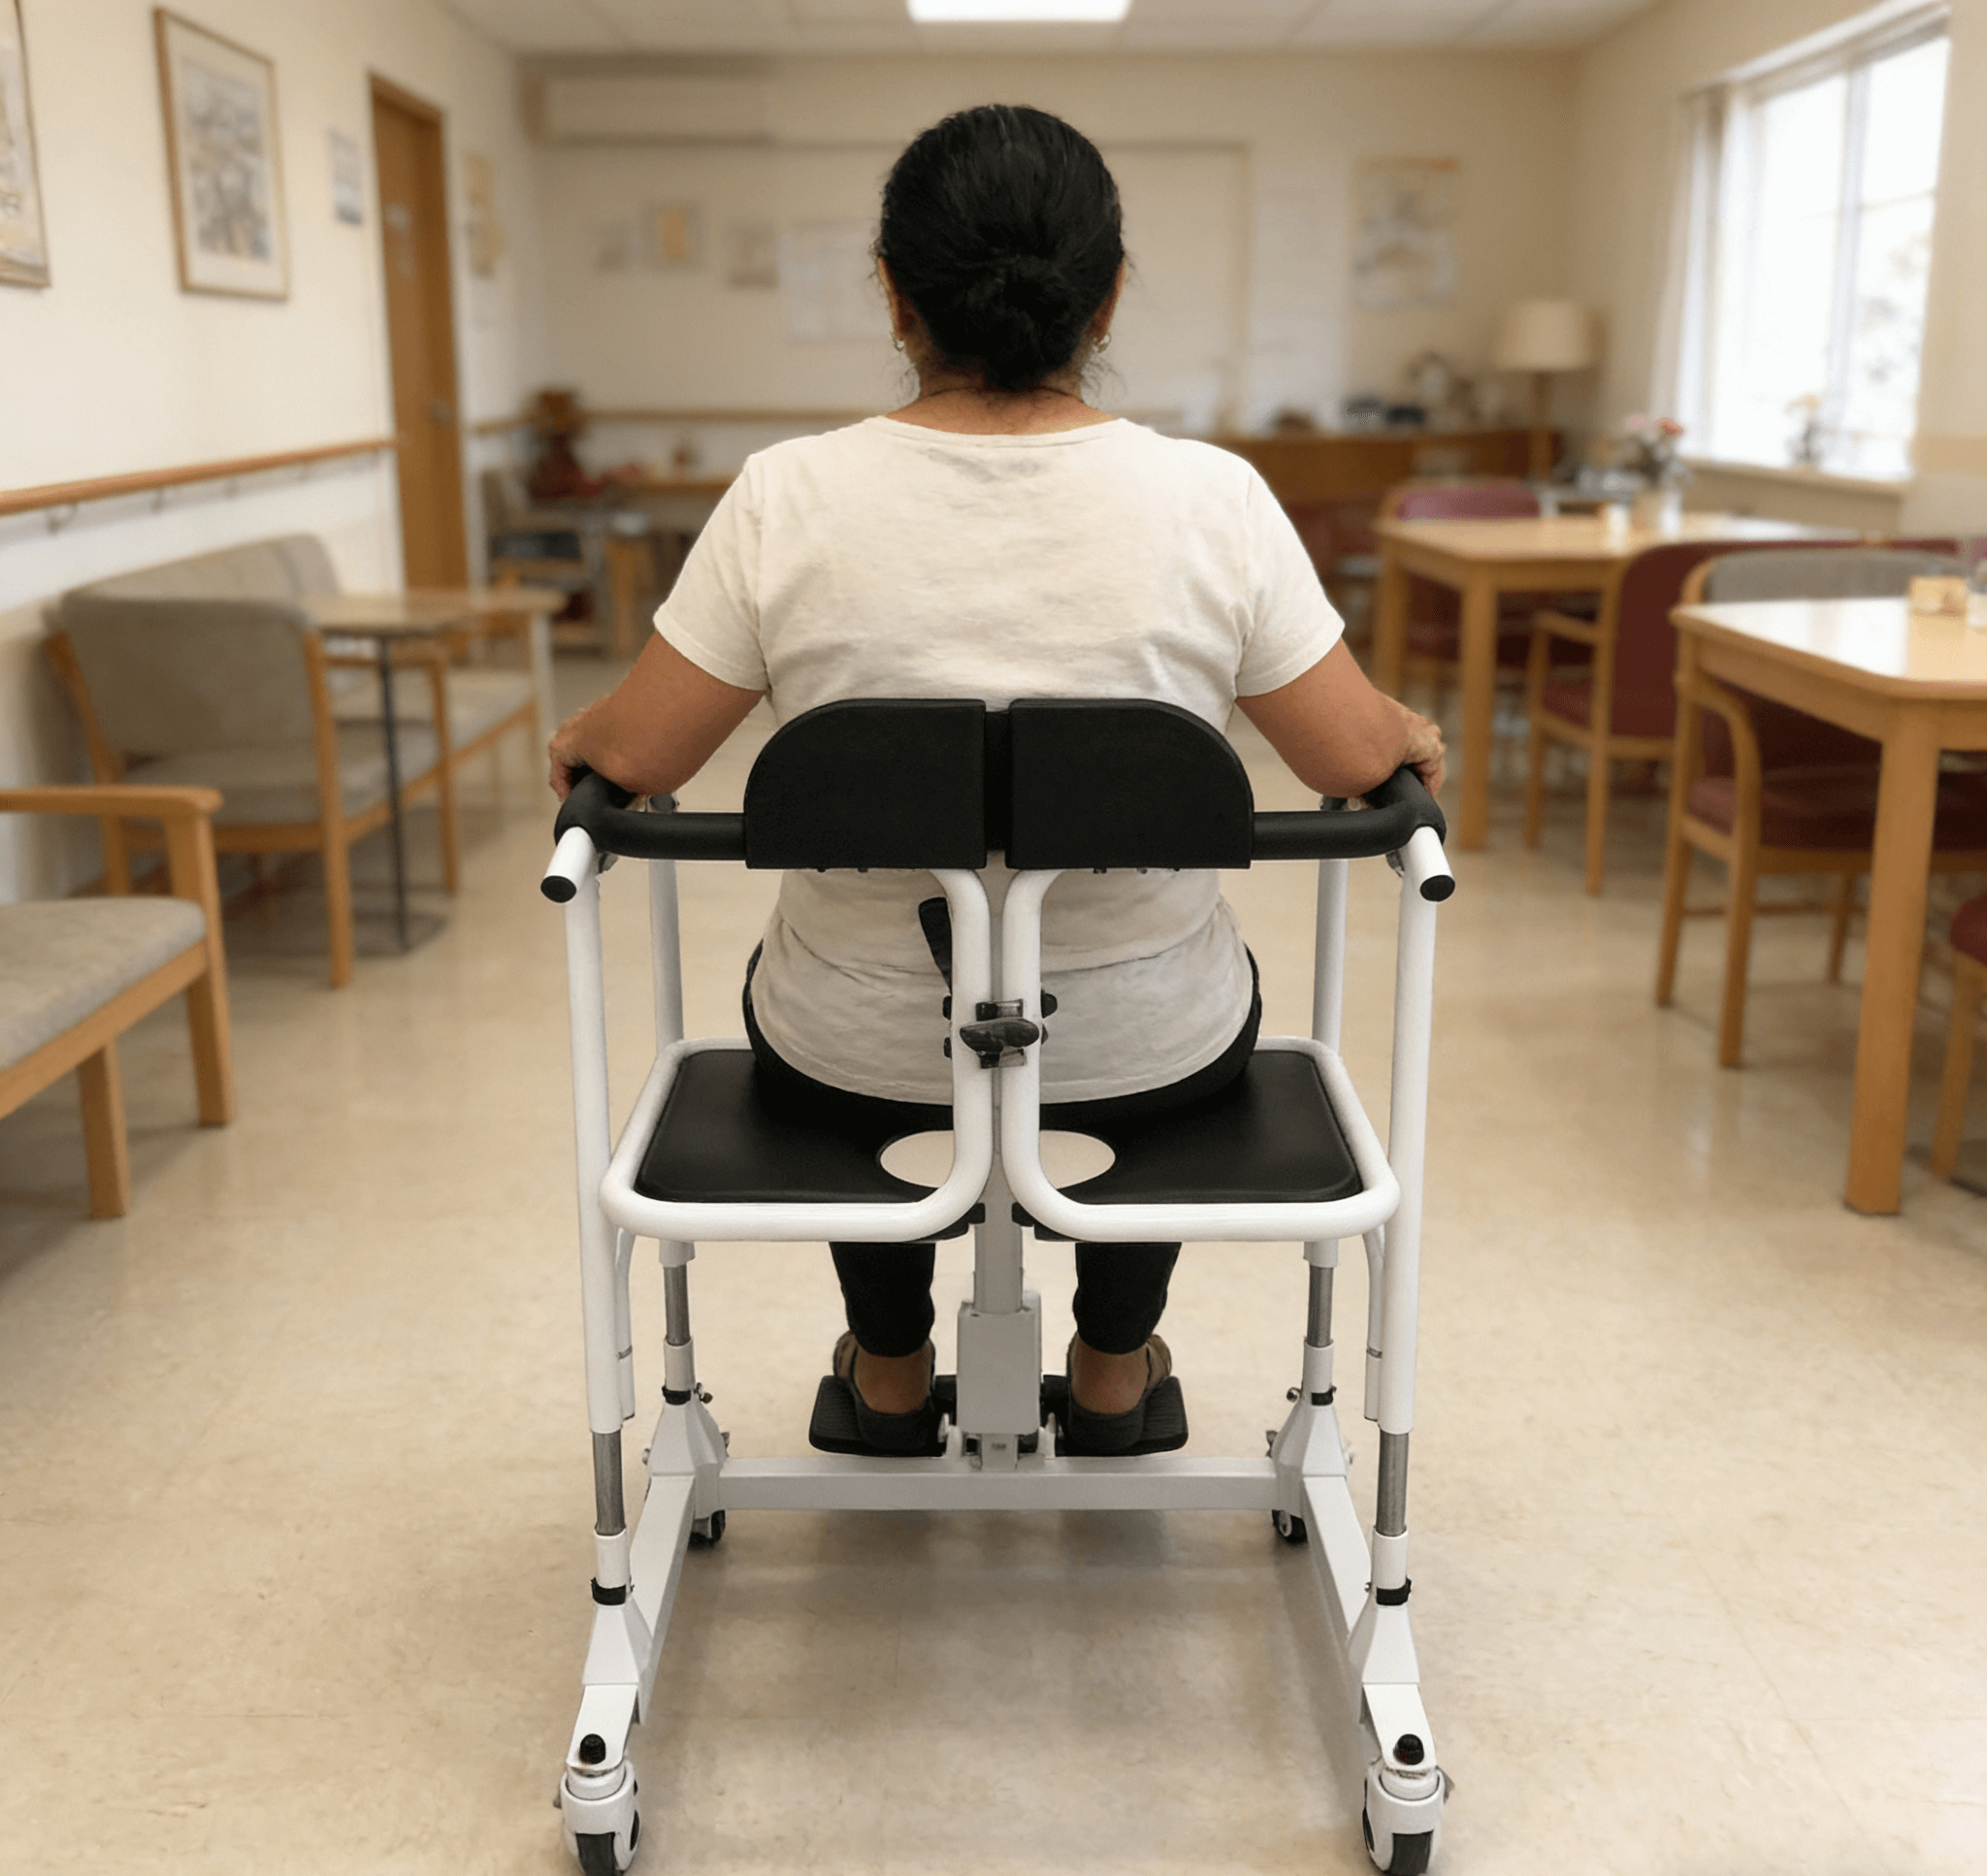
Hoyer Lift Assembly Guide: The First Step from Unboxing to Safe Use
The Hoyer Lift is a crucial device for safely transferring individuals with limited mobility. However, many families feel overwhelmed when faced with a pile of metal frames, hydraulic rods, and bolts after receiving a new or rented unit. Incorrect assembly not only undermines the user experience but also poses potential safety hazards such as tipping or slipping.
In fact, by following the correct procedure, most household Hoyer Lifts can be assembled by 1–2 people within 30–60 minutes. This guide will walk you through the entire process of unboxing, assembly, testing, and safety verification, ensuring your lift is stable and reliable from day one.
I. Preparation Before Assembly
1. Choose a Suitable Location
Work on a spacious, flat, and well-lit surface (e.g., the center of a living room or bedroom).
Clear obstacles around the area and reserve an operating space of at least 1.5m × 1.5m.
Avoid assembling on overly thick or uneven carpets, as this may cause component misalignment.
2. Inventory All Components
After unboxing, cross-check each item against the packing list in the instruction manual. Typical components include:
Main column (with control handle or motor)
Base assembly (including 2 or 4 support legs)
Boom arm
Hydraulic pump or electric lifting unit
Casters (usually 4–6, with braking devices)
Fasteners such as screws, nuts, and wrenches
User manual and warranty card
⚠️ If any components are missing or damaged, contact the supplier immediately. Do not attempt forced assembly.
3. Prepare Tools
Most household models only require the included hex key or open-end wrench.
You may additionally prepare a Phillips screwdriver, gloves (to prevent scratches), and a mobile phone (to take photos for step reference).
II. Standard Assembly Process (Taking Common Hydraulic Models as an Example)
Step 1: Install the Base and Casters
Place the base flat on the ground.
Insert the casters into the pre-drilled holes on the base and secure them with the included nuts.
Ensure all casters rotate smoothly and the braking function works properly.
Step 2: Connect the Main Column to the Base
Align the bottom of the main column with the central interface on the base.
Insert the fixing pin or tighten the fastening bolts (some models use quick-release buckles).
Gently shake the column to confirm there is no looseness.
Step 3: Install the Boom Arm
Slide the boom arm onto the rotating shaft at the top of the main column.
Insert the safety pin or tighten the locking knob to prevent the boom arm from accidentally falling off.
Test whether the boom arm can swing up and down smoothly (some models support left-right rotation).
Step 4: Connect the Hydraulic System (for Hydraulic Models)
Connect the hydraulic pump hose to the lifting cylinder inside the column.
Ensure the connector is tightly fastened and there are no signs of oil leakage.
Before first use, bleed air from the hydraulic system: repeatedly press the handle 20–30 times until the lifting operation is smooth.