Category: power lift chairs
Posted by 2025-12-24 11:12
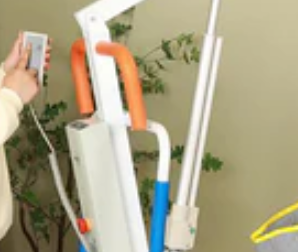
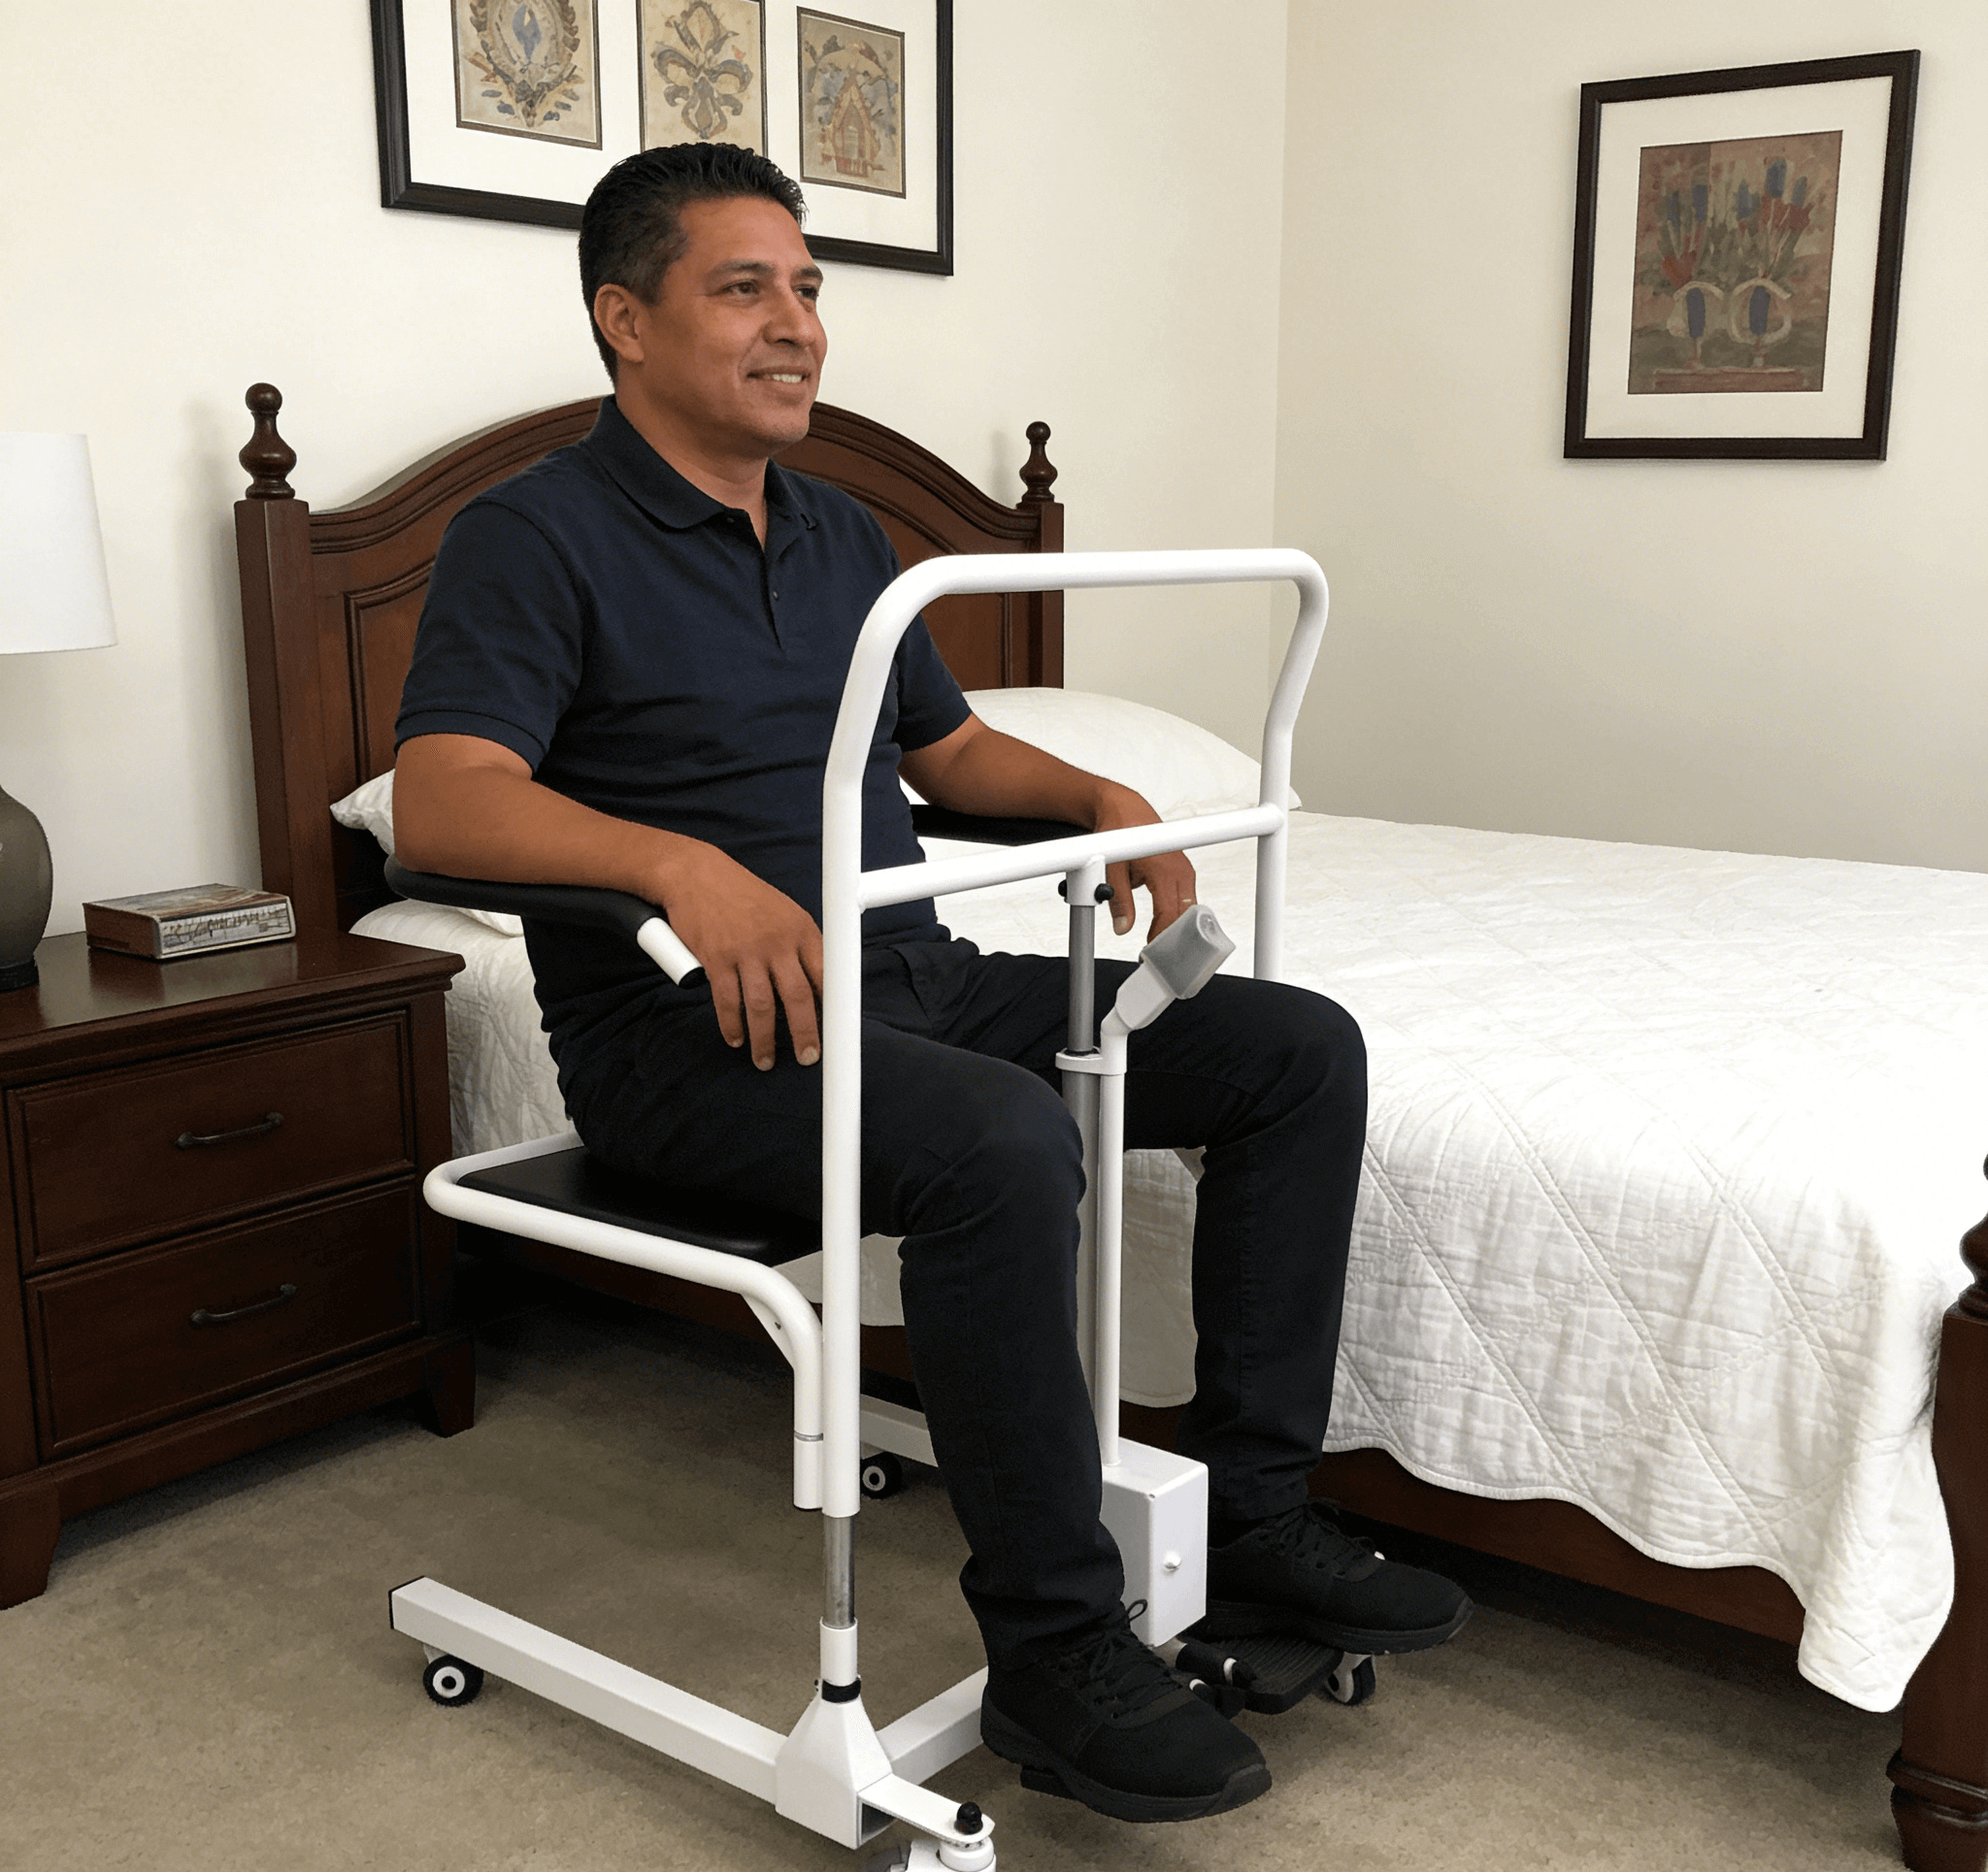
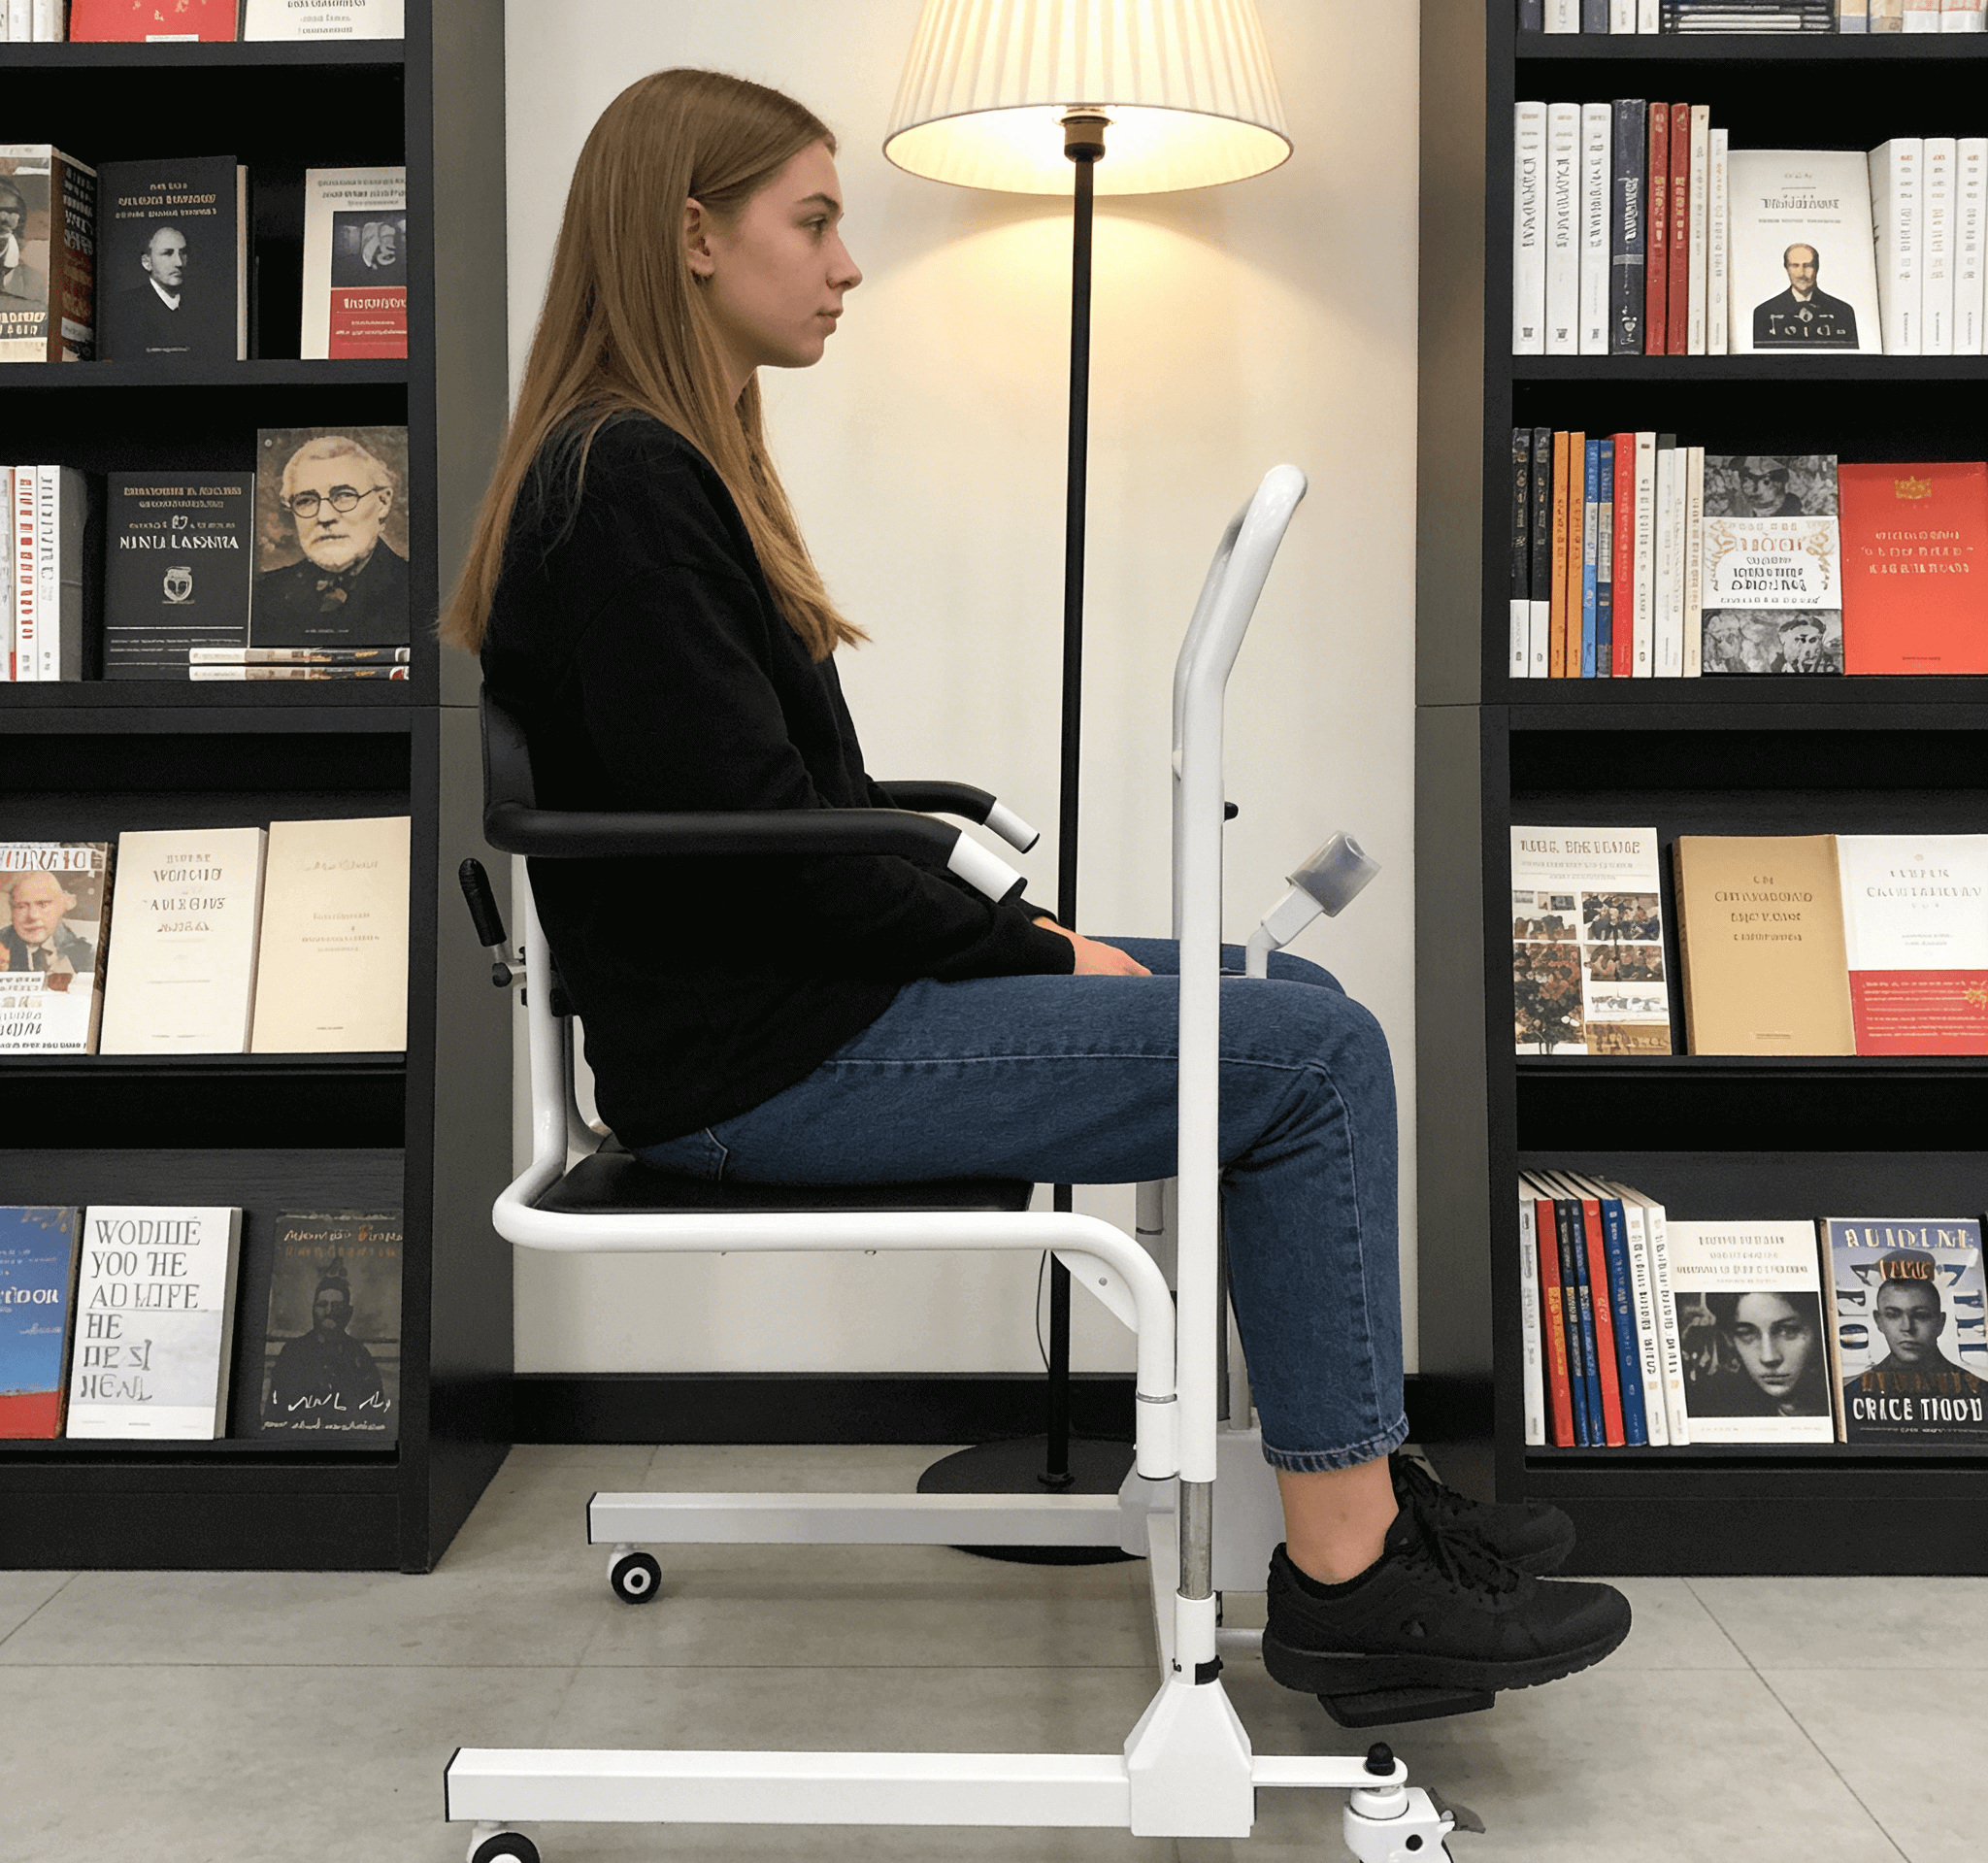
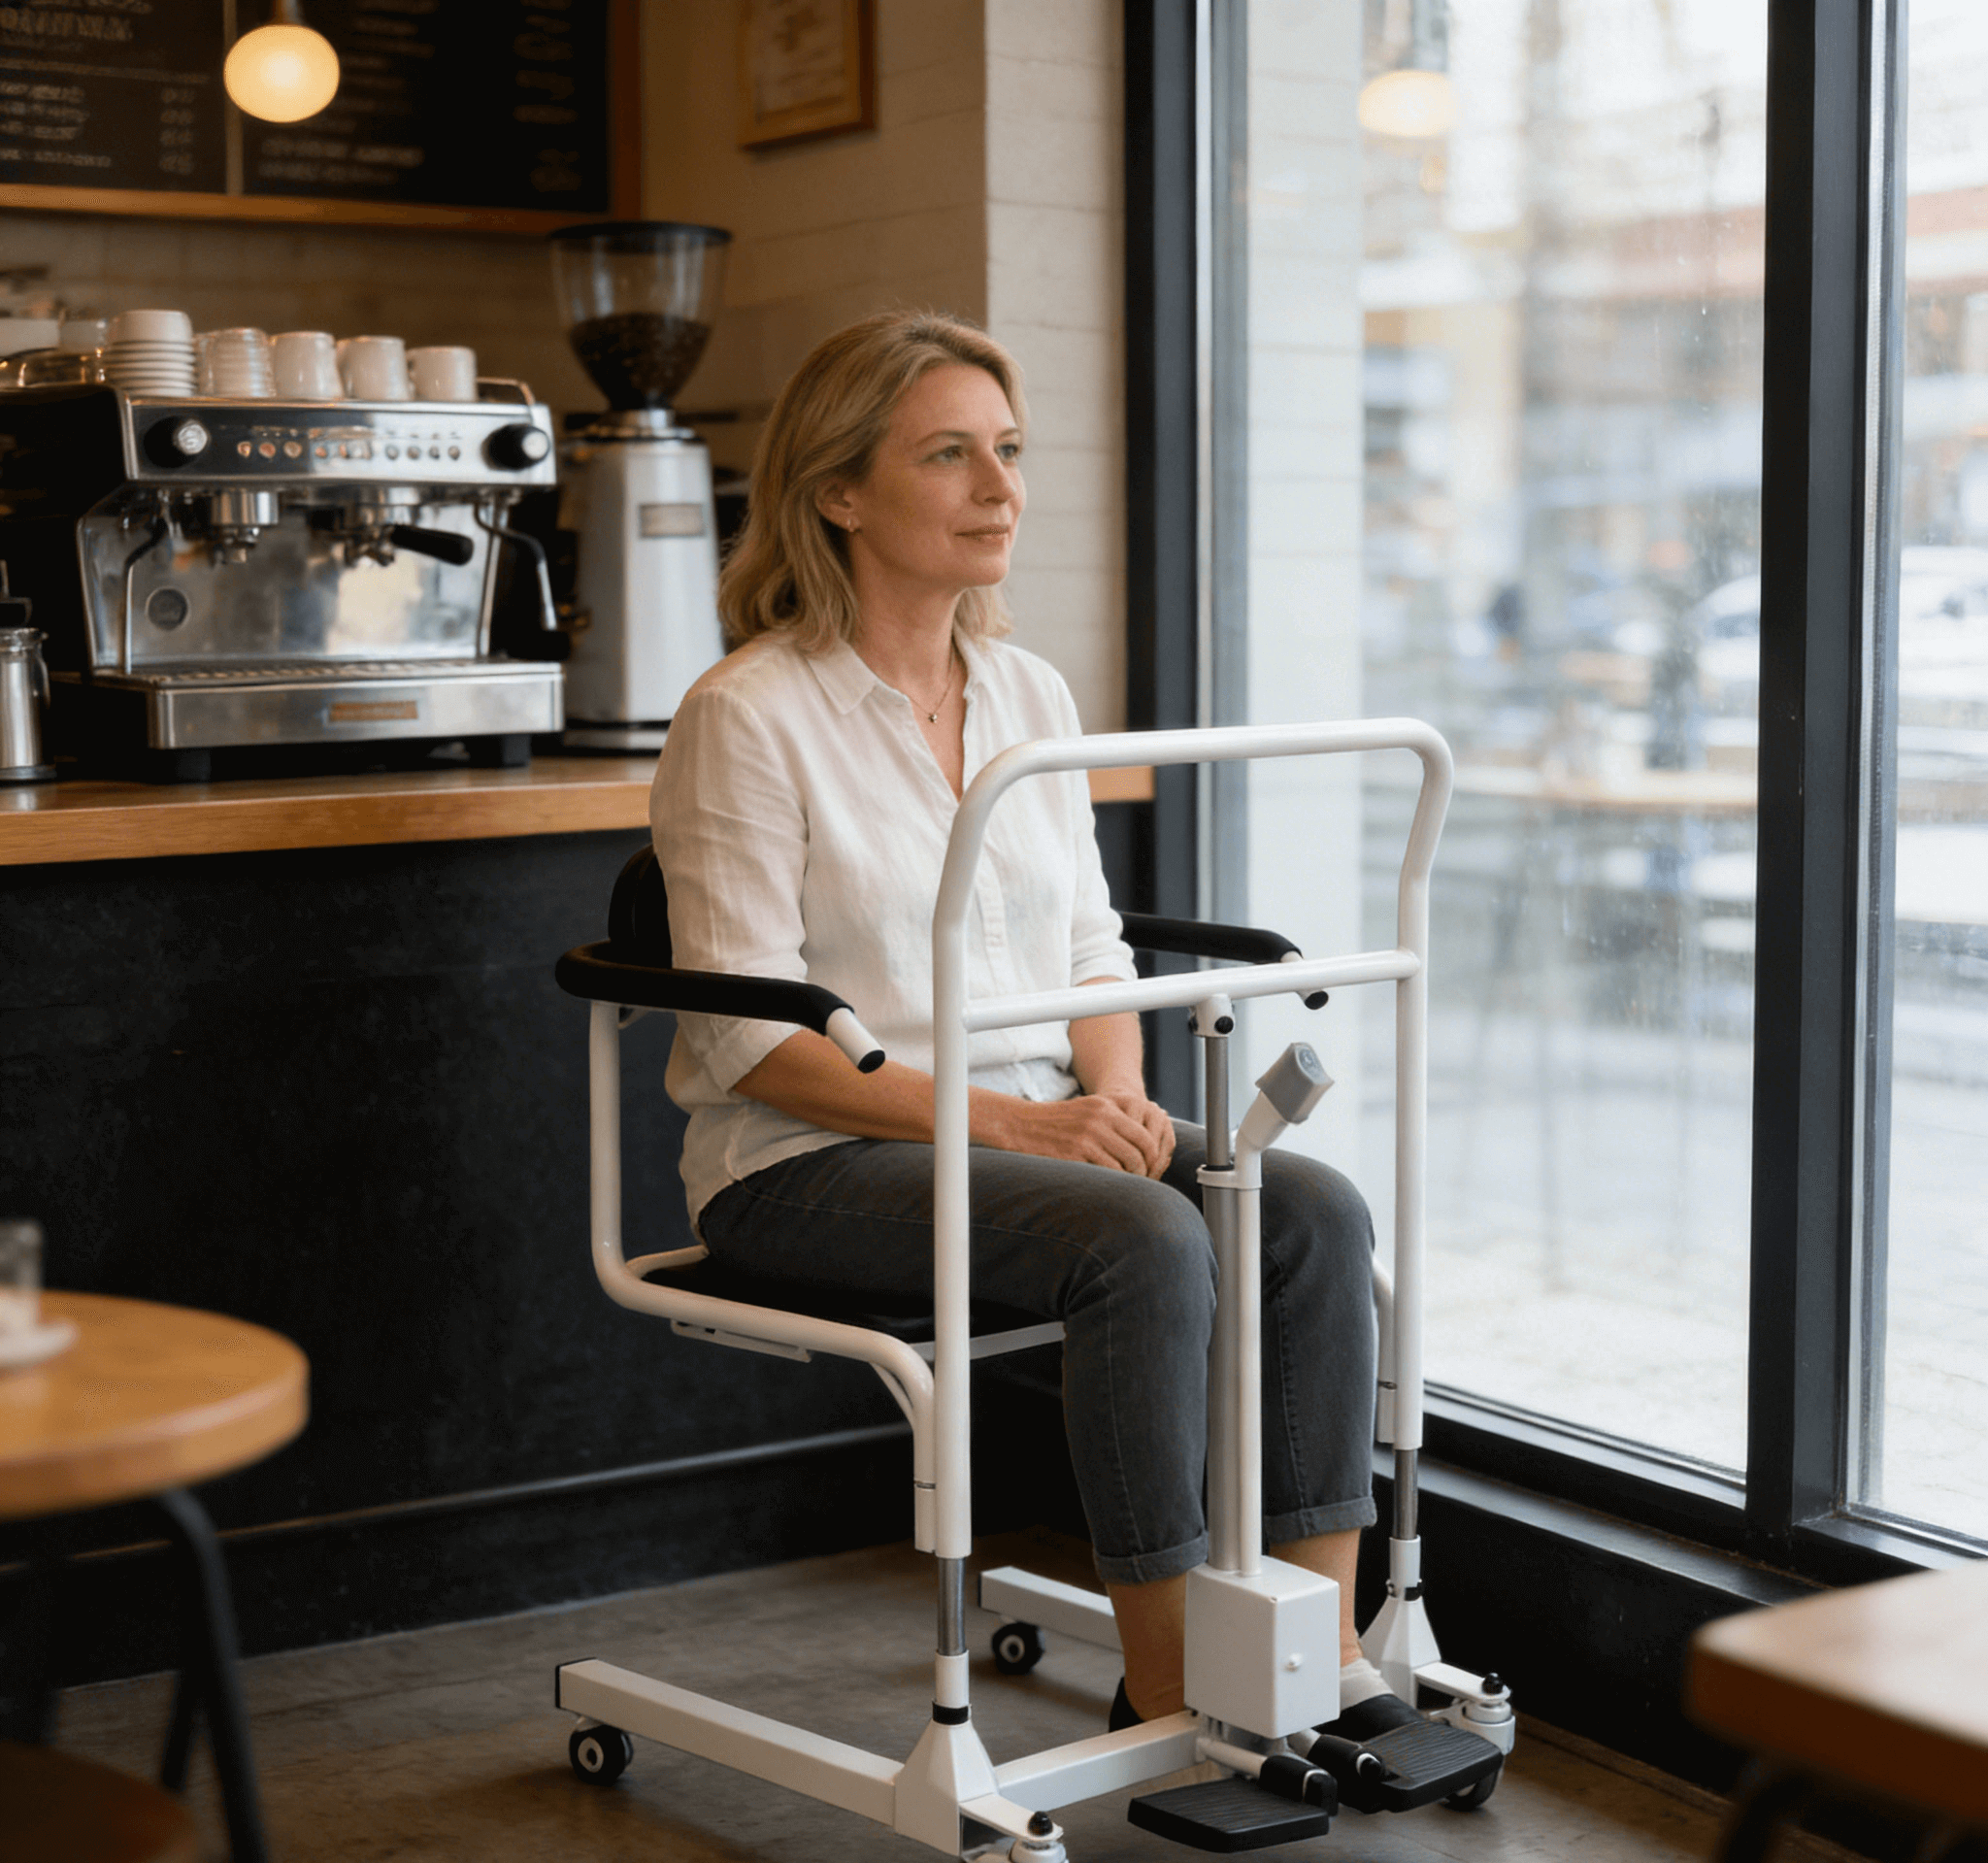
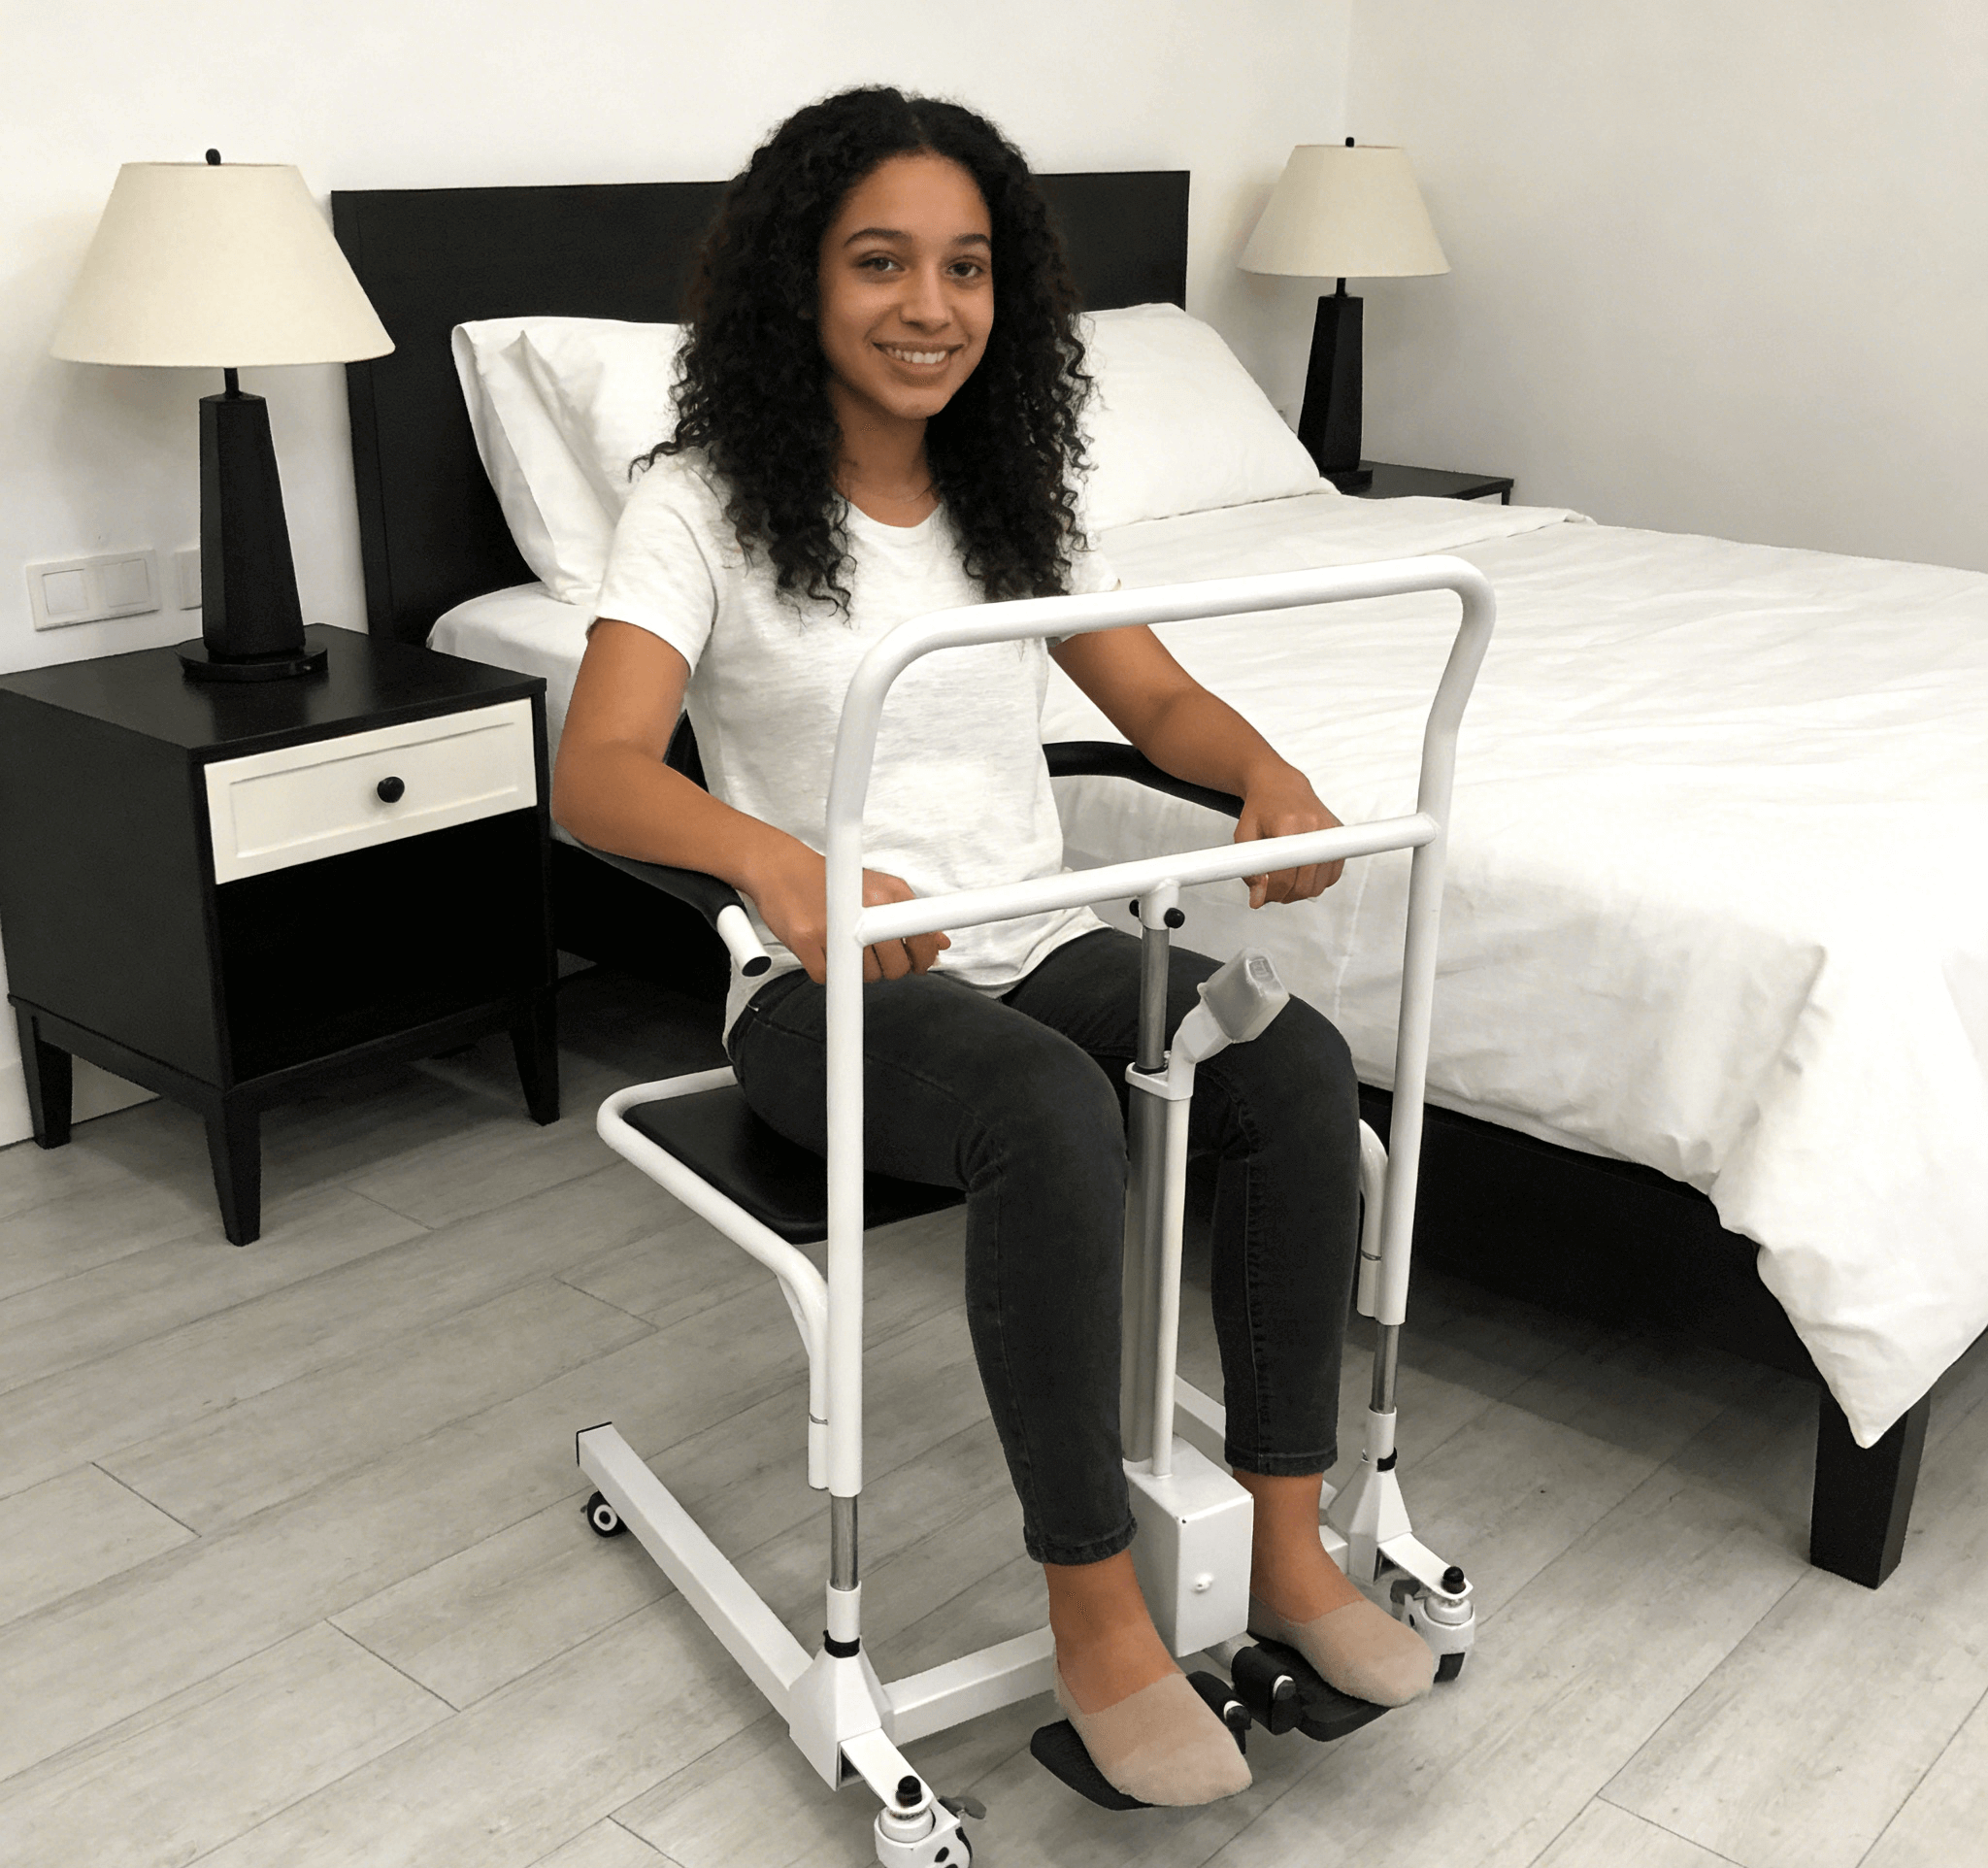
hoyer lift for travel
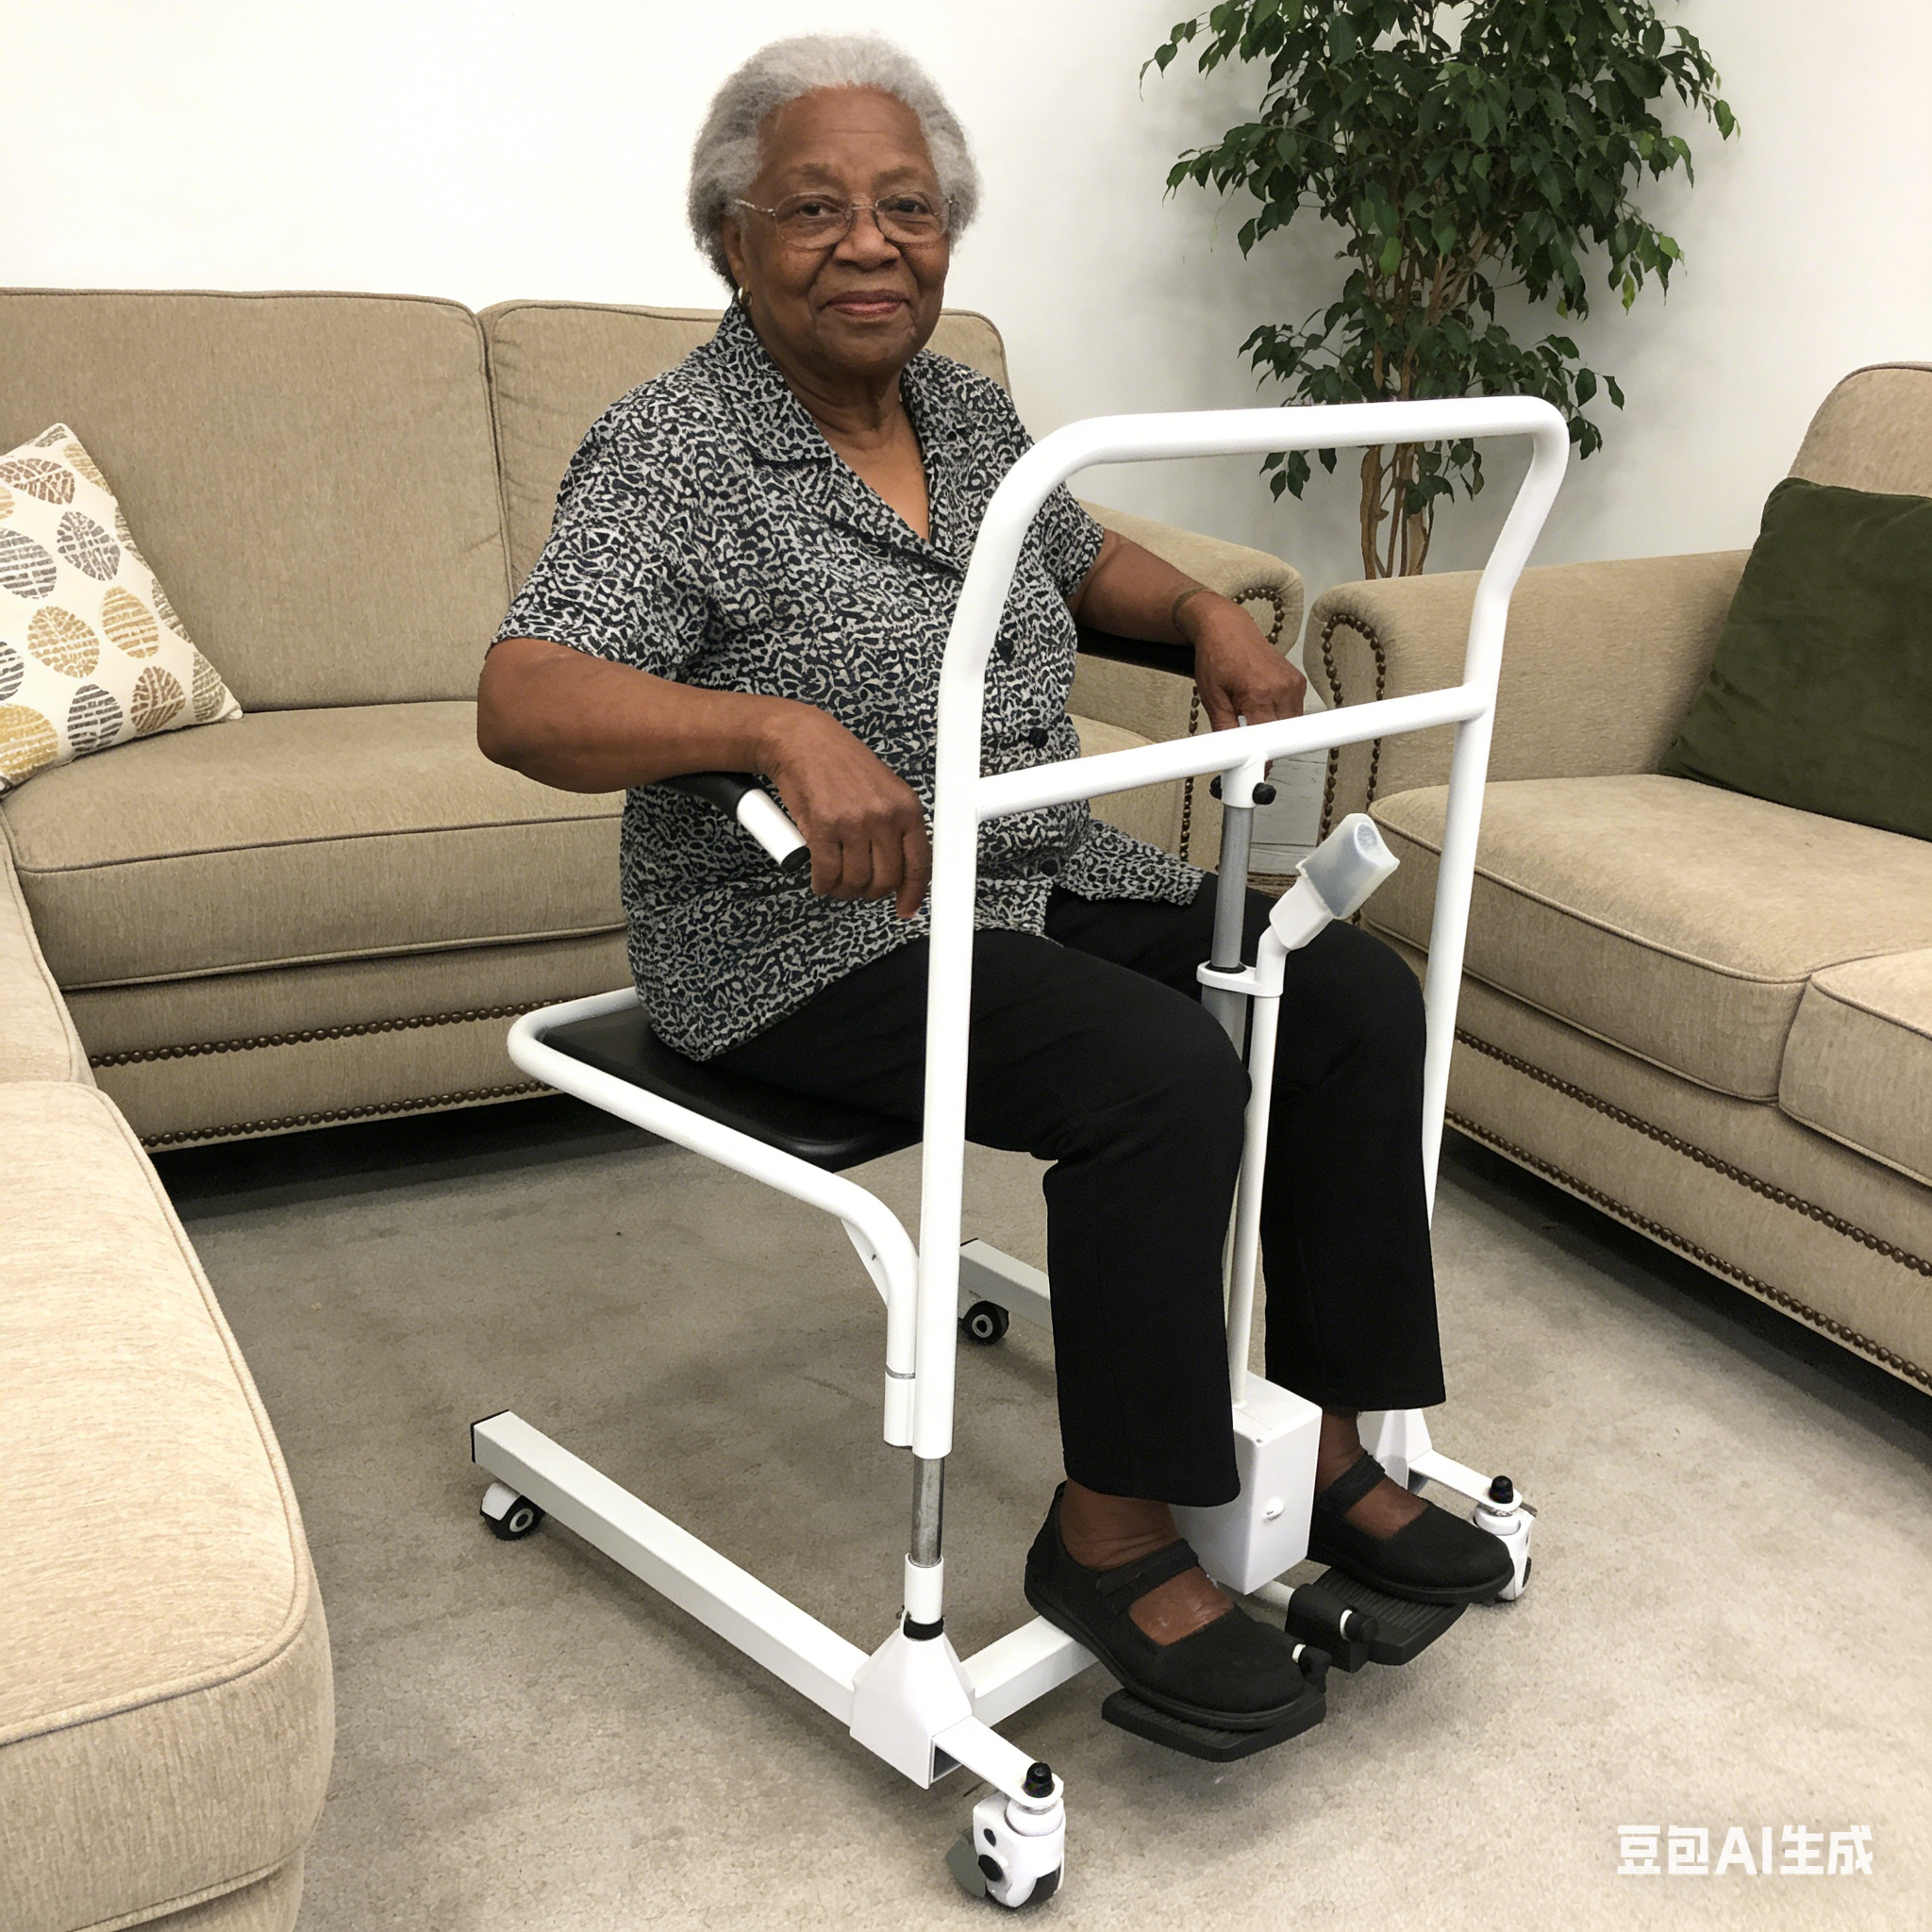
Traveling with a Hoyer Lift: A Complete Guide to Worry-Free Trips
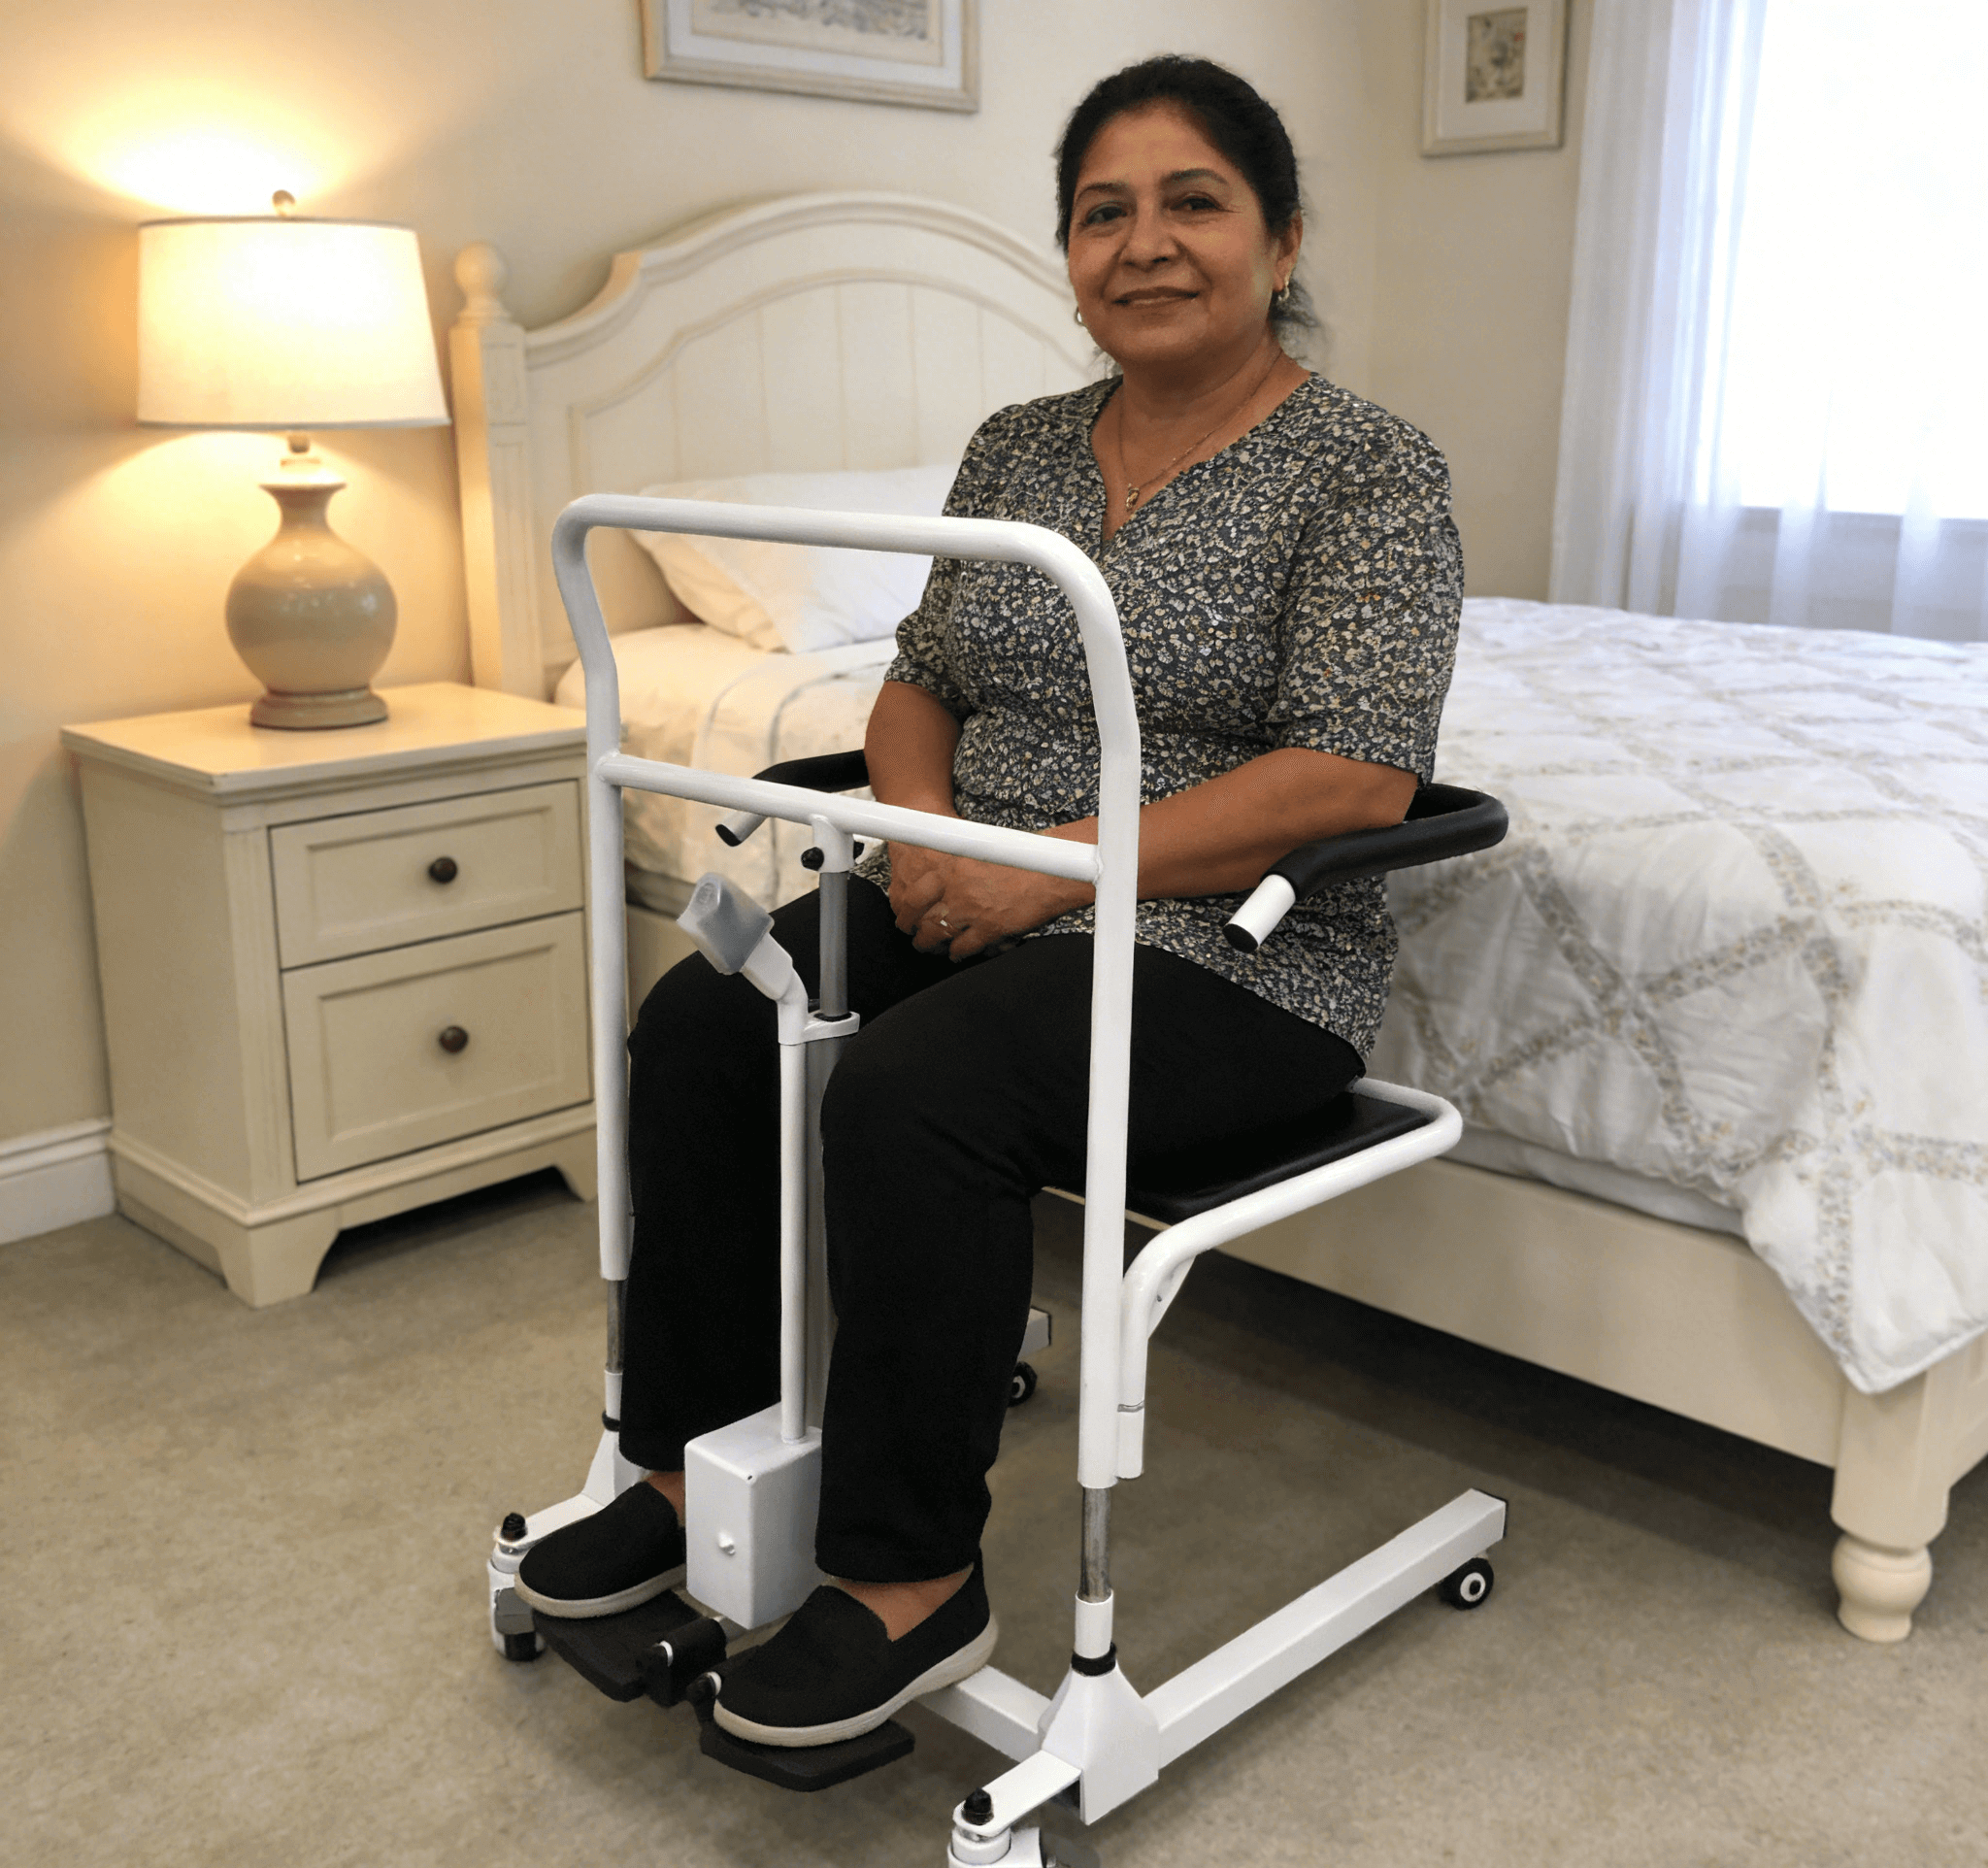
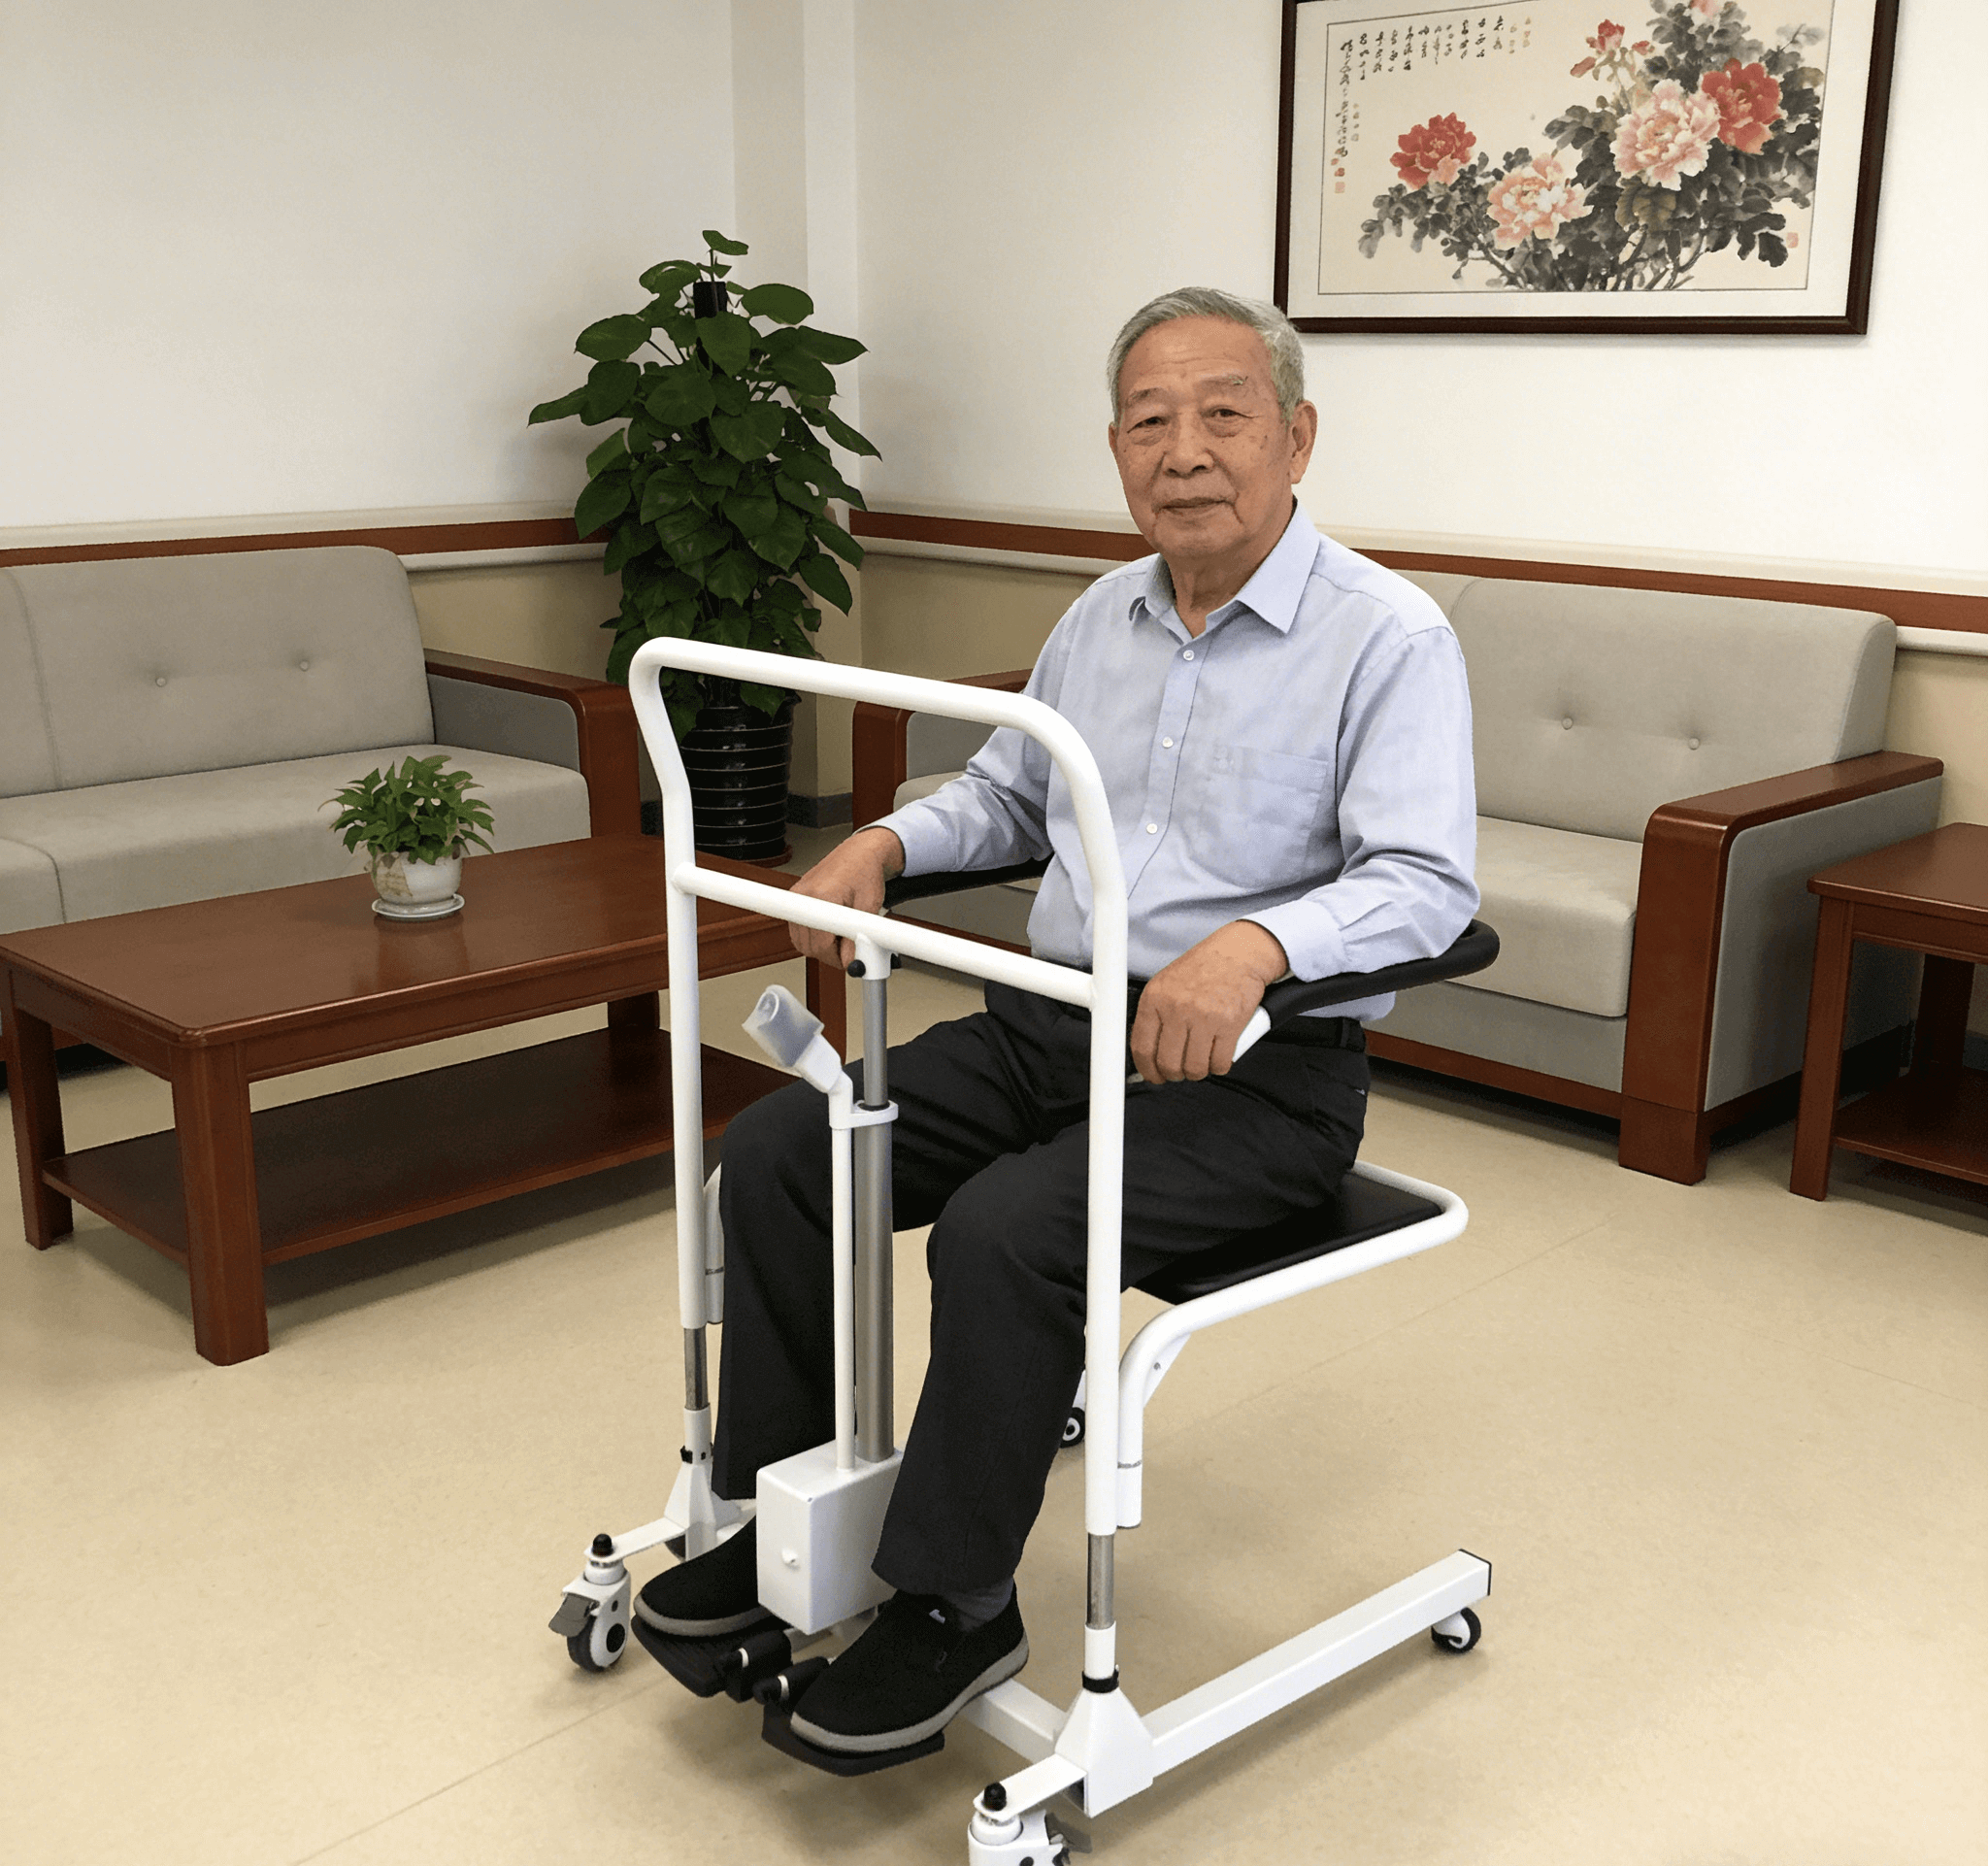
Travel is a life-enriching experience, and for individuals with mobility impairments who require transfer assistance, hoyer lift for travel it should not be an unattainable dream. A Hoyer Lift (patient lift) can be the key to traveling with confidence. However, this requires careful planning and the right strategies. This guide will help you address all challenges related to transporting and using a Hoyer Lift during your travels.
I. Travel Options: Bring Your Own, Rent, or Rely on the Destination?
Before planning your trip, you need to decide how to meet your Hoyer Lift needs.
1. Rely on the Destination (Hotel/Cruise Ship)
Pros: Most convenient, no need for transportation.
Cons & Essential Verifications:
Confirm in advance: Communicate directly with the hotel or cruise line several months ahead and obtain written confirmation (via email) that they can provide a Hoyer Lift.
Ask for details: Inquire about the device model, weight capacity, available sling types (e.g., toileting/showering slings), hoyer lift for travel and whether additional fees apply. Never trust vague promises like "we should have one in theory."
2. Rent at the Destination
Pros: Avoids transporting large equipment.
Process:
Contact medical equipment suppliers at your travel destination in advance.
Confirm the rental price, door-to-door delivery service, and device model.
Ensure the equipment will be ready for use on the day you arrive.
3. Bring Your Own Equipment
Pros: Using a familiar device is the safest and most reliable option.
Challenges: Requires solving transportation issues, suitable for road trips or situations where airline policies explicitly allow the device.
II. Air Travel: Complete Process for Bringing a Hoyer Lift
If you decide to bring your own device, follow these steps when flying:
1. Contact the Airline in Advance (Critical!)
Contact the airline’s special services department at least 72 hours before departure.
Inform them that you will be checking in a medical device (patient lift).
Ask about their specific policies: size and weight limits, packaging requirements, and check-in procedures.
2. Prepare and Package the Device
Thorough cleaning and disinfection: Clean the device thoroughly, especially slings and handles.
Disassemble: Follow the instruction manual to take the lift apart into major components (base, column, boom) for easier packaging and transportation.
Secure packaging:
Using the original packaging with cushioning is the best choice.
If the original box is unavailable, use a sturdy hard-sided suitcase or custom wooden crate, hoyer lift for travel and fill all gaps with foam or bubble wrap.
Place small parts (e.g., shackles) in sealed bags and secure them inside the box.
Clear labeling: Clearly mark "Medical Equipment" on both the inside and outside of the package, and include your name and contact information.
3. At the Airport
Arrive early: Allow plenty of time for checking in special luggage.
Communicate with counter staff: Remind them again that this is a necessary medical device.
Know your rights: In many countries and regions, necessary medical equipment is not counted toward regular checked baggage allowances and can be checked for free. Confirm this policy with the airline in advance.
III. Road Trips: The Relatively Simple Option
Road trips are the most flexible way to transport a Hoyer Lift.
Vehicle space: Ensure the trunk of your vehicle (car, SUV, or wheelchair-accessible modified vehicle) can accommodate the disassembled device.
Secure fixation: Properly secure the device components in the vehicle to prevent movement and collisions during driving.
Carry slings with you: Keep slings and personal items together for easy access when needed.
IV. Accommodation Selection and Communication Tips
Whether you bring your own device or not, communicating with your accommodation provider is crucial.
When Booking:
Call the hotel directly and ask to be transferred to the housekeeping department or management—they have a better understanding of accessibility facilities than the front desk.
Inquire about the width of entry doors and bathroom doors to ensure the Hoyer Lift can pass through.
Confirm there is sufficient operating space in the room (between the bed and the wall, and inside the bathroom).
If Bringing Your Own Device:
Inform them that you will be bringing medical equipment.
If Requesting a Device:
Obtain written confirmation of the device model they can provide, and ask for it to be prepared in the room before your arrival.
V. Essential Travel Accessory Checklist
New or thoroughly cleaned slings: Especially toileting/showering slings, which are lightweight and quick-drying.
All tools: Bring small tools required for disassembling and reassembling the device.
Device manual (digital or printed copy): For emergency use.
Power adapter (for electric models): If traveling internationally.
Spare battery (for electric models): If possible.
Measuring tape: For quickly checking door widths.
Conclusion
Traveling with a Hoyer Lift requires extra planning and effort, but it is absolutely feasible. The secret to success lies in early planning, repeated confirmation, and effective communication. Whether you rely on resources at your destination, rent locally, or bravely bring your own device, a clear plan will allow you to focus on enjoying the journey itself rather than worrying about logistics. The world is vast and worth exploring for everyone—and a Hoyer Lift can be your reliable companion to unlock this adventure.