Category: Electric Transfer Chair
Posted by 2025-12-15 10:12
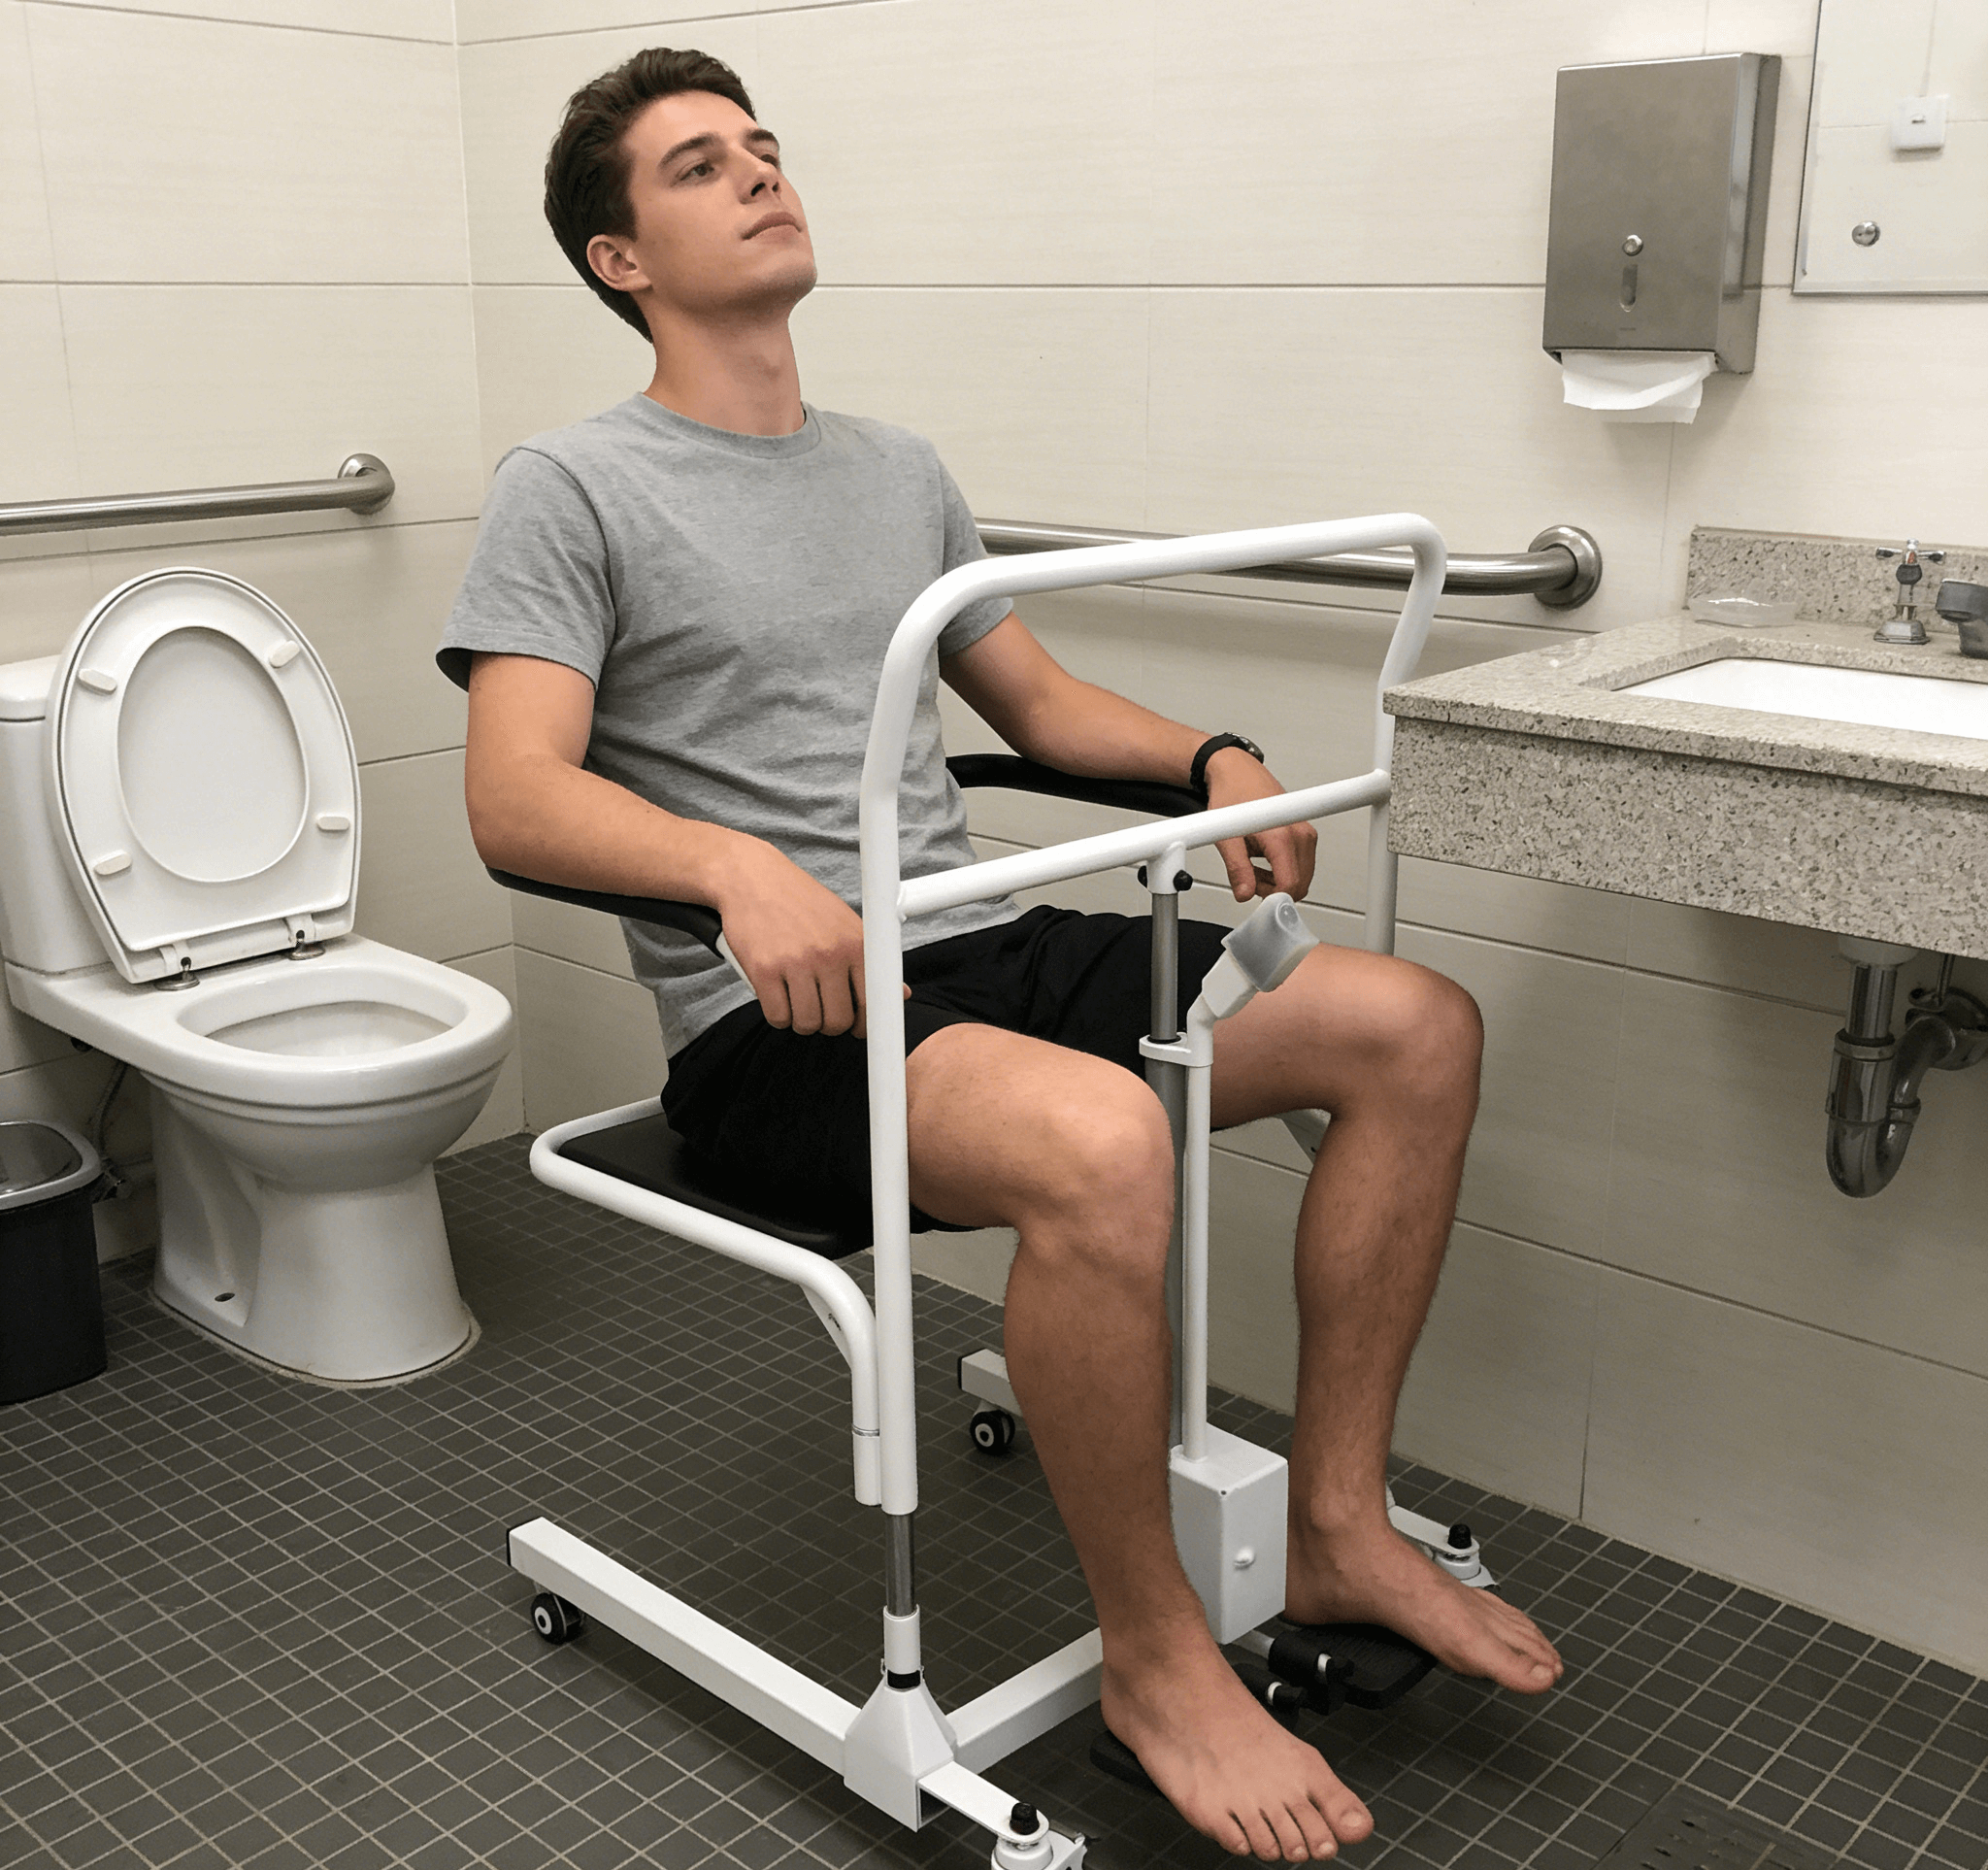
hoyer lift bed to wheelchair
Safety Transfer Guide: Using a Hoyer Lift to Transfer from Bed to Wheelchair
For individuals with limited mobility and their caregivers, transferring from a bed to a wheelchair is one of the most common yet challenging daily tasks. Hoyer Lifts, leveraging mechanical power, significantly reduce the risk and physical strain associated with this task. Adhering to standardized operating procedures is crucial for ensuring safety.
Pre-Transfer Preparation
1. Environment Preparation
Clear the Pathway: Remove obstacles between the bed and the wheelchair to ensure sufficient space for operating the lift.
Secure Equipment: Lock the bed wheels (if equipped). Position the wheelchair beside the bed at an appropriate spot, engage the wheelchair brakes, and lift the footrests.
Spatial Layout: Place the wheelchair at a roughly 45-degree angle to the bed. Remove the armrest on the side of the wheelchair closest to the bed (if detachable) to create the optimal angle for transfer.
2. Equipment Inspection
Lift Check: Ensure the lift has sufficient battery power, mechanical components function properly, and the boom rotates smoothly.
Sling Check: Inspect the sling for tears or wear, and verify that all connections are secure.
3. Communicate with the User
Explain the Process: Clearly inform the user of the upcoming steps to help them mentally prepare and reduce anxiety.
Ensure Comfort: Ask if they need to use the restroom first and confirm they are wearing comfortable clothing.
Standard Operating Procedure (Step-by-Step)
Step 1: Position the User at the Bedside
Assist the user in rolling onto their side, facing the caregiver.
Lay the sling flat on the bed, aligning its center line (spinal position) with the user’s back.
Help the user roll back onto their back, pressing down on the sling. Then pull the other half of the sling out from under their body, ensuring it lies flat without wrinkles.
Step 2: Properly Position the Sling
Bottom (Seat Section): Ensure the seat section of the sling is placed under the user’s thigh roots, wrapping around their hips.
Back Section: The sling should cover the entire back from the shoulders to the hips, providing even support.
Leg Sections: The leg sections of the sling should wrap around the user’s thighs.
Straps: Ensure all connecting straps are facing upward, with no twists or pressure from the user’s body.
Step 3: Move the Lift into Position
Push the lift to the bedside, sliding its base under the bed.
Ensure the lift is perpendicular to the bed and its base is fully extended to maximize stability.
Step 4: Attach the Hooks
Rotate the boom directly above the user.
Attachment Order: Typically attach the leg straps or shoulder straps first, then the straps on the other side.
Important: Maintain Balance
After attachment, adjust the length of the hooks to ensure the user will be in a horizontal, balanced position when lifted.
Usually, the shoulder straps are slightly shorter than the leg straps to create a comfortable seated posture.
Safety Check: Always confirm that all attachment loops are securely hung on the hooks and the safety latches are fully engaged.
Step 5: Lift the User
Inform the user again that they are about to be lifted.
Operate the controller to lift the user steadily and slowly.
First, lift until their hips just leave the bed surface. Pause to check if the sling is comfortable and the weight is evenly distributed.
Continue lifting until the user is completely off the bed and their feet are clear of the bed edge.
Step 6: Transfer to the Wheelchair
Rotate the Boom: Firmly hold the boom (not the hooks or the user) and slowly rotate the user so their back faces the wheelchair.
Positioning: Move the user directly above the wheelchair seat.
Watch the Feet: Ensure the user’s feet do not hit the wheelchair wheels or footrests.
Step 7: Lower the User into the Wheelchair
Slow Descent: Operate the controller to lower the user slowly.
Guide into Seating: During descent, gently guide the user’s back with your hands to ensure they sit accurately and comfortably deep into the wheelchair seat.
Stop lowering once the user is fully seated and their weight is supported by the wheelchair.
Step 8: Detach the Hooks and Tidy Up
Release the safety latches on the hooks and detach one attachment loop at a time.
Start with the shoulder straps—this allows the back section of the sling to hang down naturally, making it easier to remove.
Finally, detach the leg straps and gently pull the sling out from under the user.
Rotate the boom back to the neutral position and move the lift away from the wheelchair.
Key Safety Points and Common Mistakes
Must-Dos:
Communication First: Always let the user know the next step.
Smooth Operation: Avoid sudden starts or stops; ensure movements are steady.
Keep the Center of Gravity Low: When lifting, ensure the lift’s base is fully extended to maintain the lowest possible center of gravity.
Use Your Body, Not Your Lower Back: When pushing or pulling the lift, bend your knees and use leg strength to protect your lower back.
Must-Nots:
Never Overload: Never exceed the lift’s maximum weight capacity.
Never Leave Unattended: Never leave the user suspended in mid-air alone.
Never Push or Pull the User: Only move the user by pushing or pulling the lift’s main pole—do not push or pull the hooks or the user’s body directly.
Do Not Ignore Discomfort: If the user complains of pain or the sling feels too tight, stop immediately to check and adjust.
Conclusion
Transferring from a bed to a wheelchair—with a Hoyer Lift and a set of standardized procedures—can be transformed from a high-risk physical task into a safe, dignified, and efficient routine activity. Adequate preparation, clear communication, and strict adherence to steps are the three pillars of success. For new caregivers, it is strongly recommended to practice repeatedly under the guidance of an occupational therapist or professional supplier until proficiency is achieved. This caution and skill will ultimately serve as the best protection for both the user and yourself.