Category: Patient Lifts
Posted by 2025-12-11 11:12
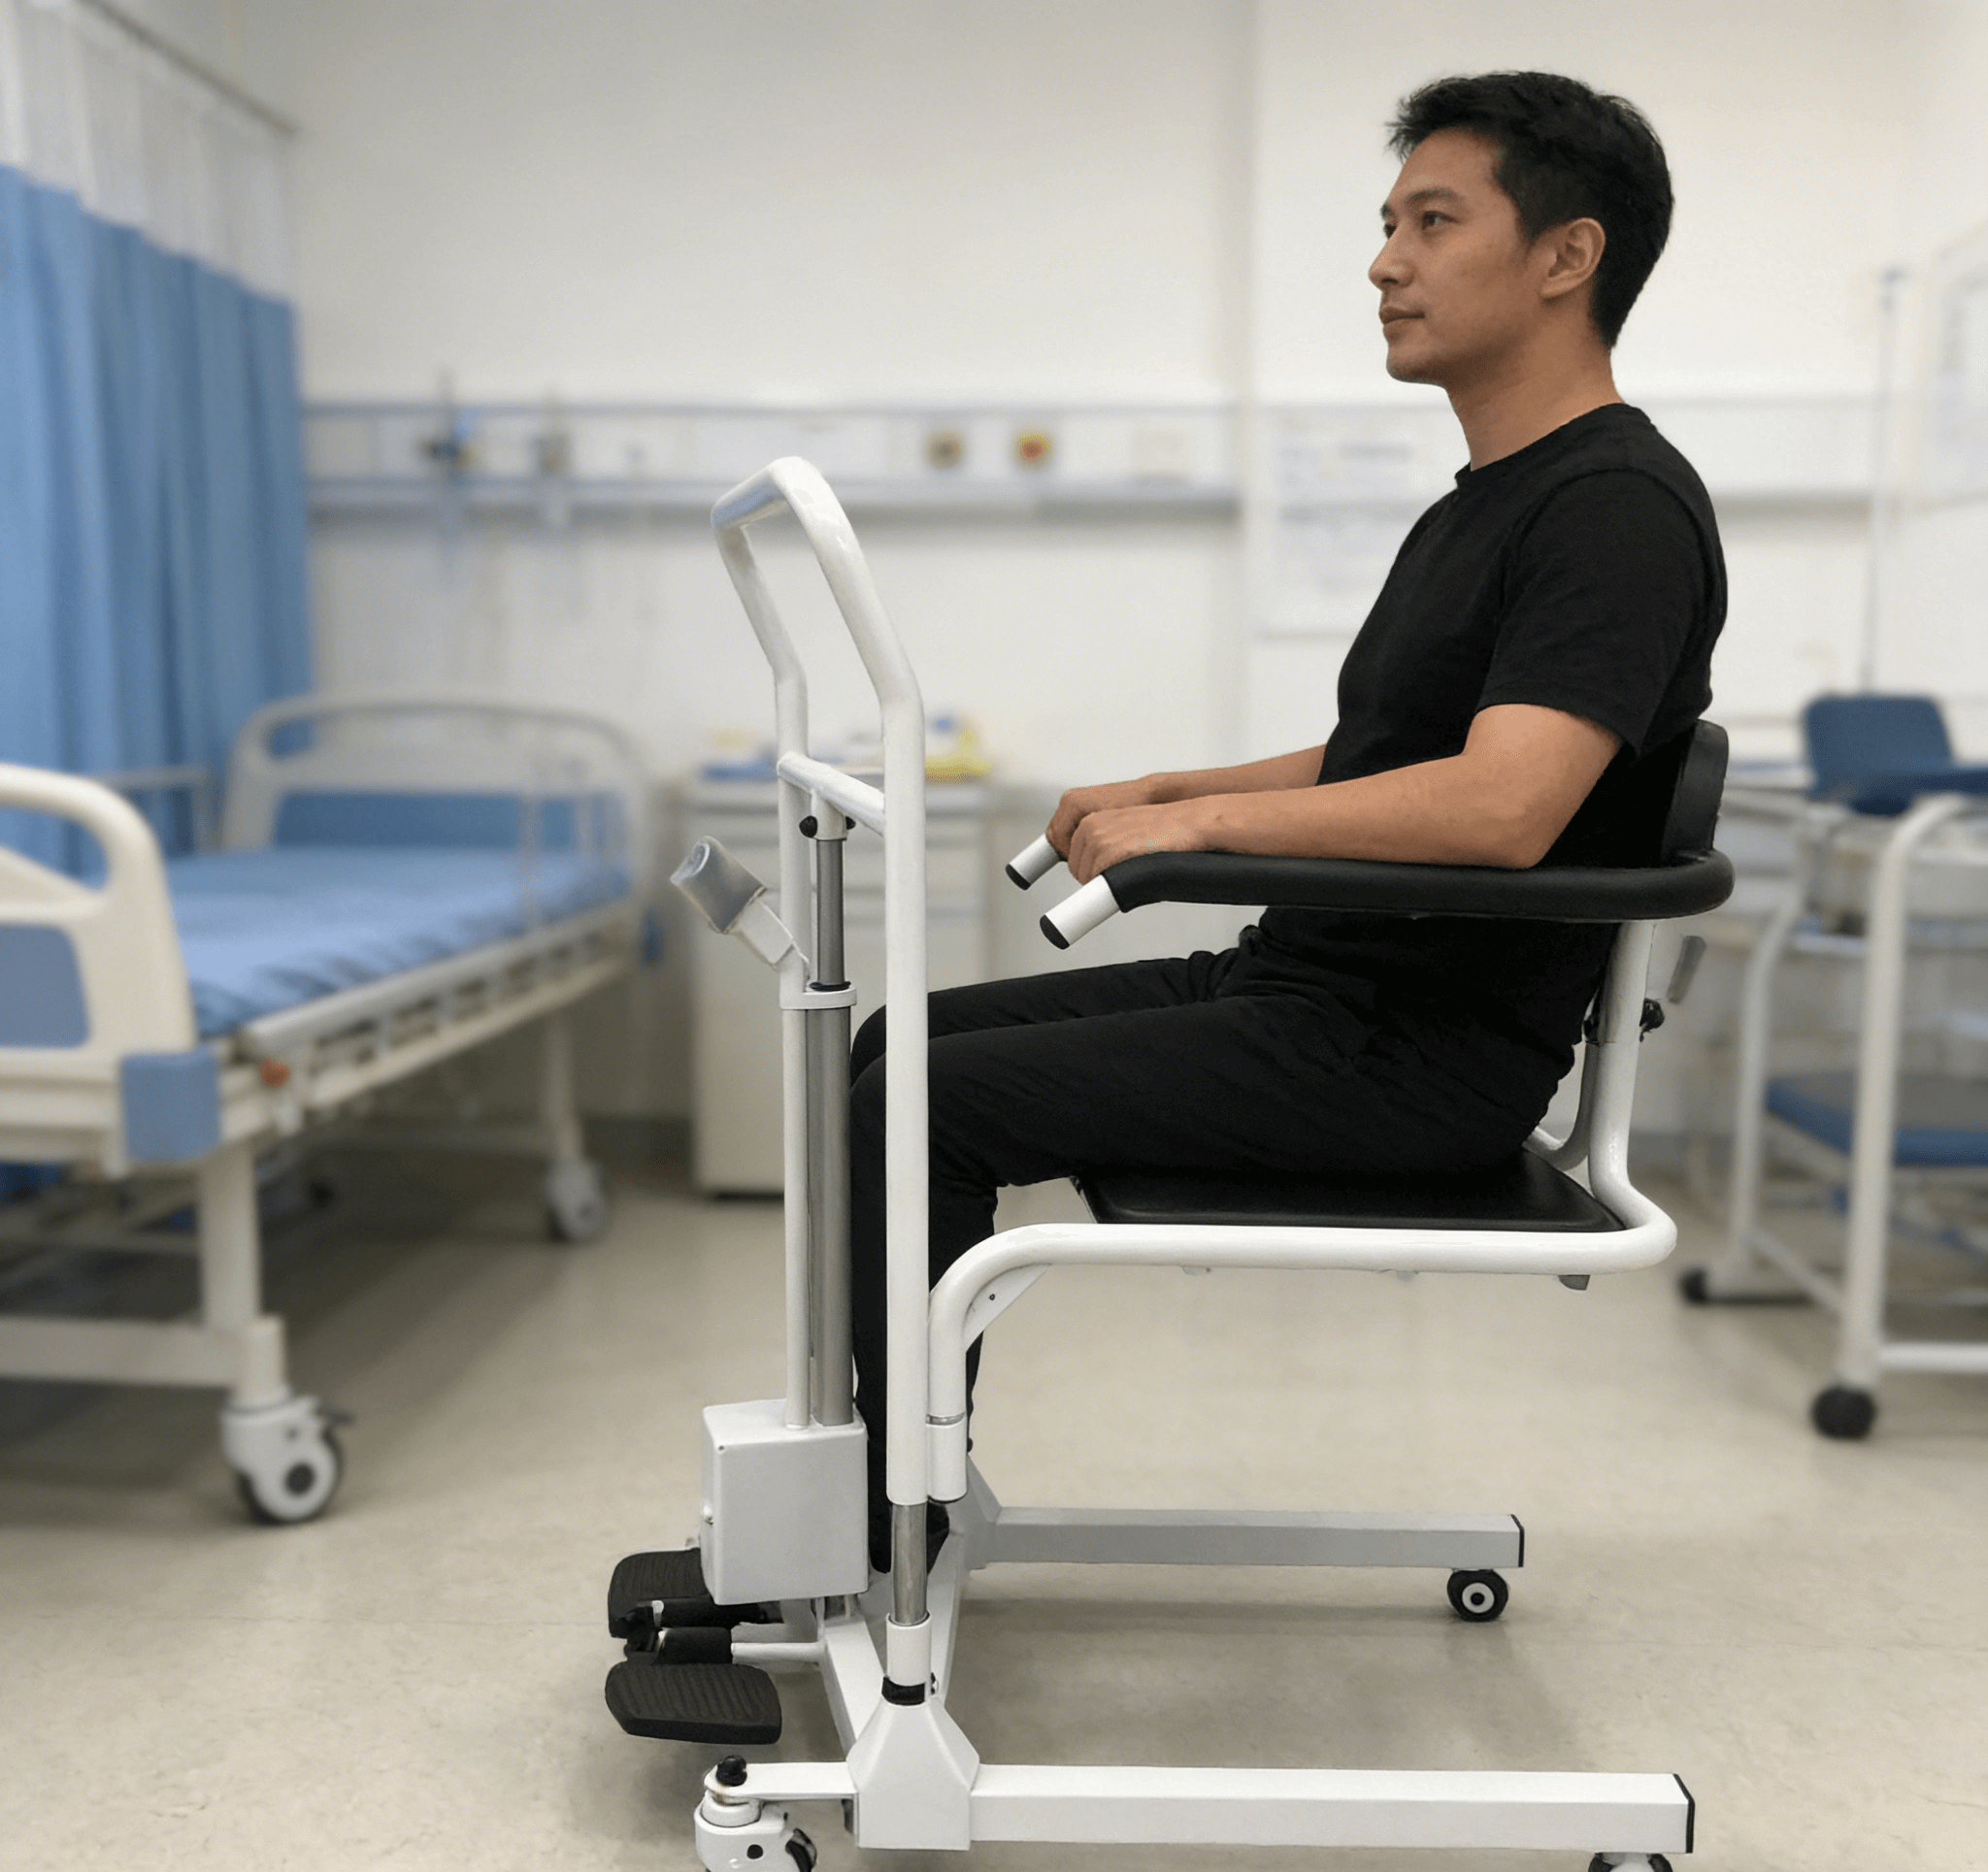
hoyer lift and chair
Hoyer Turning Lift and Chair: A Complete Guide to Safe and Seamless Sitting Transfers
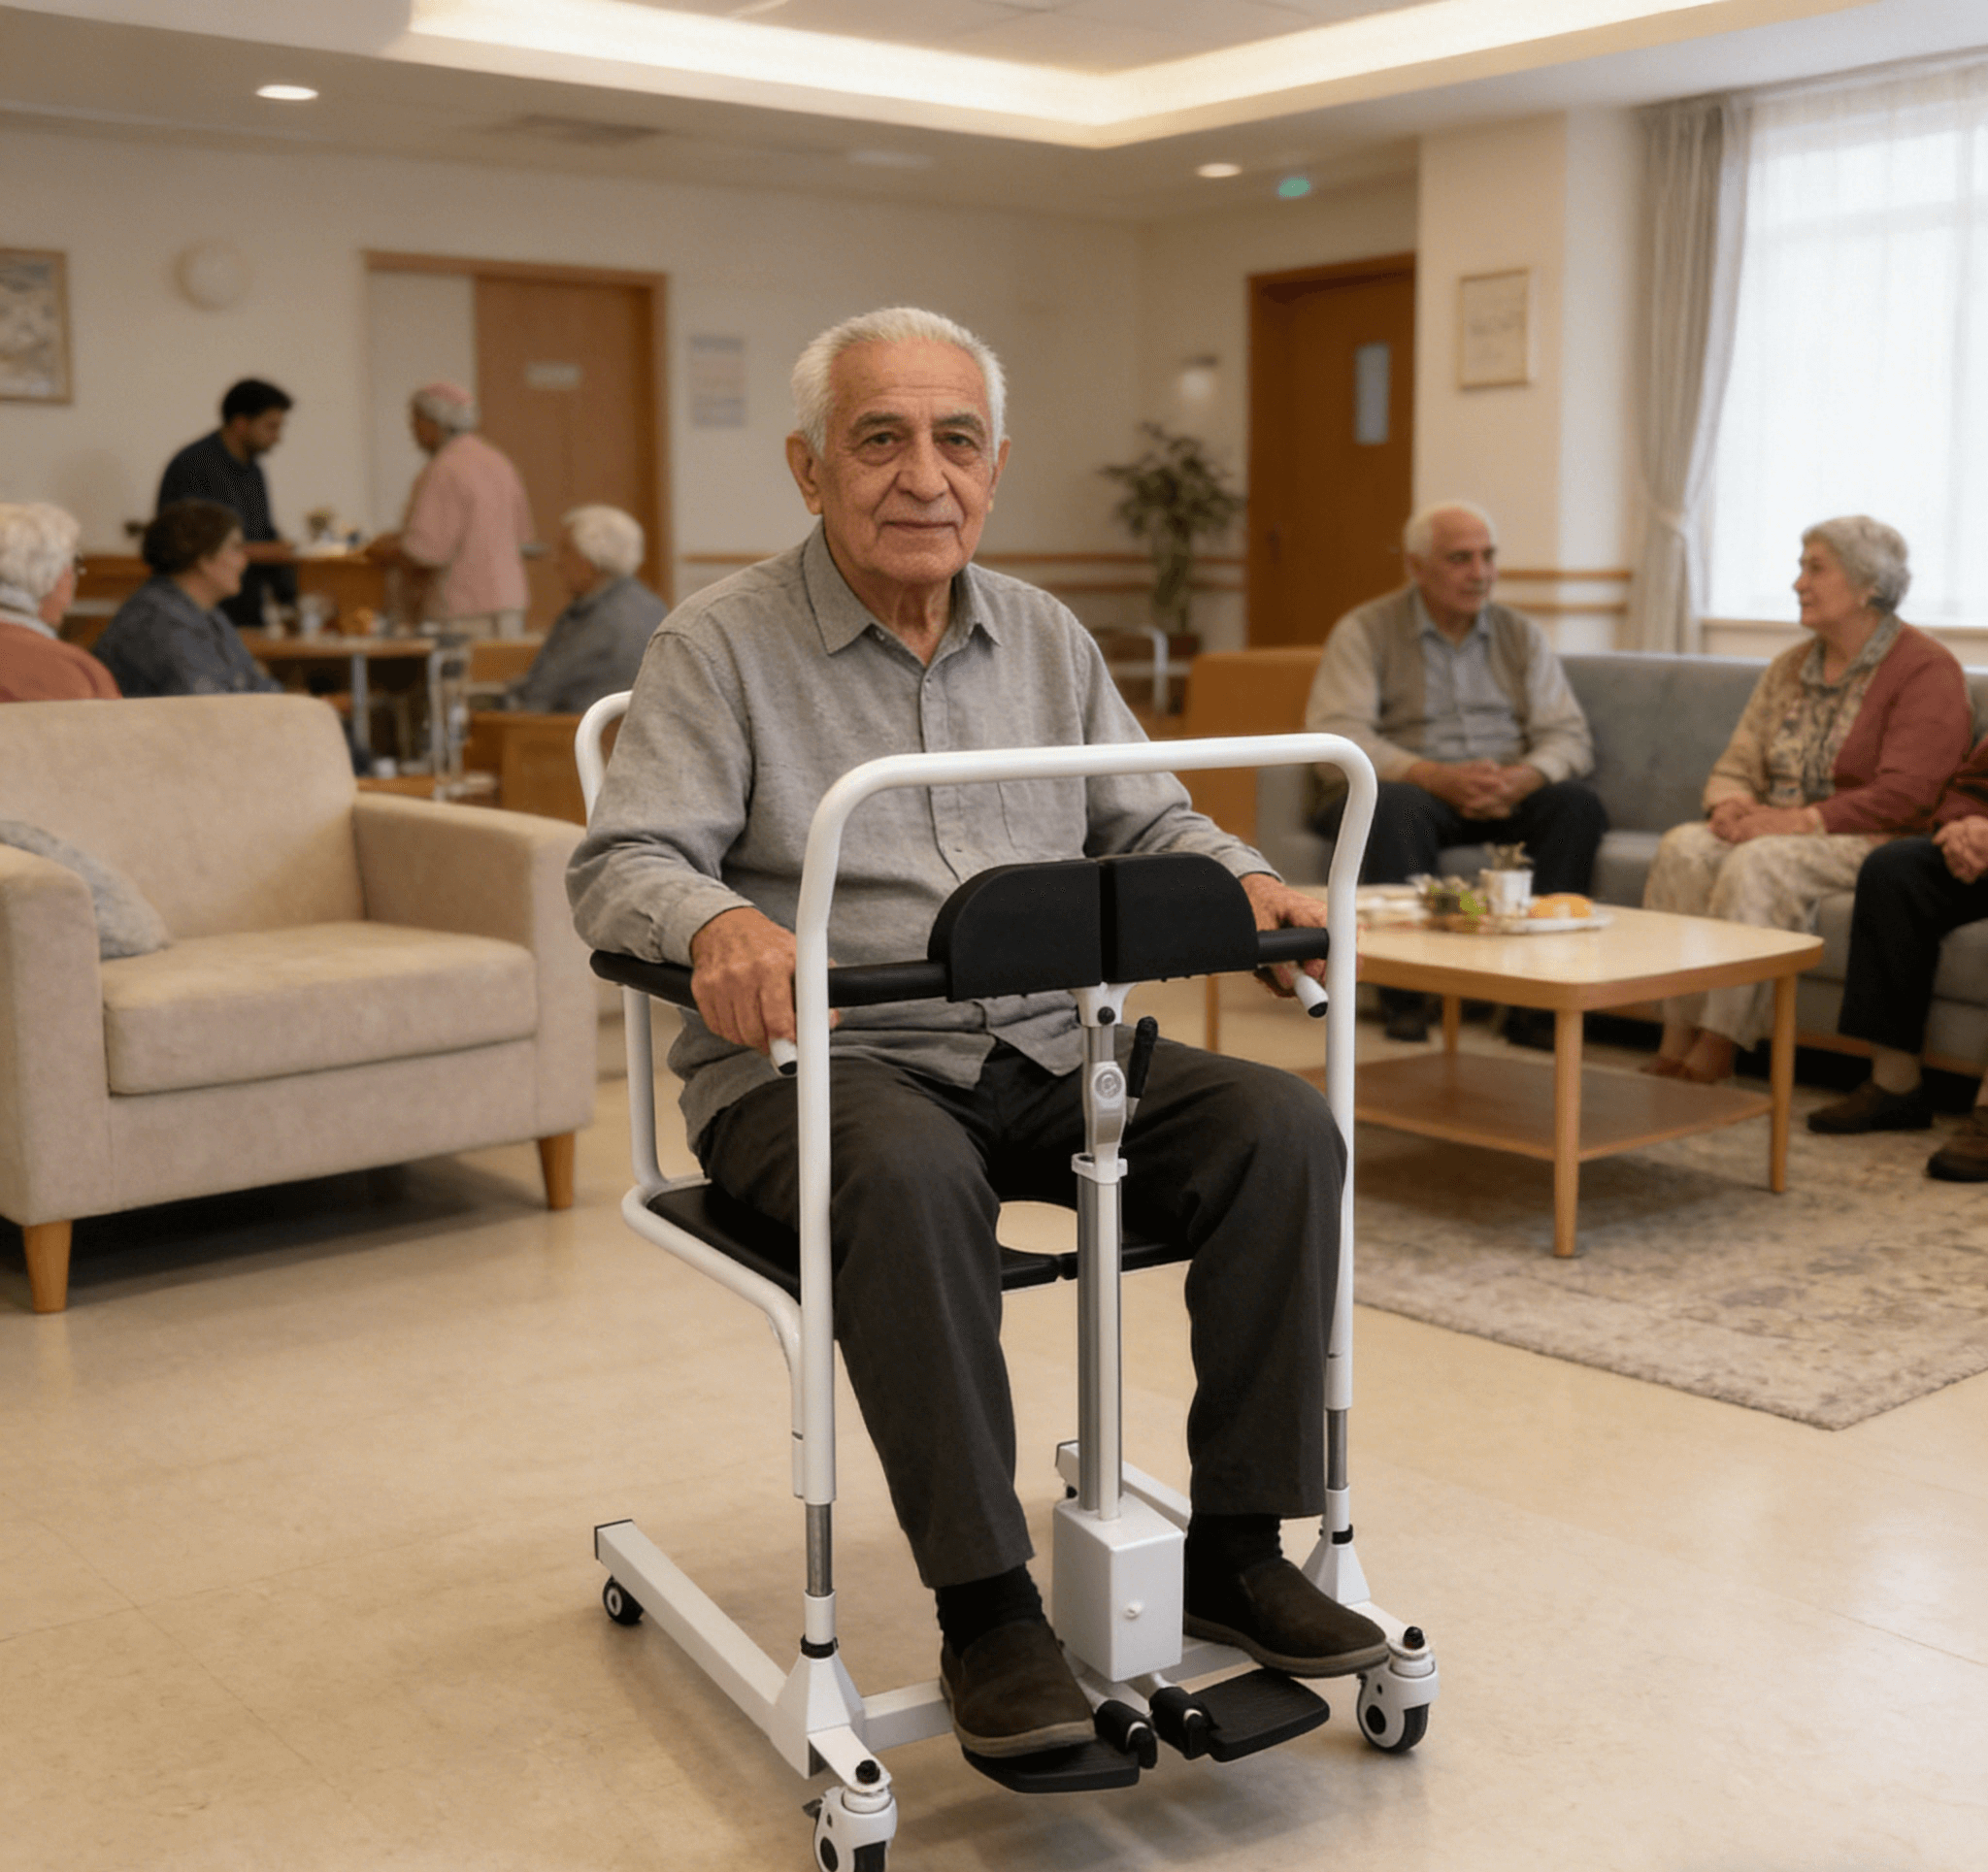
For patients who fully rely on others for transfers, moving from a bed to a chair (such as a wheelchair, sofa, or armchair) is a daily challenge. The combination of a Hoyer Turning Lift and a suitable chair is the gold standard for addressing this challenge. This pairing not only ensures absolute safety for the patient but also completely relieves caregivers from back strain. However, not all chairs are compatible with turning lifts, and following the correct operational process is crucial.
I. Why Use a Hoyer Turning Lift for Chair Transfers?
Patient Safety
Zero fall risk: Eliminates the risk of the patient slipping or falling during the transfer process entirely.
Weight-free support: For patients recovering from surgery (e.g., hip replacement) or with lower limb paralysis, the turning lift ensures the affected limb bears no weight at all, complying with medical instructions.
Caregiver Protection
Avoids the significant pressure on the lower back and potential lifelong strain caused by manually lifting patients.
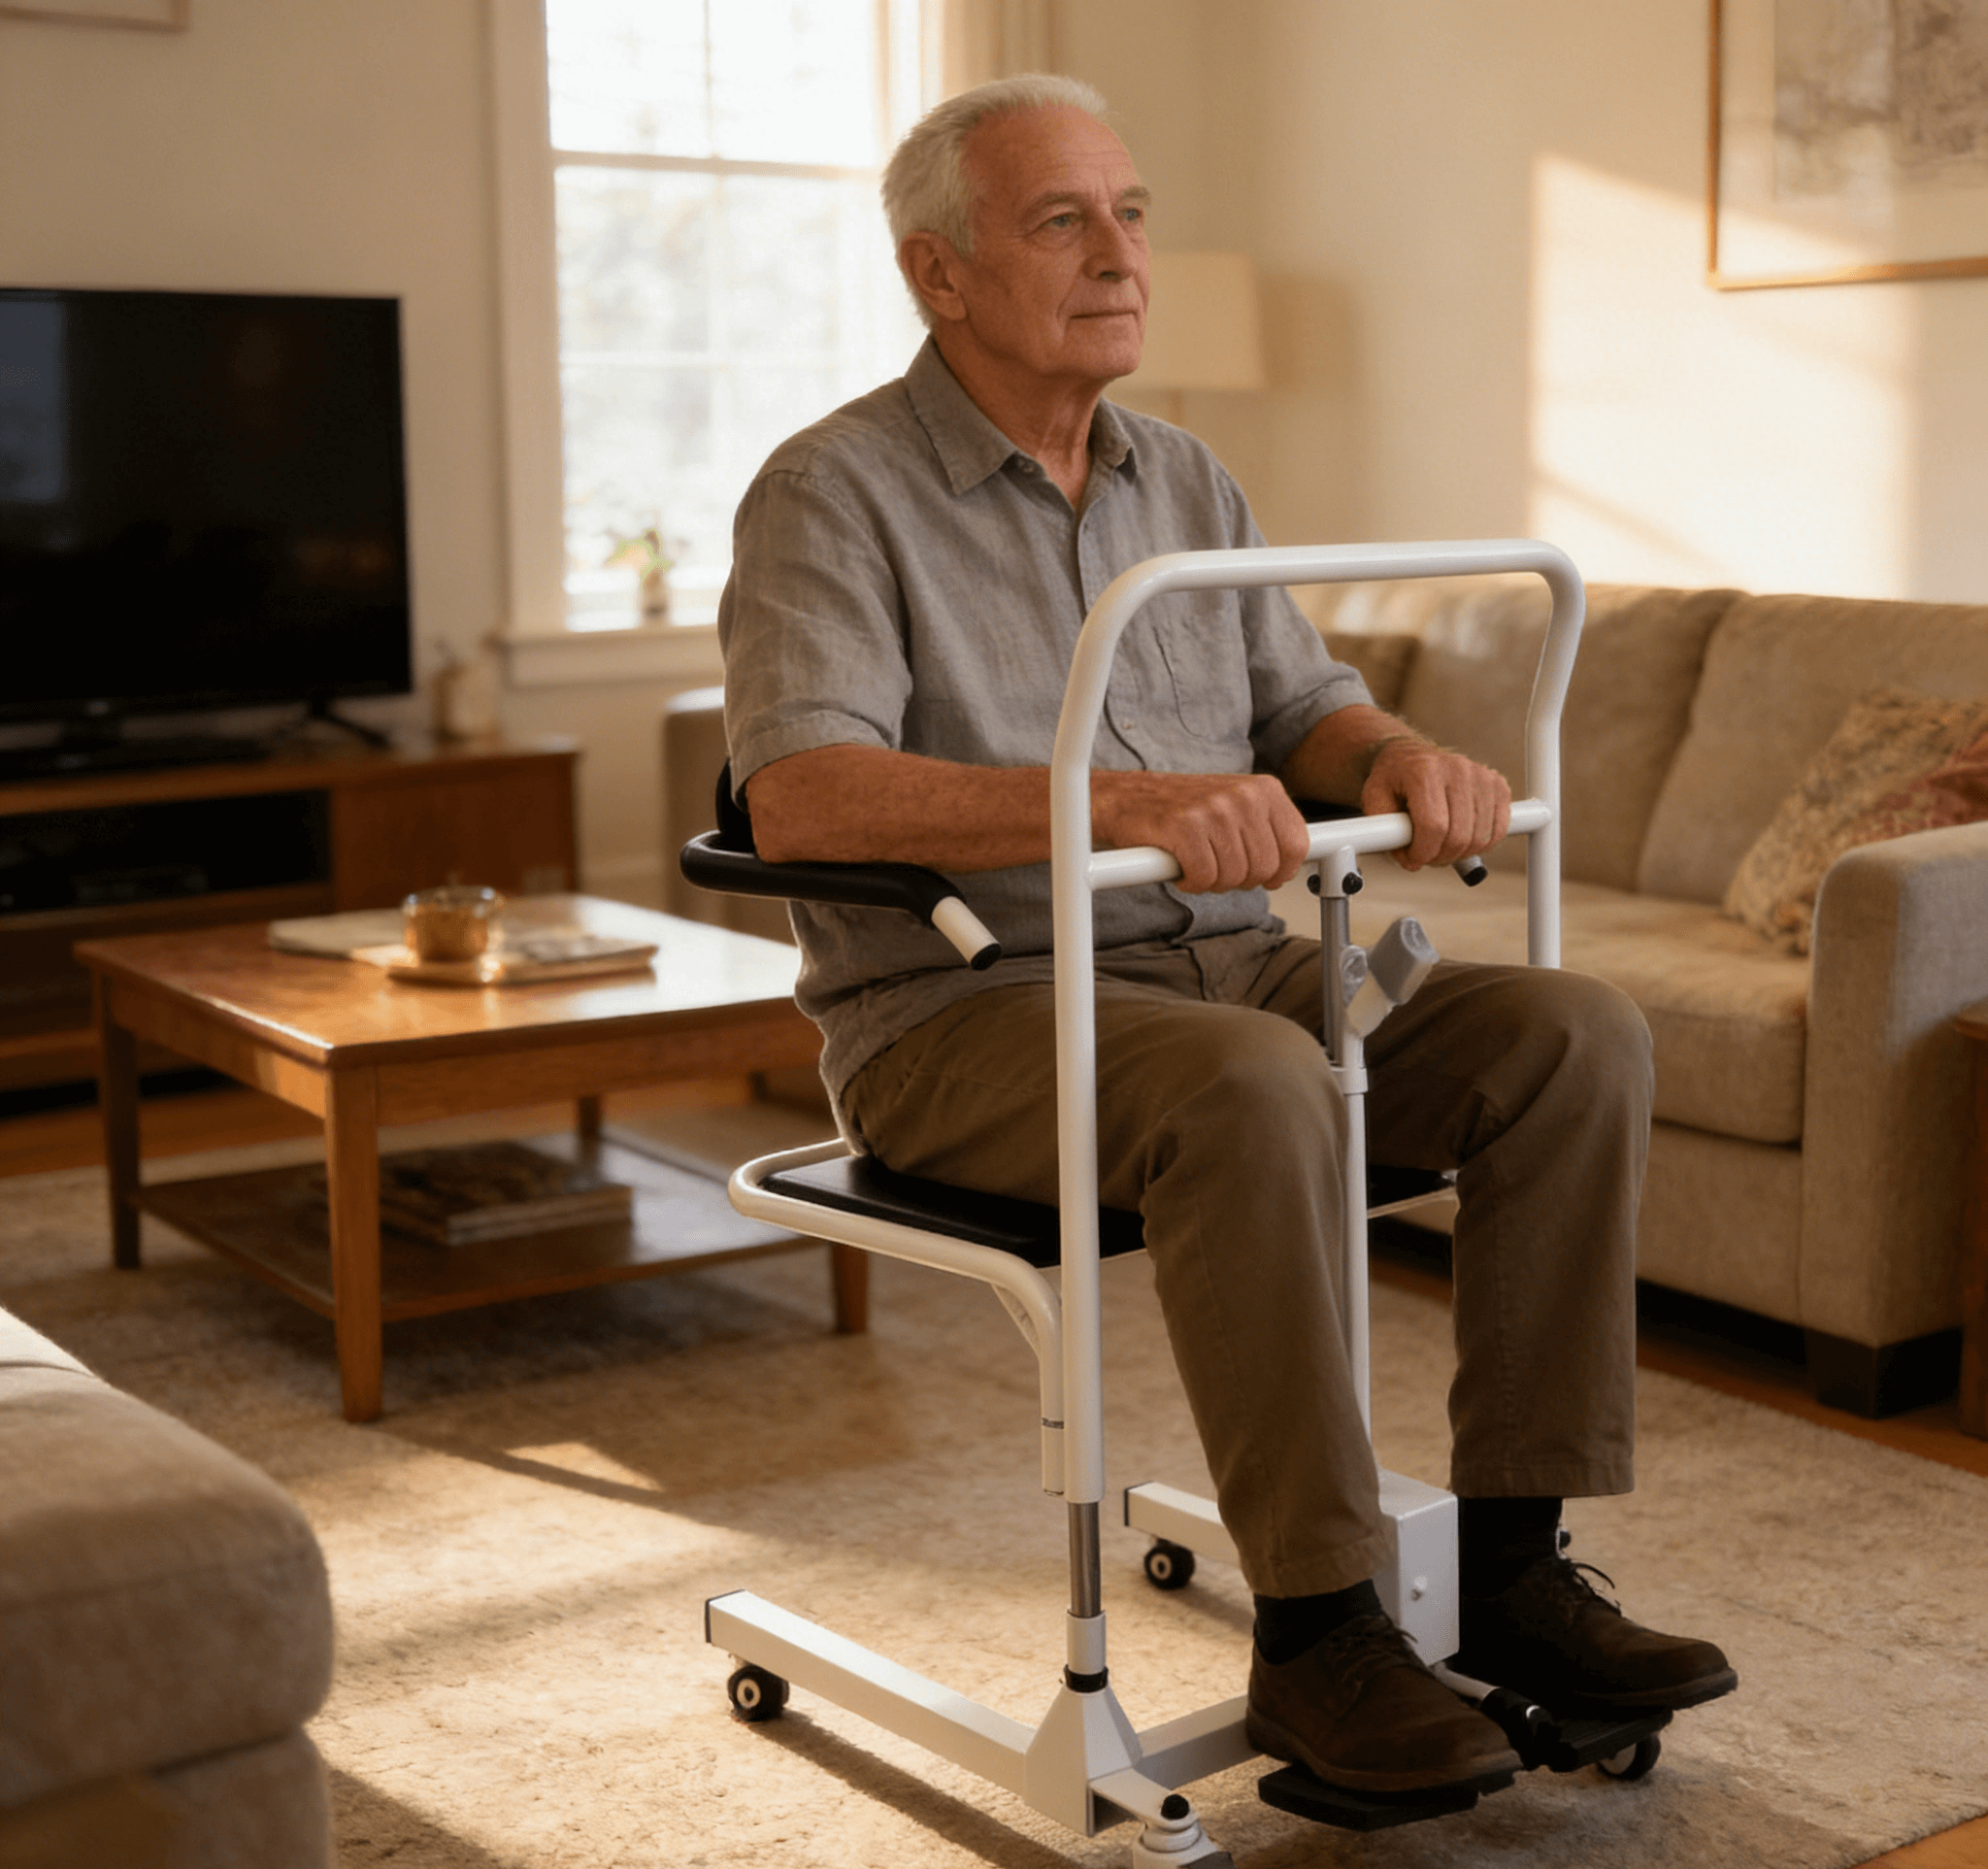
Dignity and Comfort
A smooth, controlled transfer process makes patients feel more secure and dignified compared to strenuous, awkward manual lifting.
II. How to Choose a Chair Compatible with a Hoyer Turning Lift?
A suitable chair is half the success of a safe transfer. Below are the key selection criteria:
1. Stable Base
Absolute priority: The chair must be extremely stable to prevent tipping during transfers.
Avoid: Office chairs with wheels, lightweight folding chairs, or stools with narrow bases.
Recommend: Sturdy wheelchairs (with brakes locked), heavy-duty armchairs, or solid wood dining chairs.
2. Unobstructed Armrests
Issue: Tall, fixed armrests block the smooth placement of the sling and the patient’s legs onto the seat.
Solutions:
Choose chairs with low or removable armrests.
Ensure the lift’s boom has sufficient height and span to "lift the patient over" the armrests and into the seat.
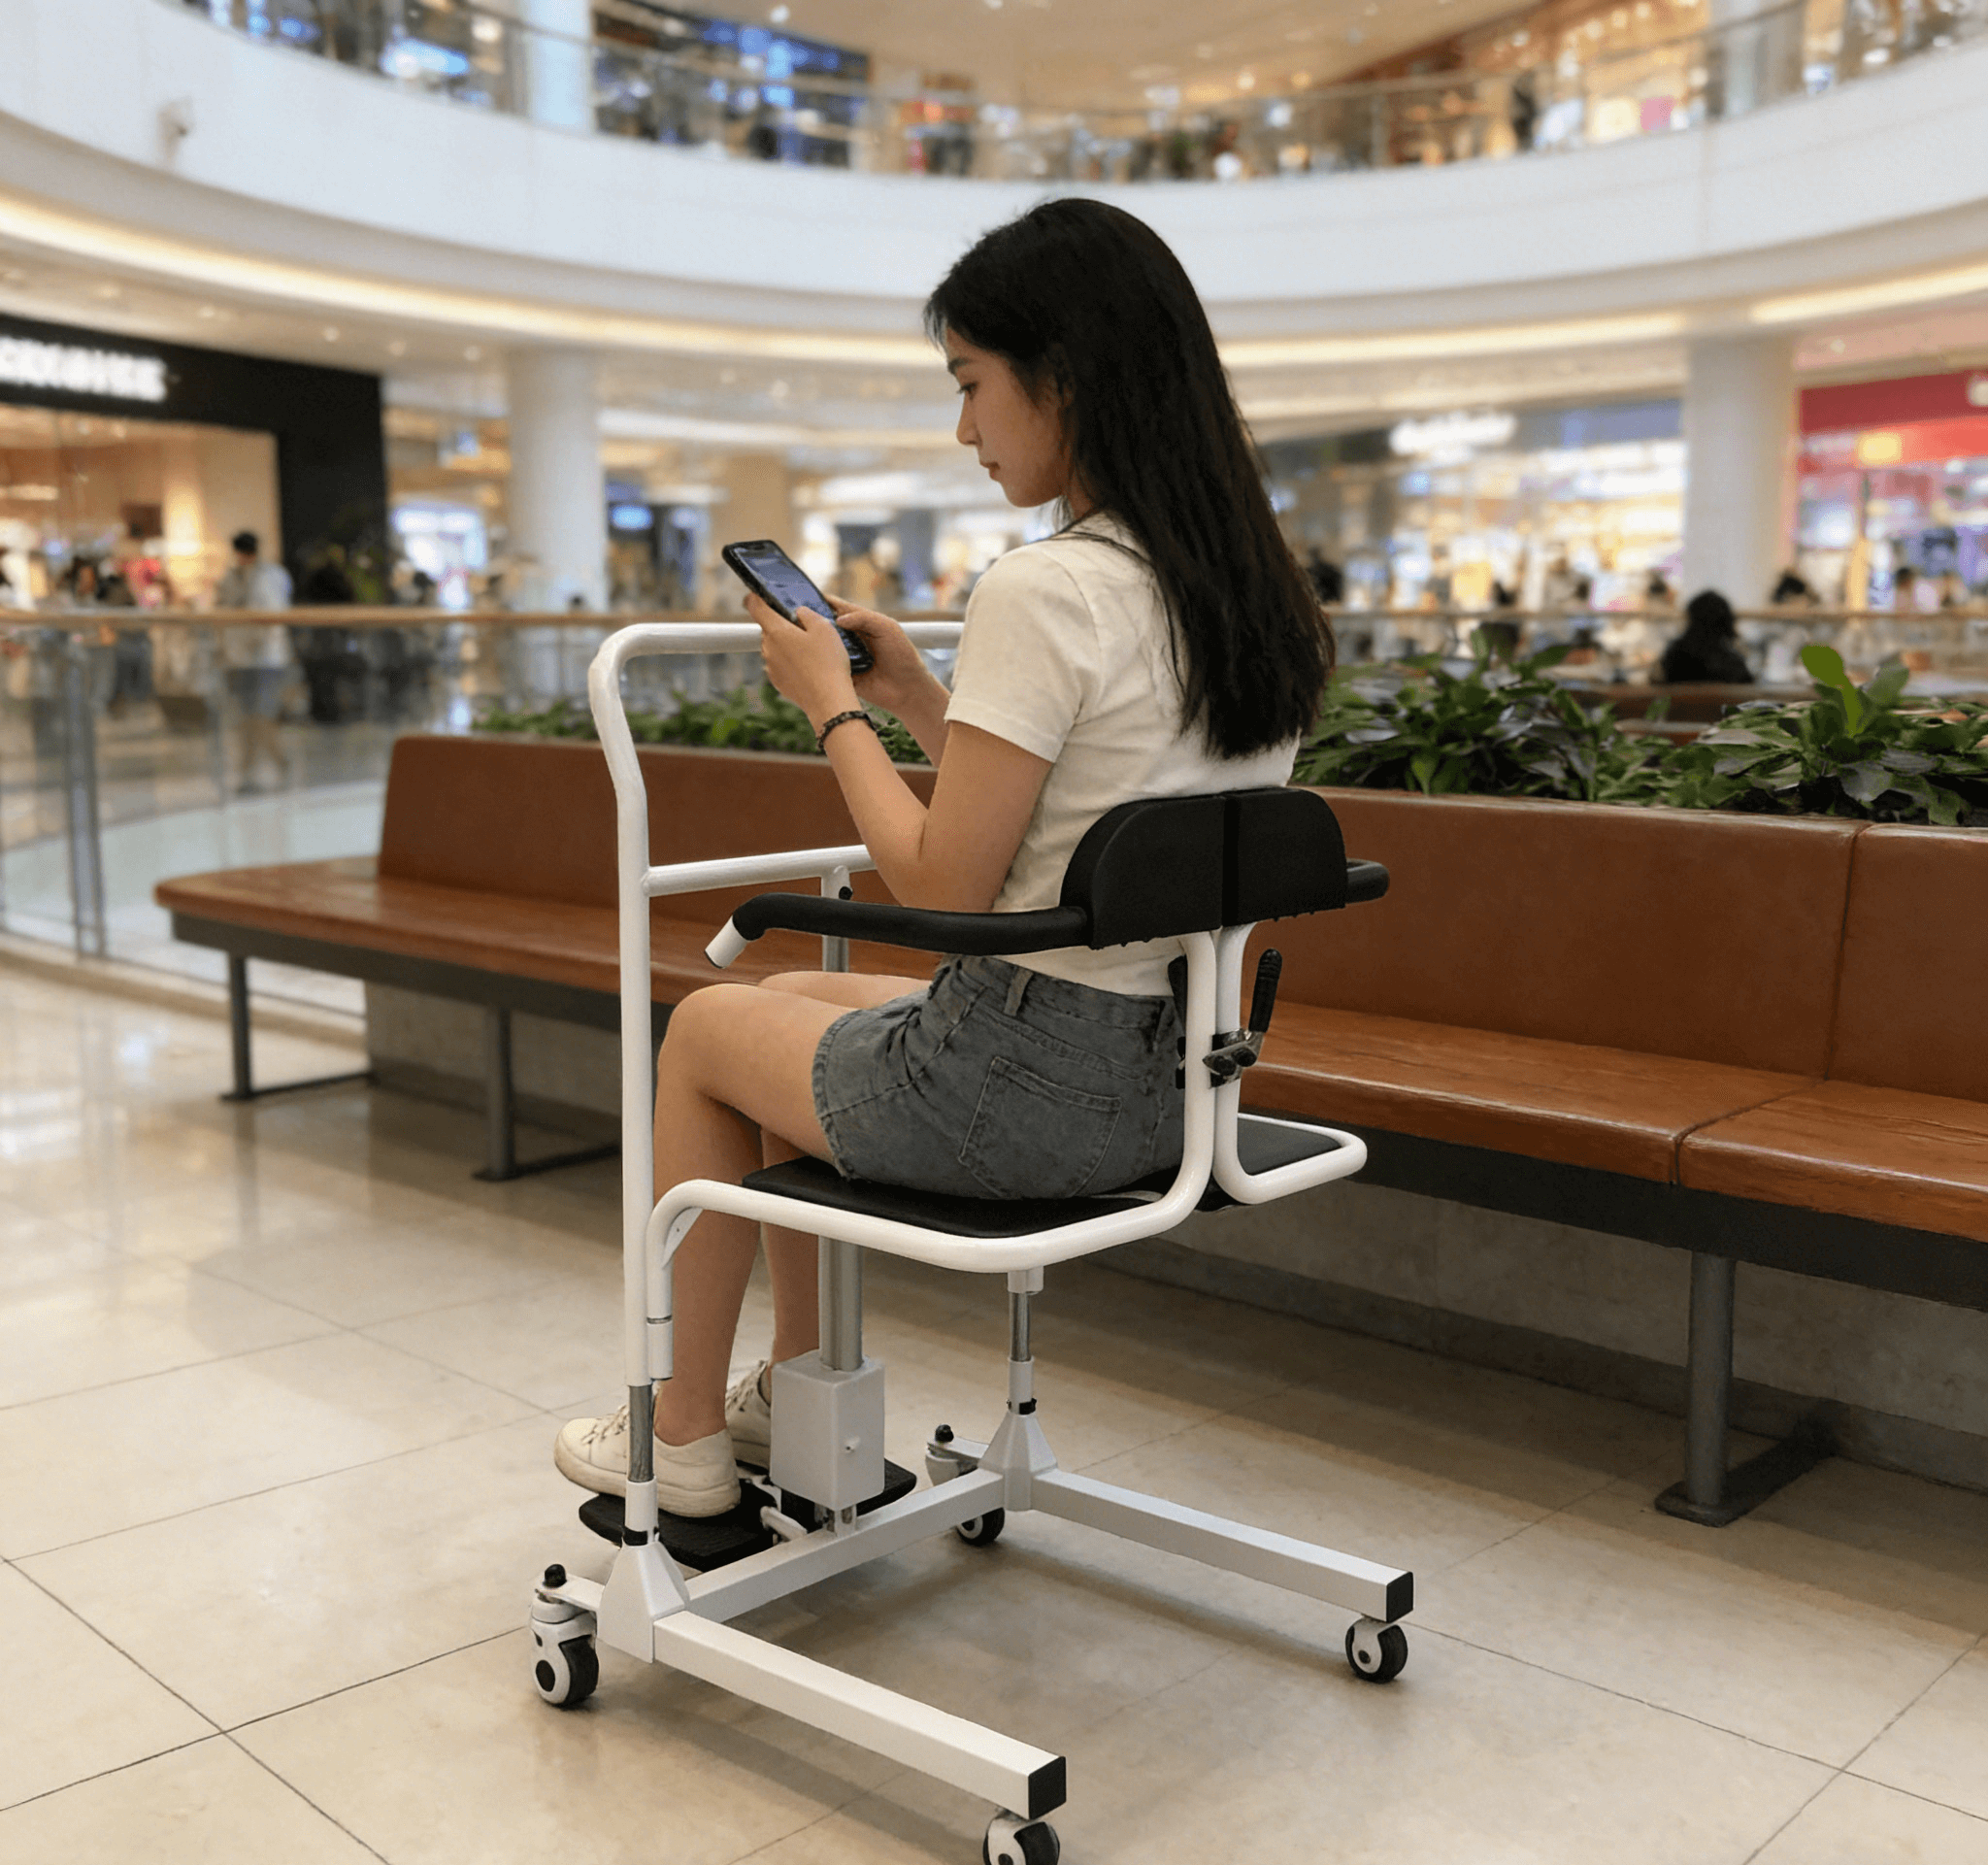
3. Appropriate Seat Height and Depth
Seat height: The height of the chair seat should ideally match the height behind the patient’s knees, allowing their feet to rest flat on the floor naturally when lowered into the chair.
Seat depth: The seat should be deep enough to support the thighs but not so deep that it presses against the back of the knees.
4. Sturdy Backrest
The backrest must withstand the force of the patient leaning back without loosening or collapsing.
Ideal Choice: A sturdy chair with low or no armrests and an appropriate seat height is the best match.
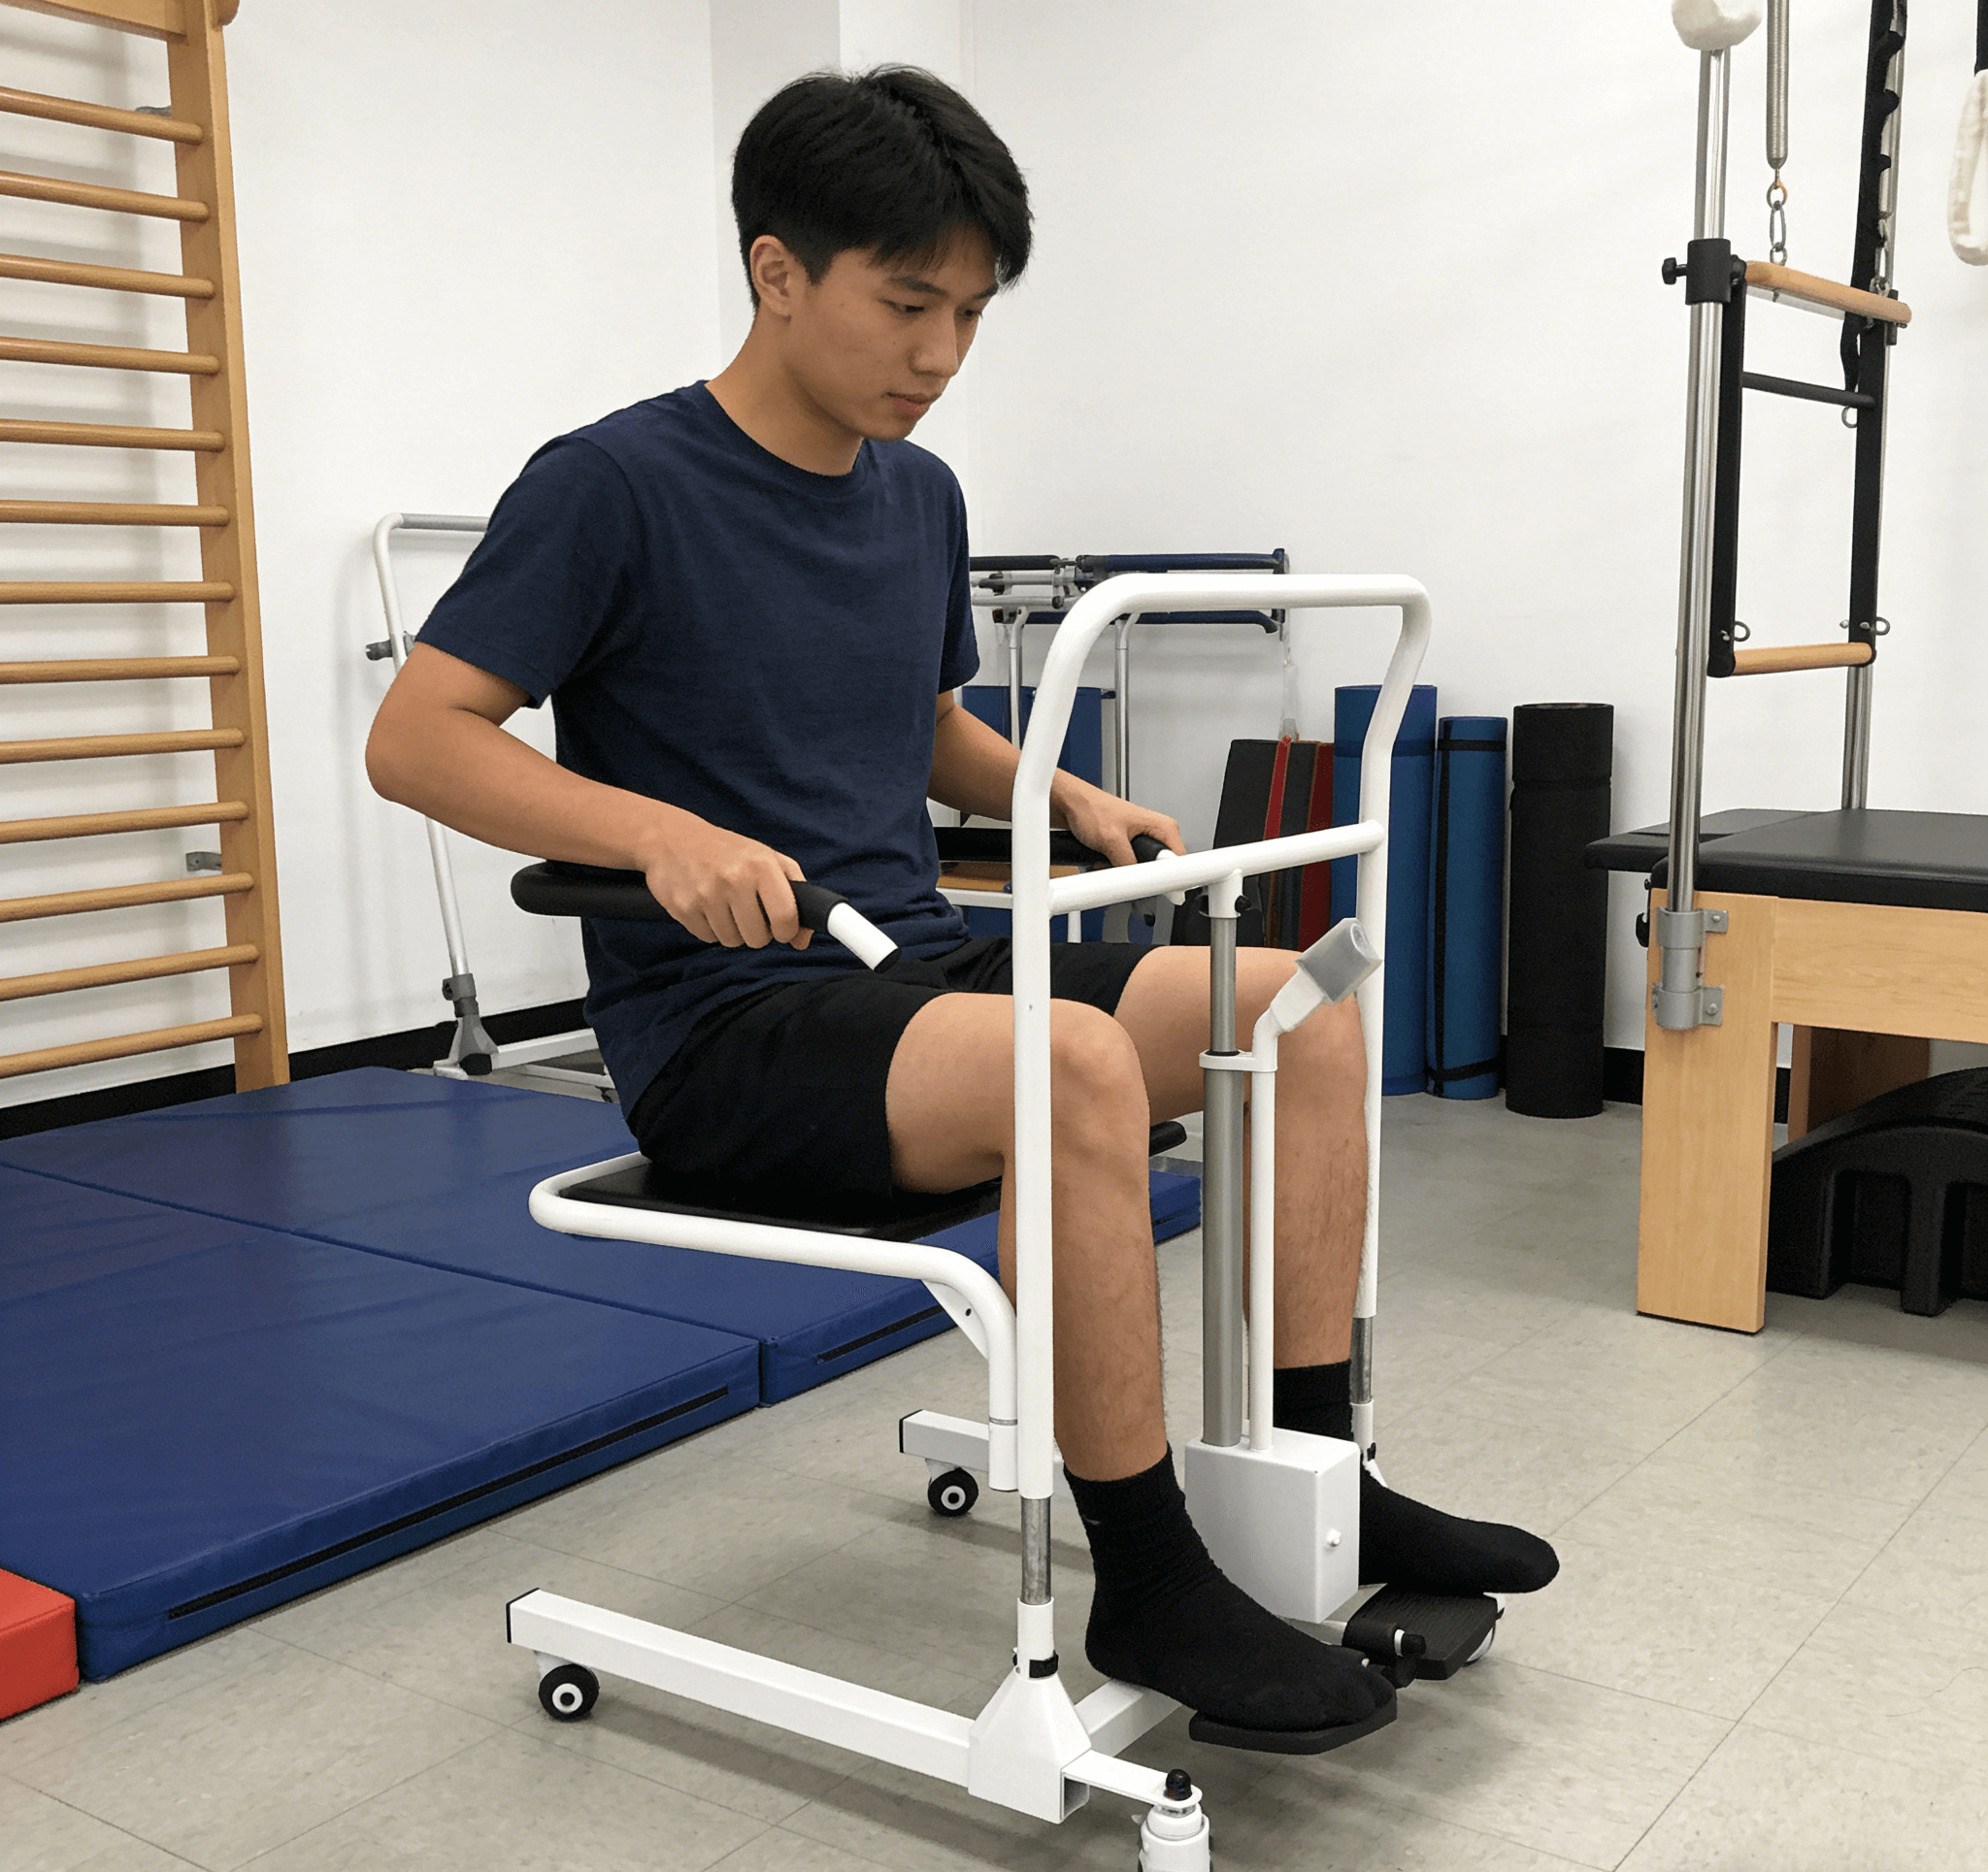
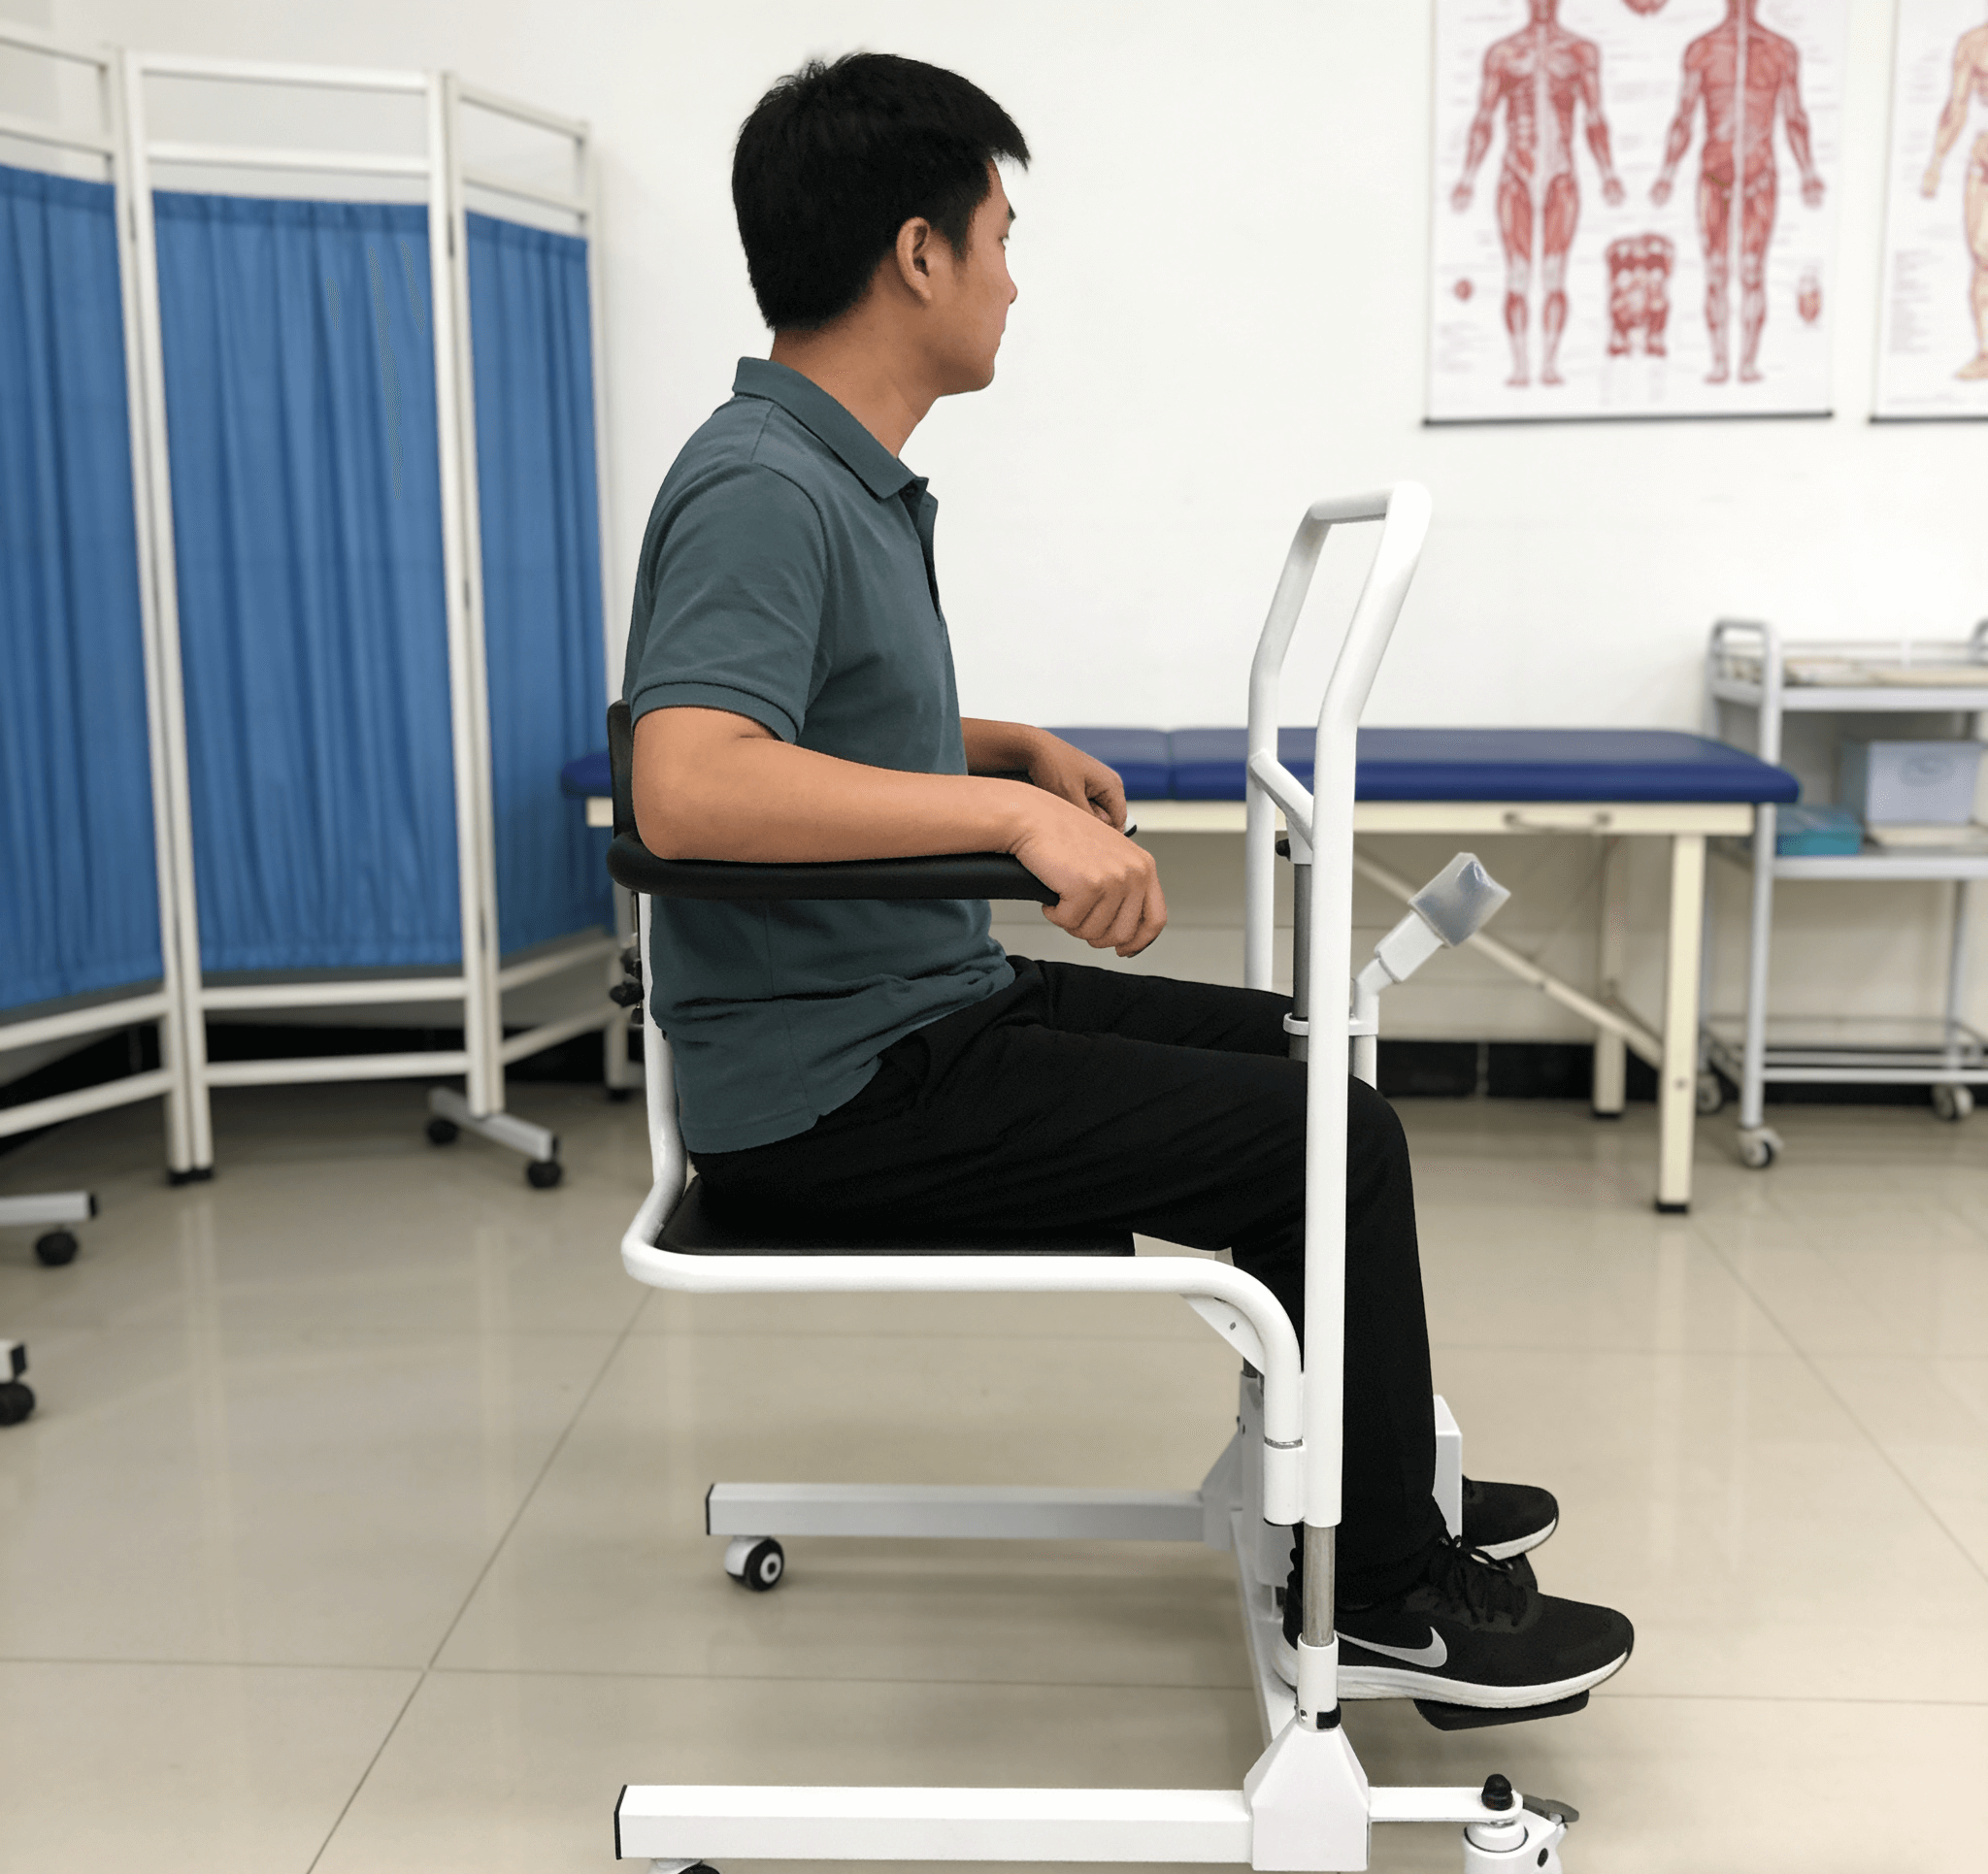
III. Step-by-Step Guide to Safe Transfer Operations
Preparation Phase
Inspect equipment: Confirm all components of the turning lift are in good condition, and the sling is clean and undamaged.
Arrange the environment: Clear obstacles along the transfer path.
Position the chair: Place the selected chair firmly beside the bed at an angle of approximately 30–45 degrees, keeping it as close to the bed as possible. Lock all brakes (if using a wheelchair).
Prepare the patient: Secure the sling on the patient, ensuring all connections are firm.
Transfer Phase
Move the turning lift: Position the lift beside the bed so its boom is directly above the patient.
Connect and lift: Attach the sling’s chains or straps to the lift’s hooks. Operate the lift slowly to hoist the patient smoothly off the bed.
Reposition: Gently move the lift to suspend the patient directly above the chair.
Lower slowly: Lower the patient very gradually while the caregiver uses one hand to support the patient’s shoulders and back, guiding them into a sitting position.
Ensure proper placement: Confirm the patient’s hips are fully seated at the deepest part of the chair and their back is pressed firmly against the backrest.
Disconnect: Once the patient is 坐稳,release the hooks and remove the sling’s shoulder straps from under the patient’s arms (the seat pad portion can remain under the patient if needed).
IV. Common Challenges and Solutions
Challenge 1: The chair has tall, fixed armrests
Solution: Use the "over-the-rail method." Lift the patient high enough so their feet clear the armrests, then move them horizontally above the seat before lowering slowly.
Challenge 2: The patient has stiff muscles or spasms
Solution: Conduct the transfer even more slowly and smoothly. Place a small soft pillow under the patient’s knees to help them relax.
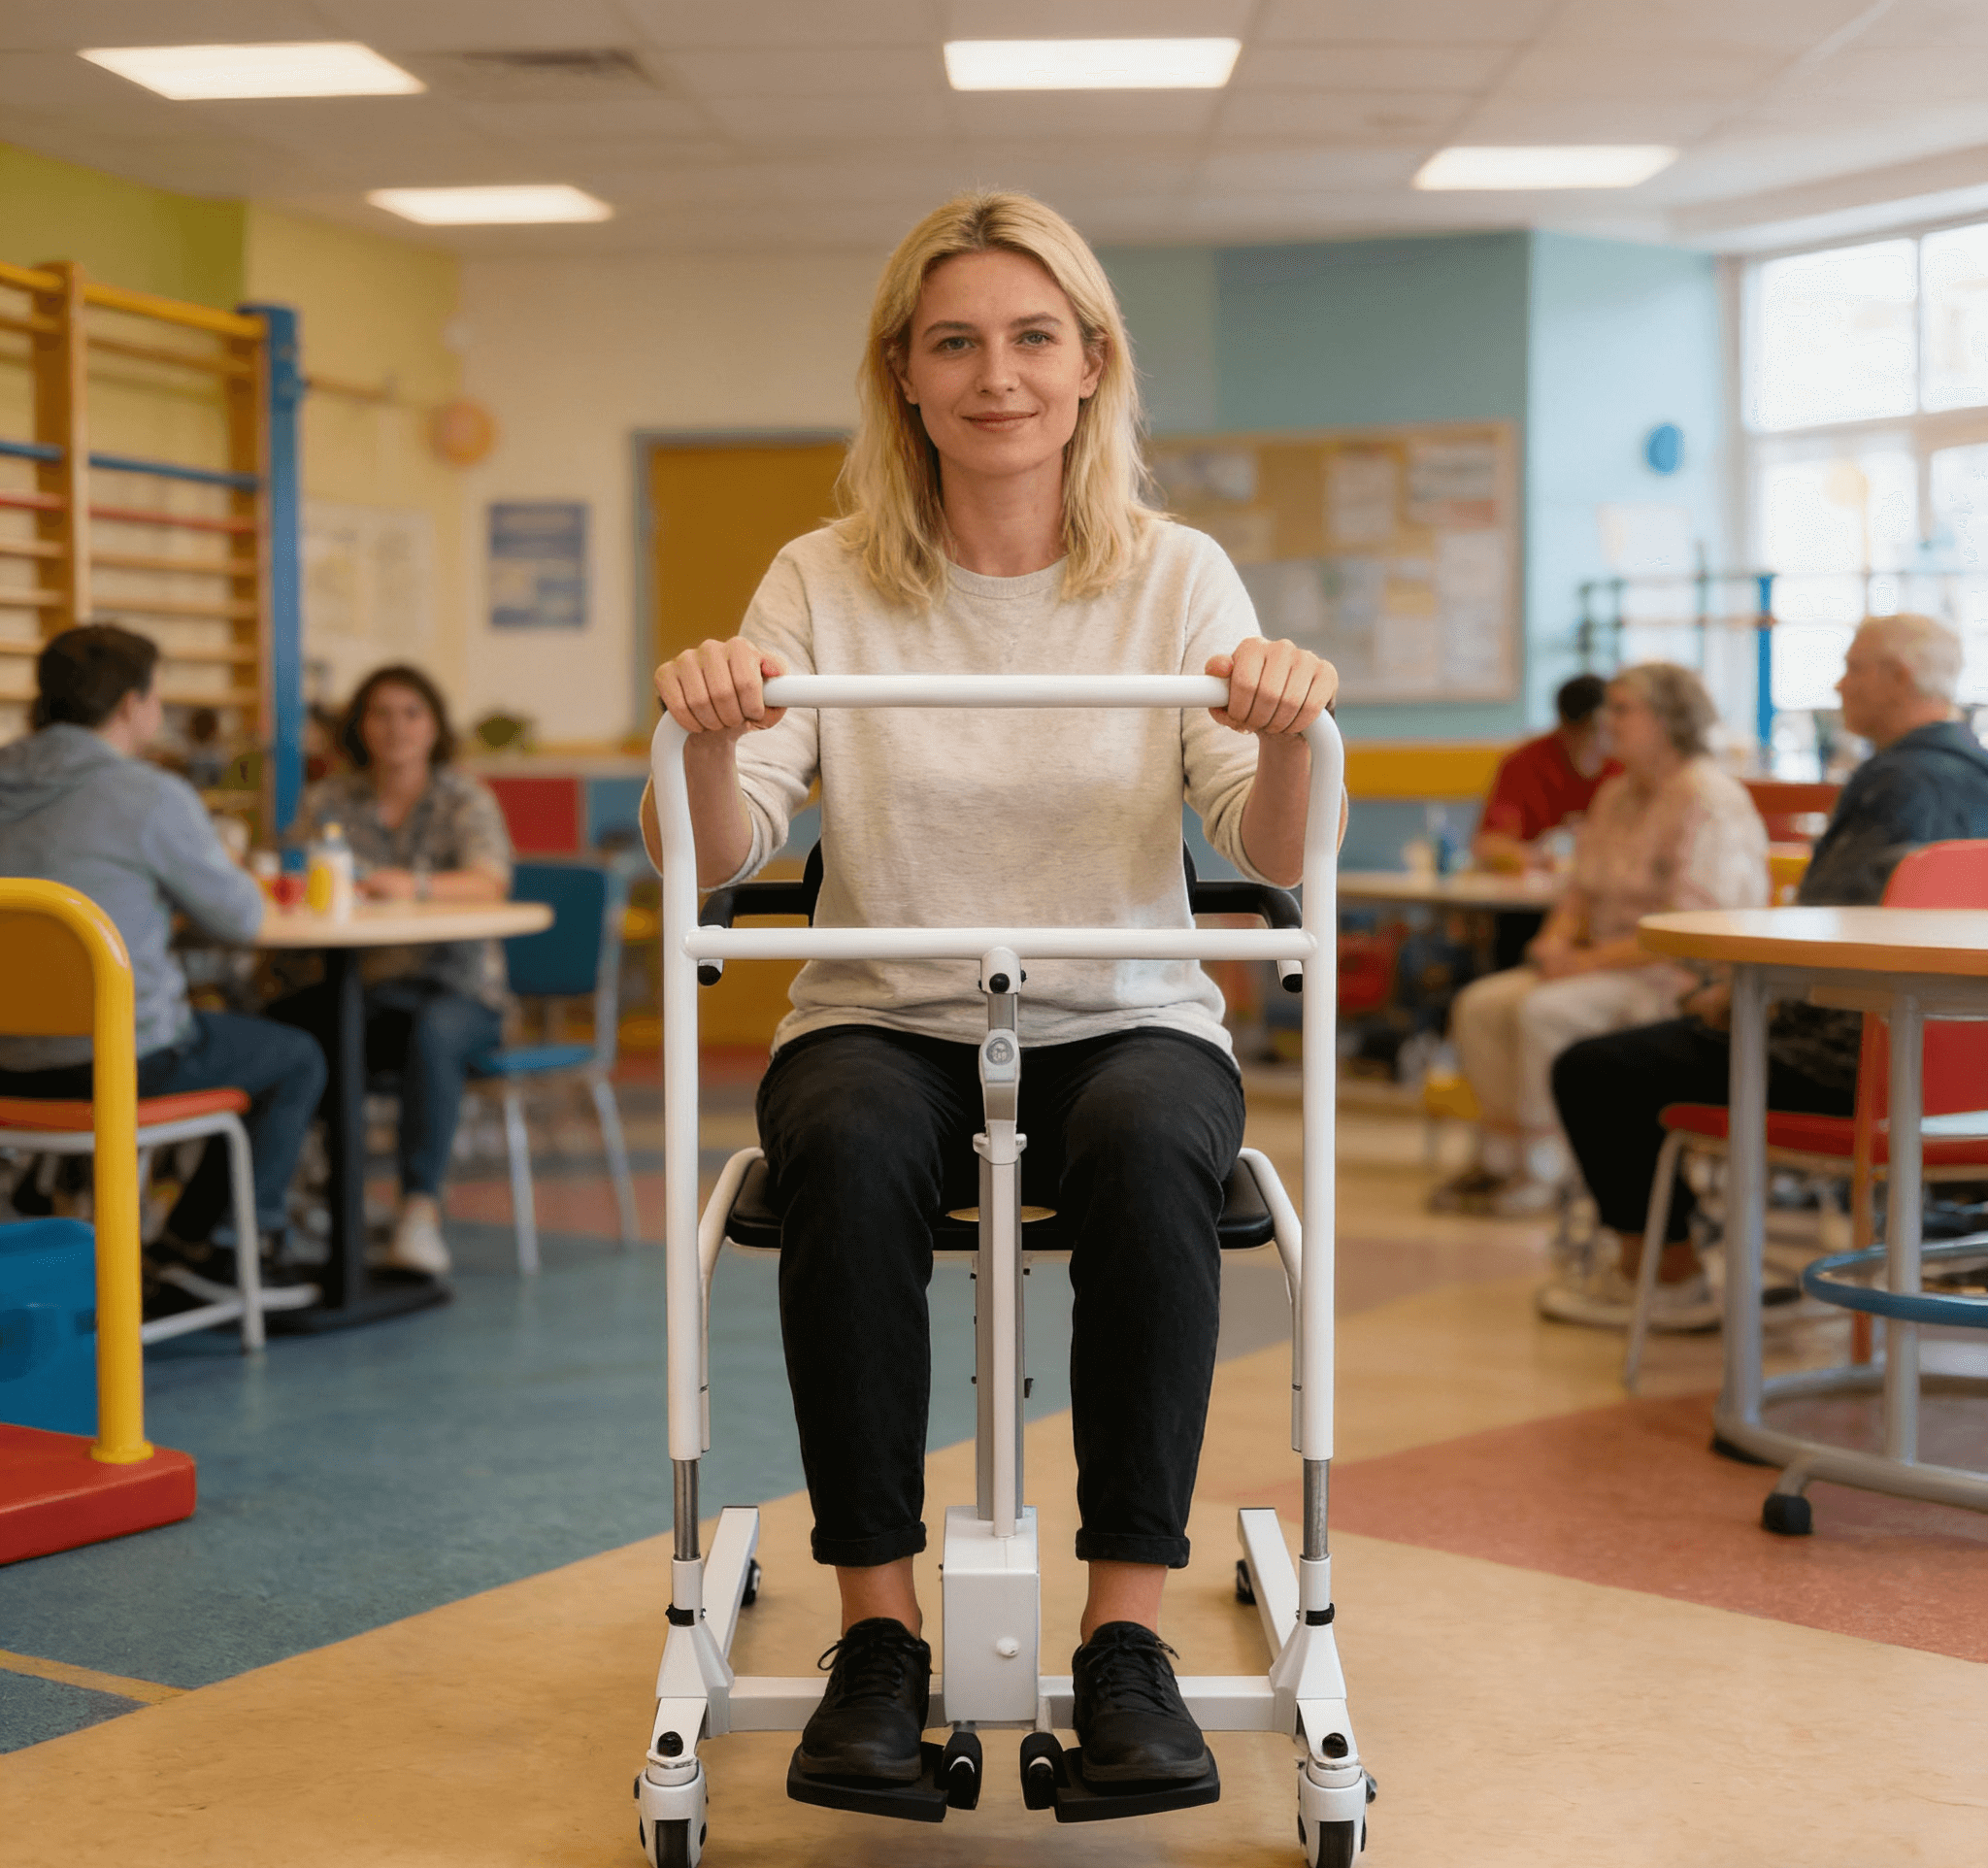
V. Key Reminders for Caregivers
Never leave the patient unattended while they are suspended in the turning lift.
Before using the lift for the first time, be sure to receive on-site training from an occupational therapist or professional.
Inspect the equipment regularly, especially the sling and chains/straps, for signs of wear.
Maintain communication: Inform the patient at each step of the transfer to help them mentally prepare and reduce fear.
Conclusion
A Hoyer Turning Lift and a carefully selected chair together form the foundation of a safe, sustainable home care setup. This combination transforms the most risky and physically demanding part of care into a controlled, effortless process. Investing in this solution is not only a commitment to the patient’s safety but also a long-term investment in the caregiver’s own health. Remember, safe and efficient transfers start with the right equipment and succeed through standardized operations.