Category: Patient Lifts
Posted by 2025-12-16 10:12
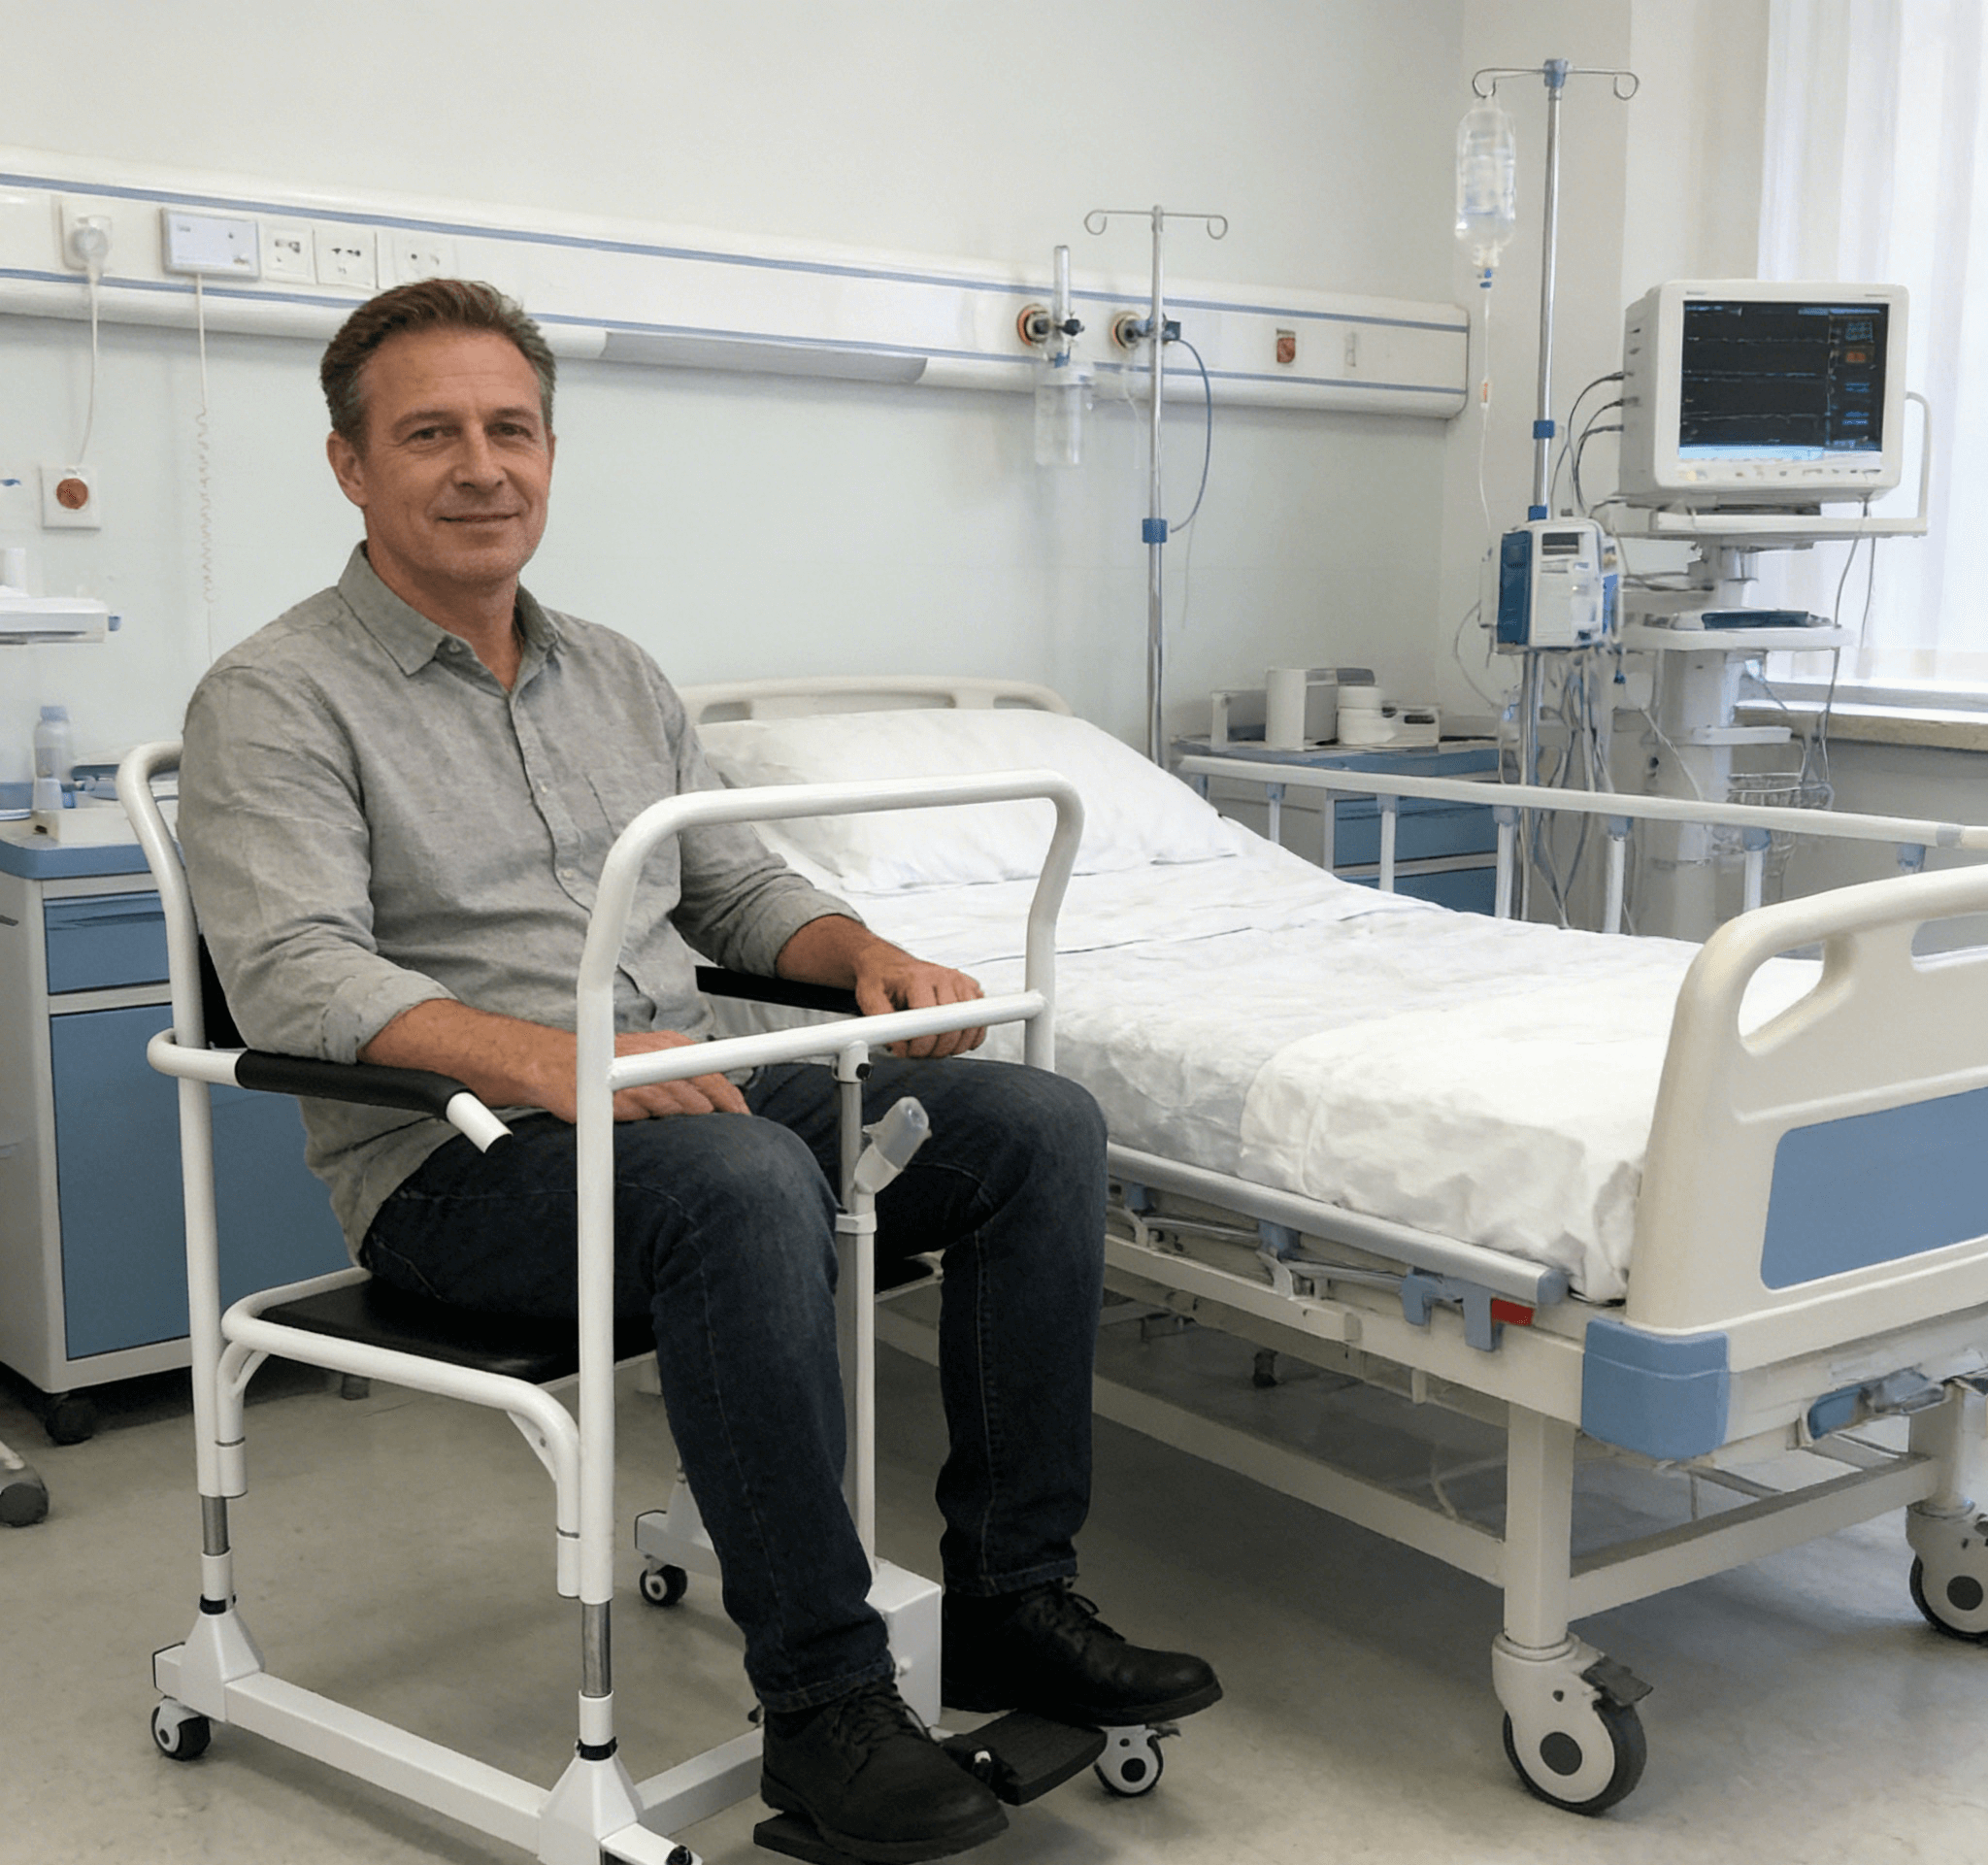
hoyer lift demonstration
Hoyer Lift Demonstration: Your Practical Course to Safety and Confidence
Watching or participating in a hands-on demonstration of Hoyer Lift operation is far more effective than reading a 100-page manual. A professional demonstration does not merely showcase the device’s functions; it is a hands-on tutorial and a crucial step in building muscle memory for safe operation. Whether you aim to obtain certification or prepare for home care, understanding the content of the demonstration is essential.
Why Is a Demonstration Indispensable?
Transform theory into practice: Manuals are two-dimensional, while demonstrations are three-dimensional. You can see, touch, and operate the actual device.
Prevent injuries: Incorrect operation is the primary cause of user falls and caregiver back injuries. Demonstrations 直观地 (intuitively) show correct and incorrect examples of safe operation.
Build confidence: For new caregivers, using a lift for the first time can be intimidating. A successful demonstration can greatly alleviate anxiety and boost confidence.
Personalized guidance: Professional demonstrators can provide customized advice and tips based on your specific home environment and the user’s conditions.
Core Content of a Professional Demonstration
A comprehensive demonstration typically covers the following four key phases:
Phase 1: Equipment Introduction and Safety Inspection
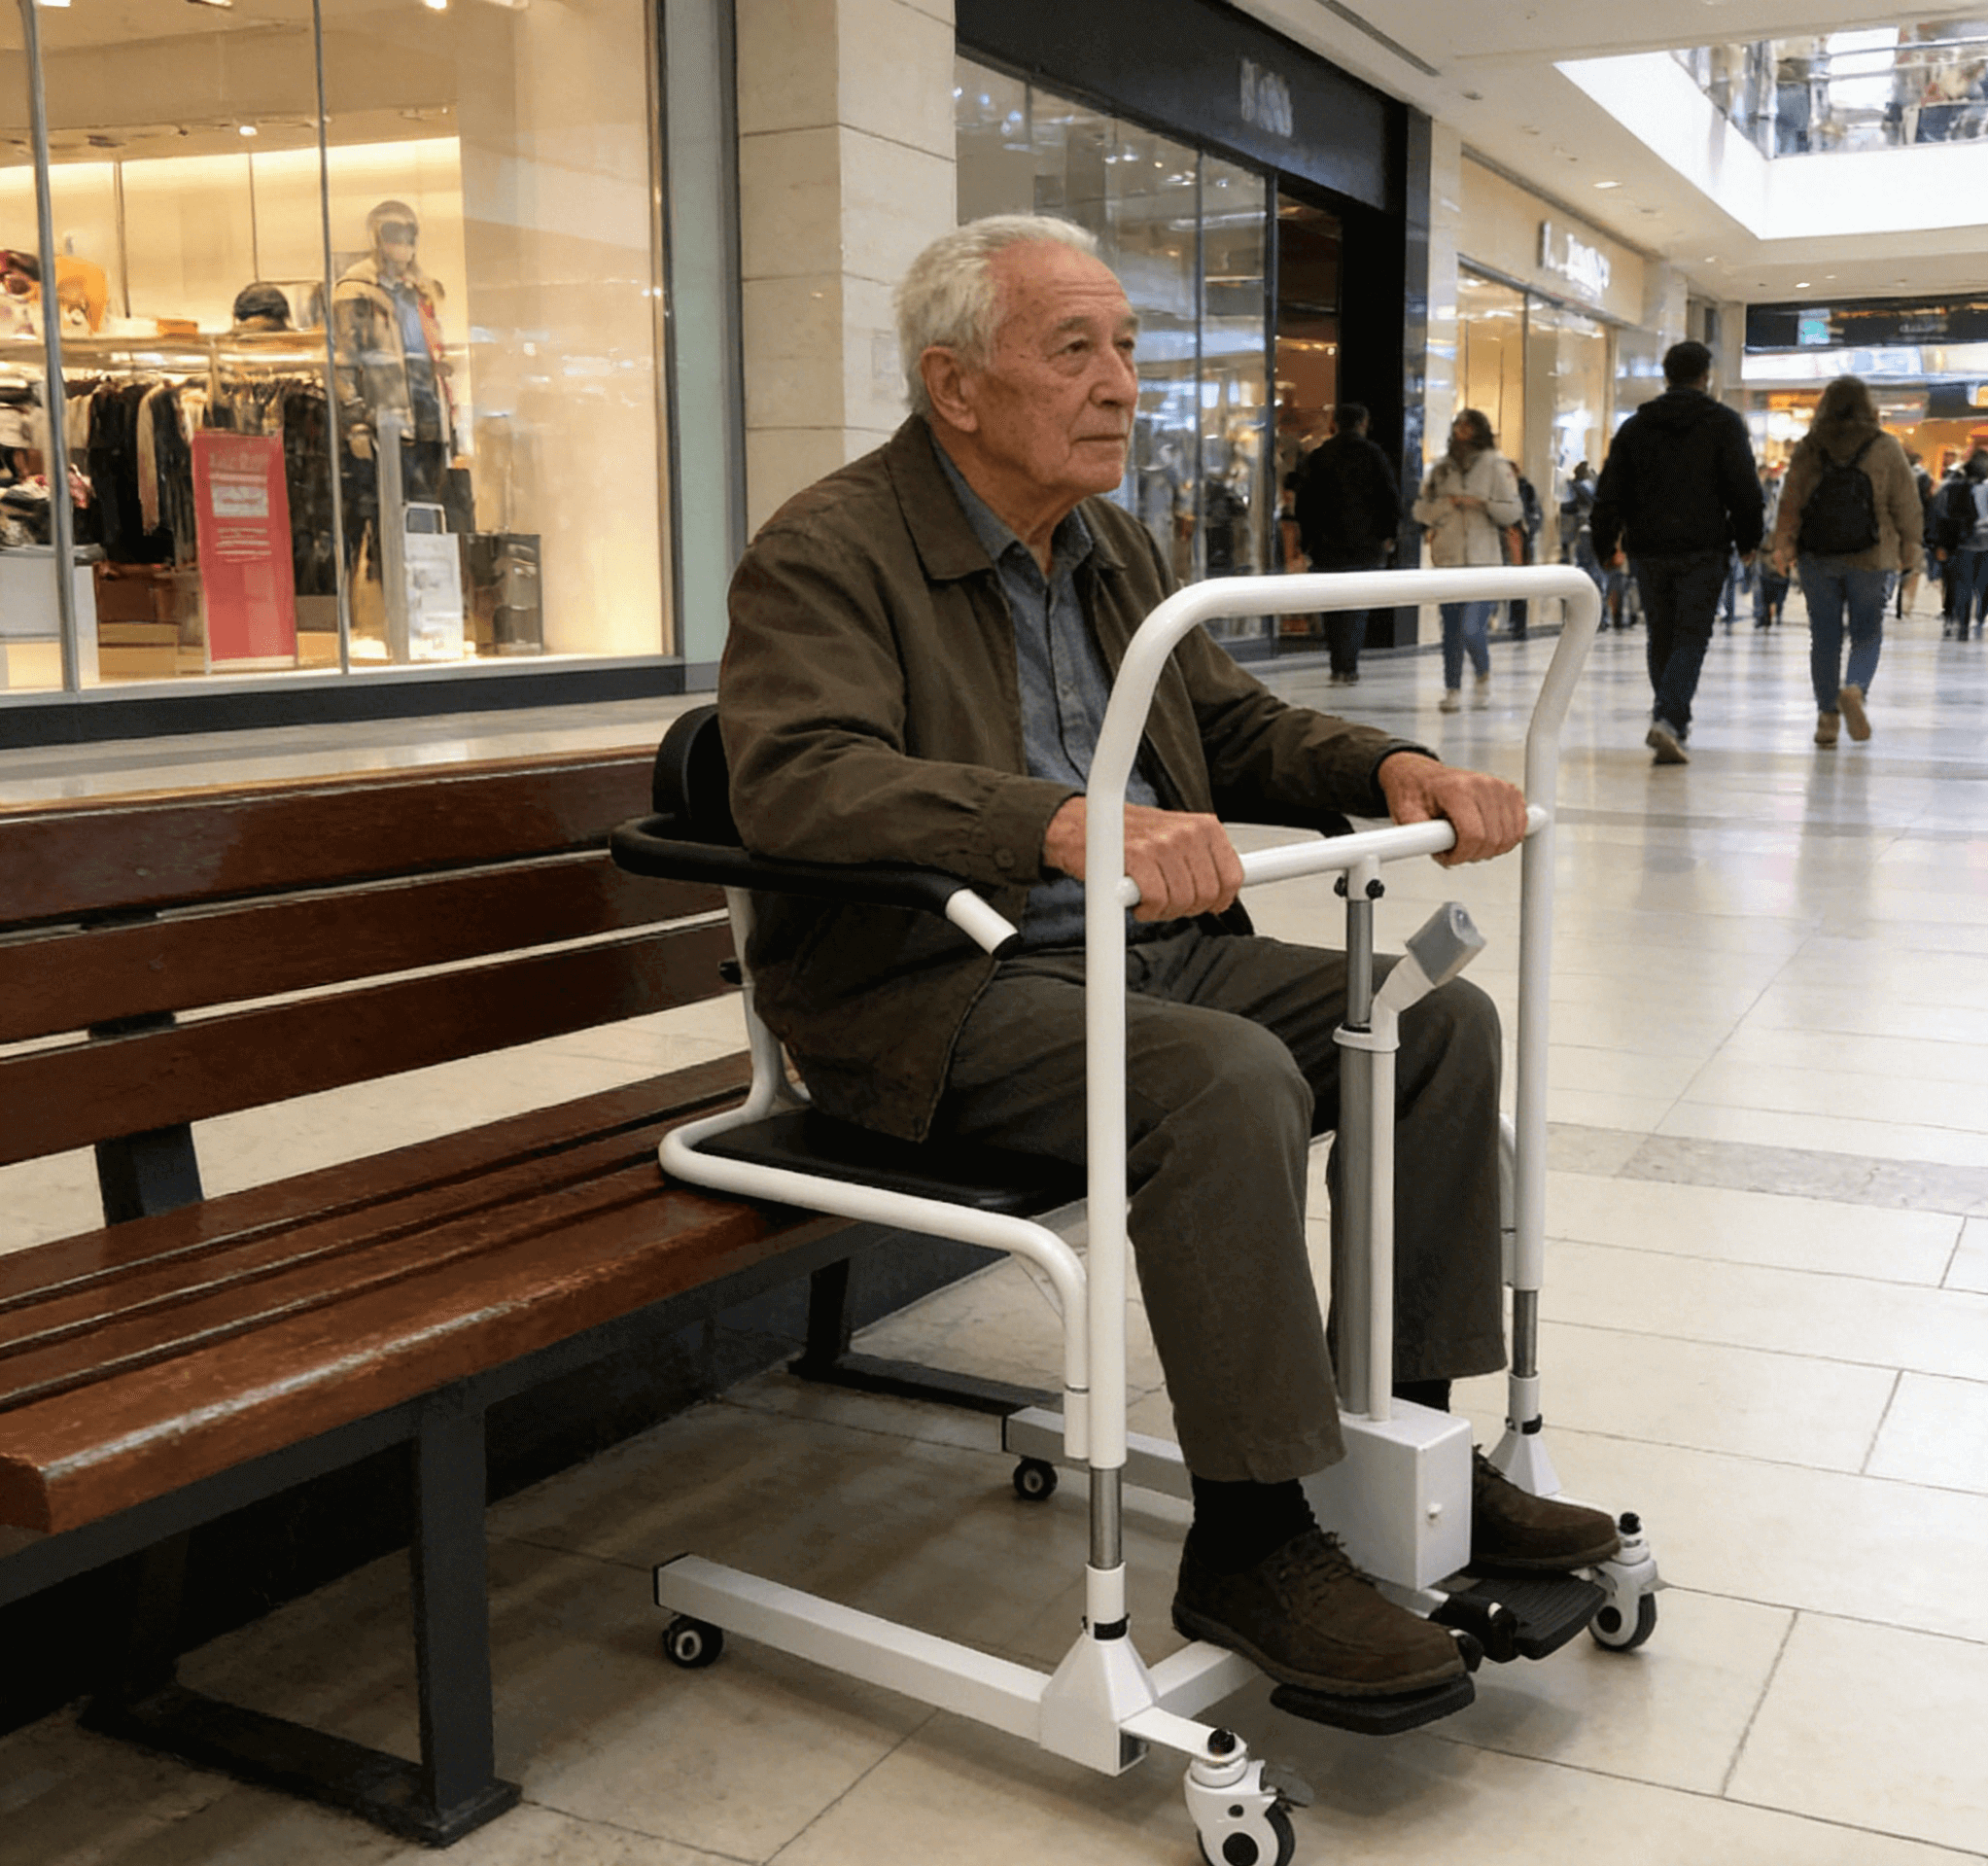
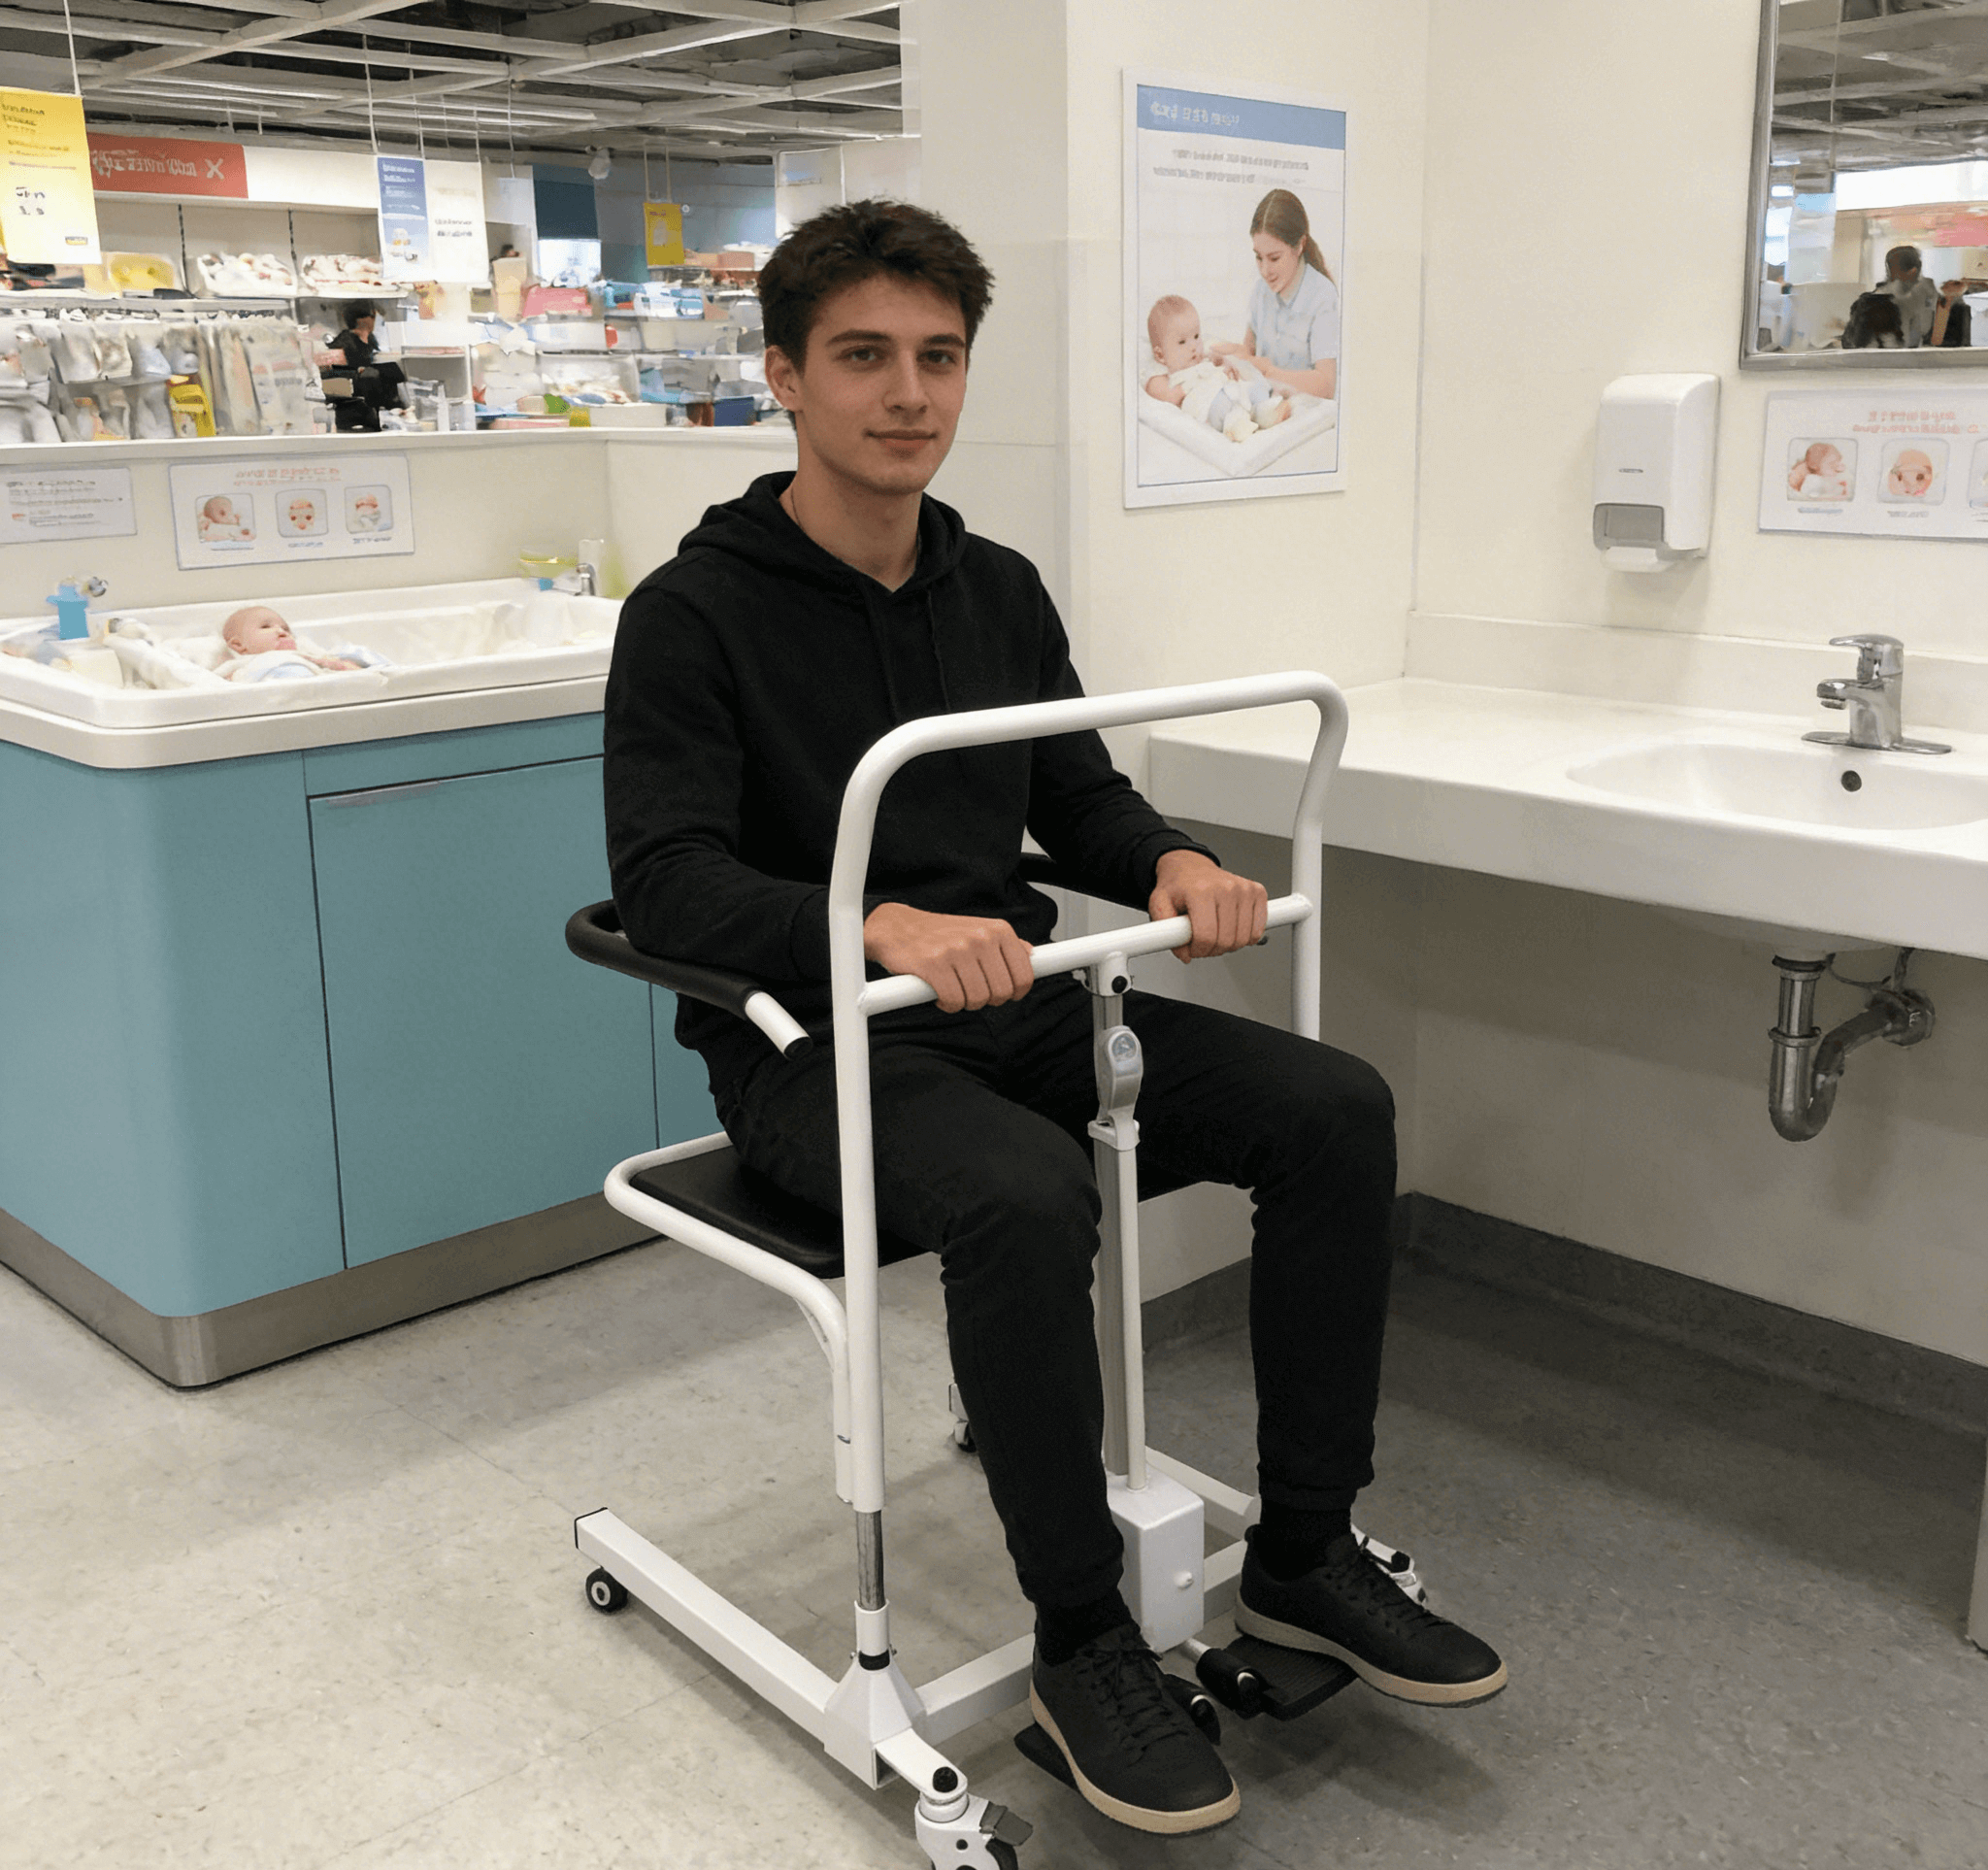
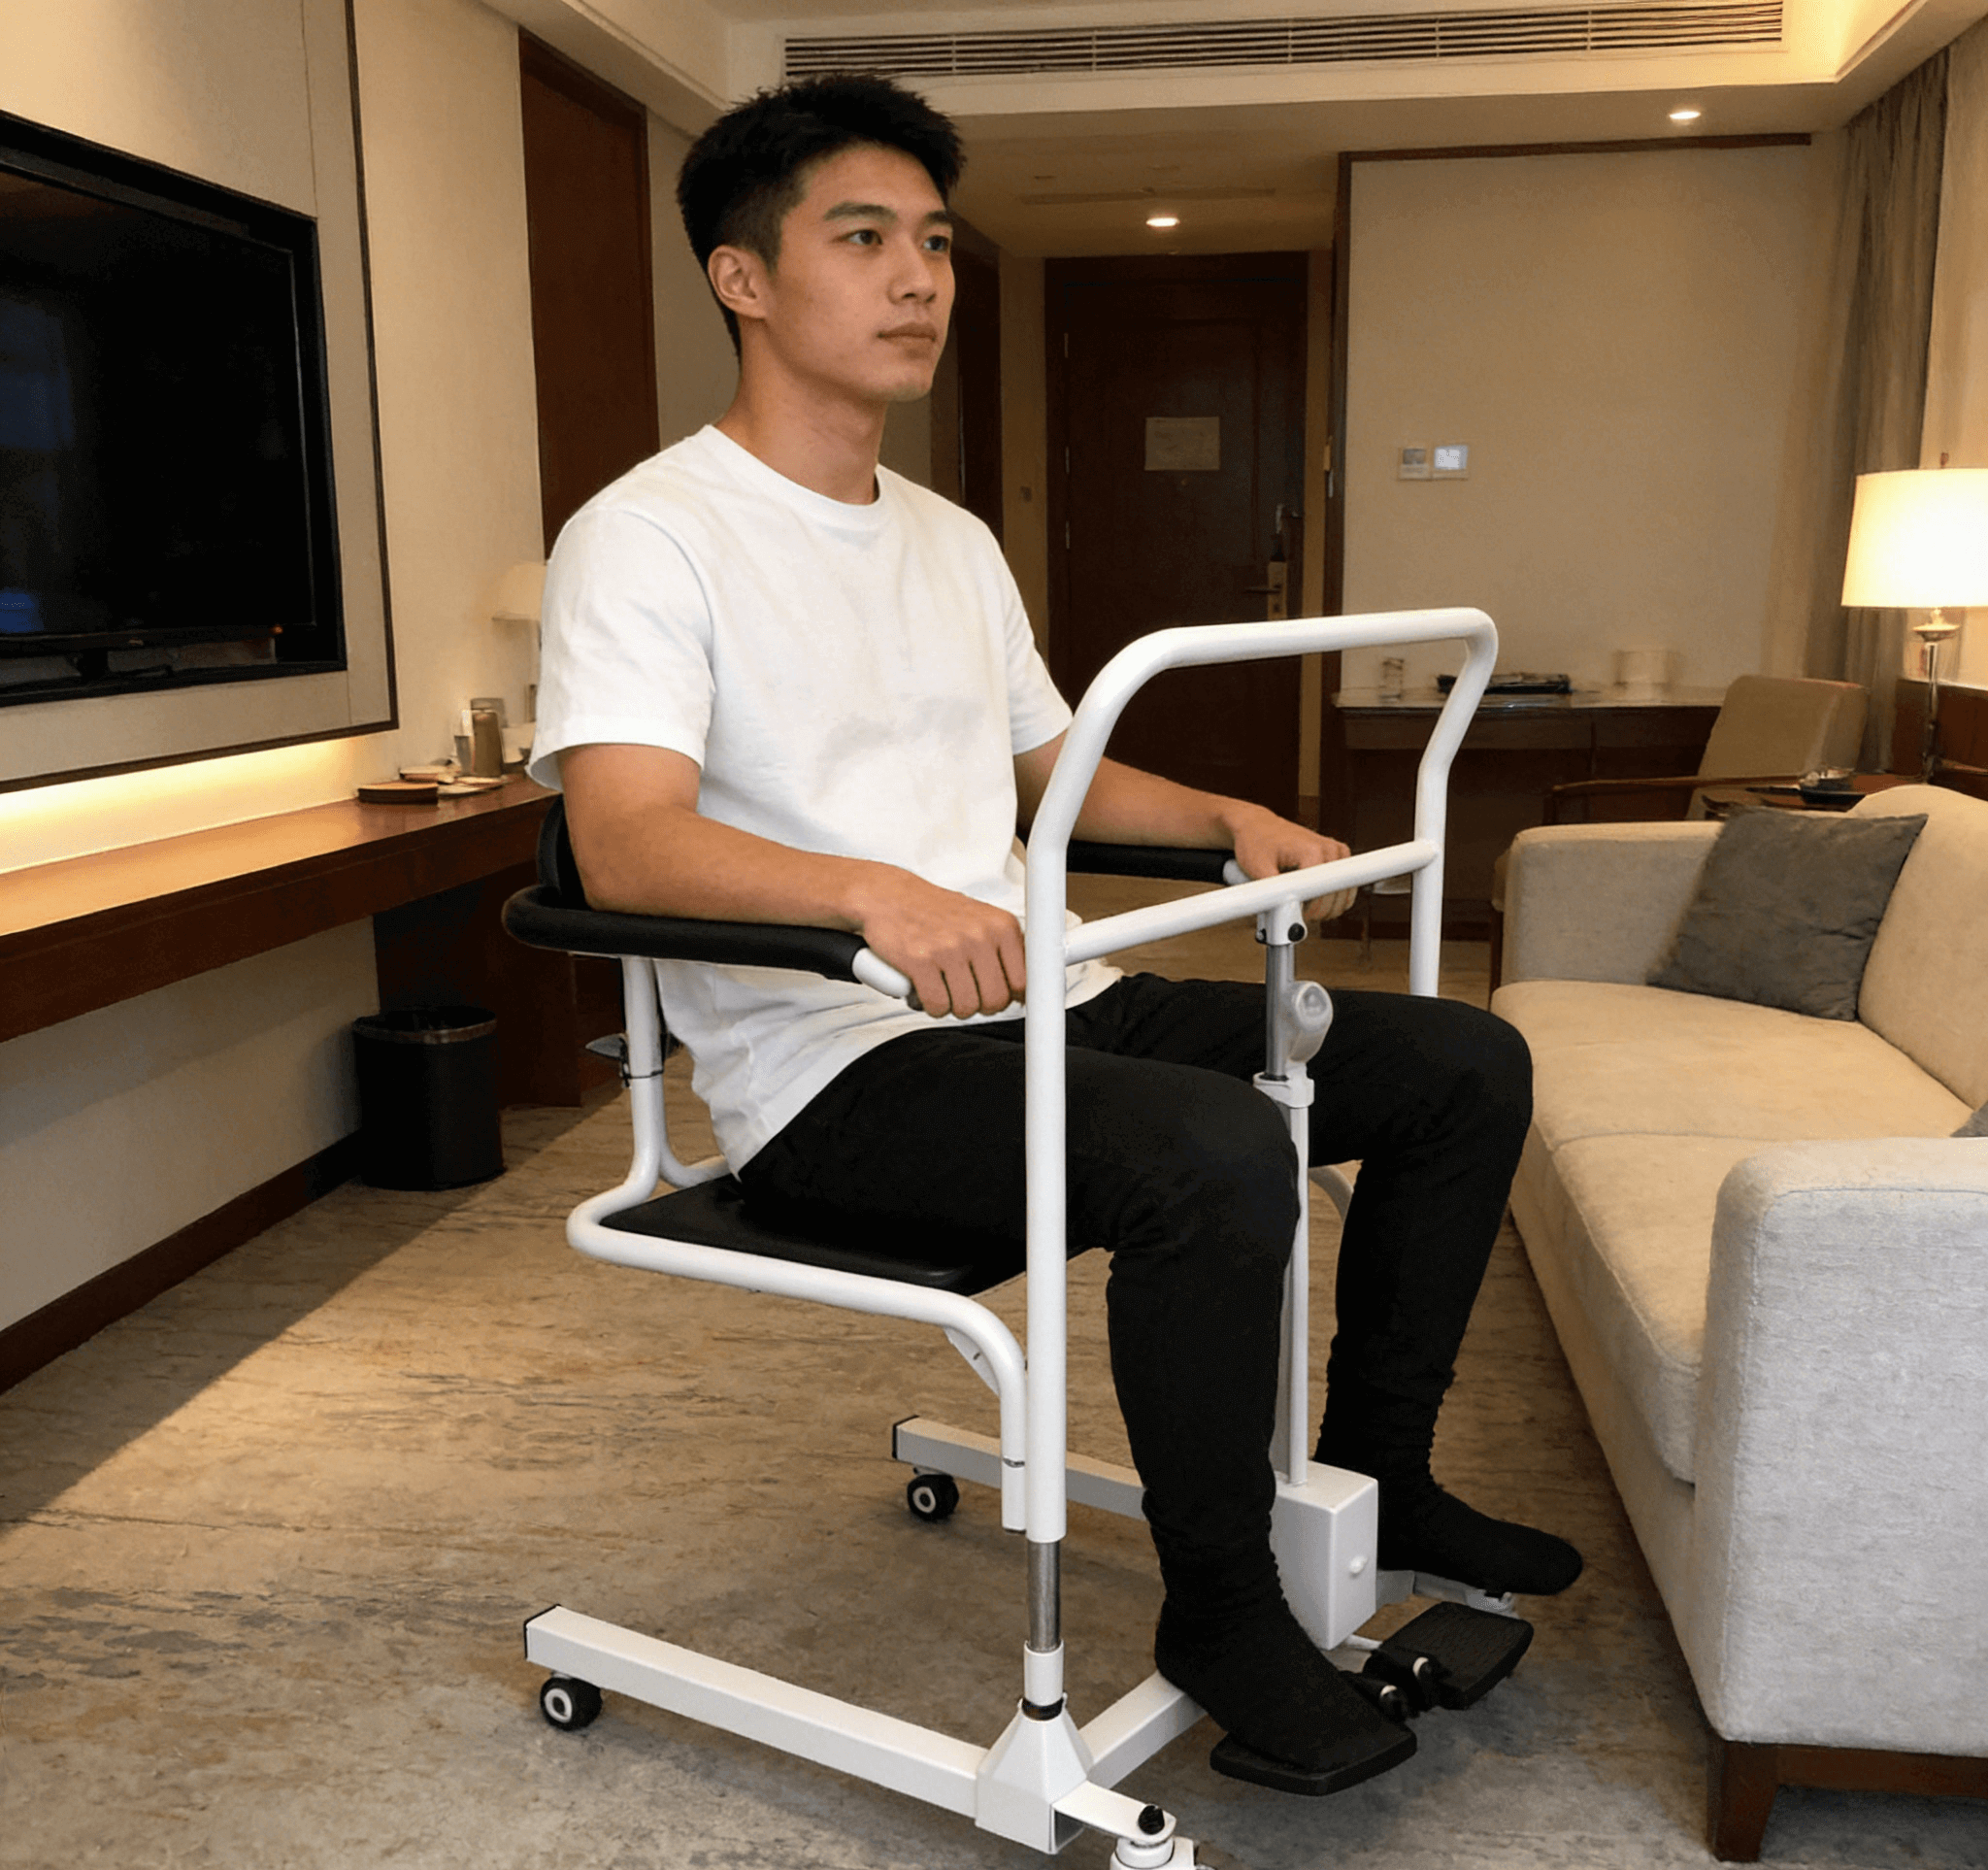
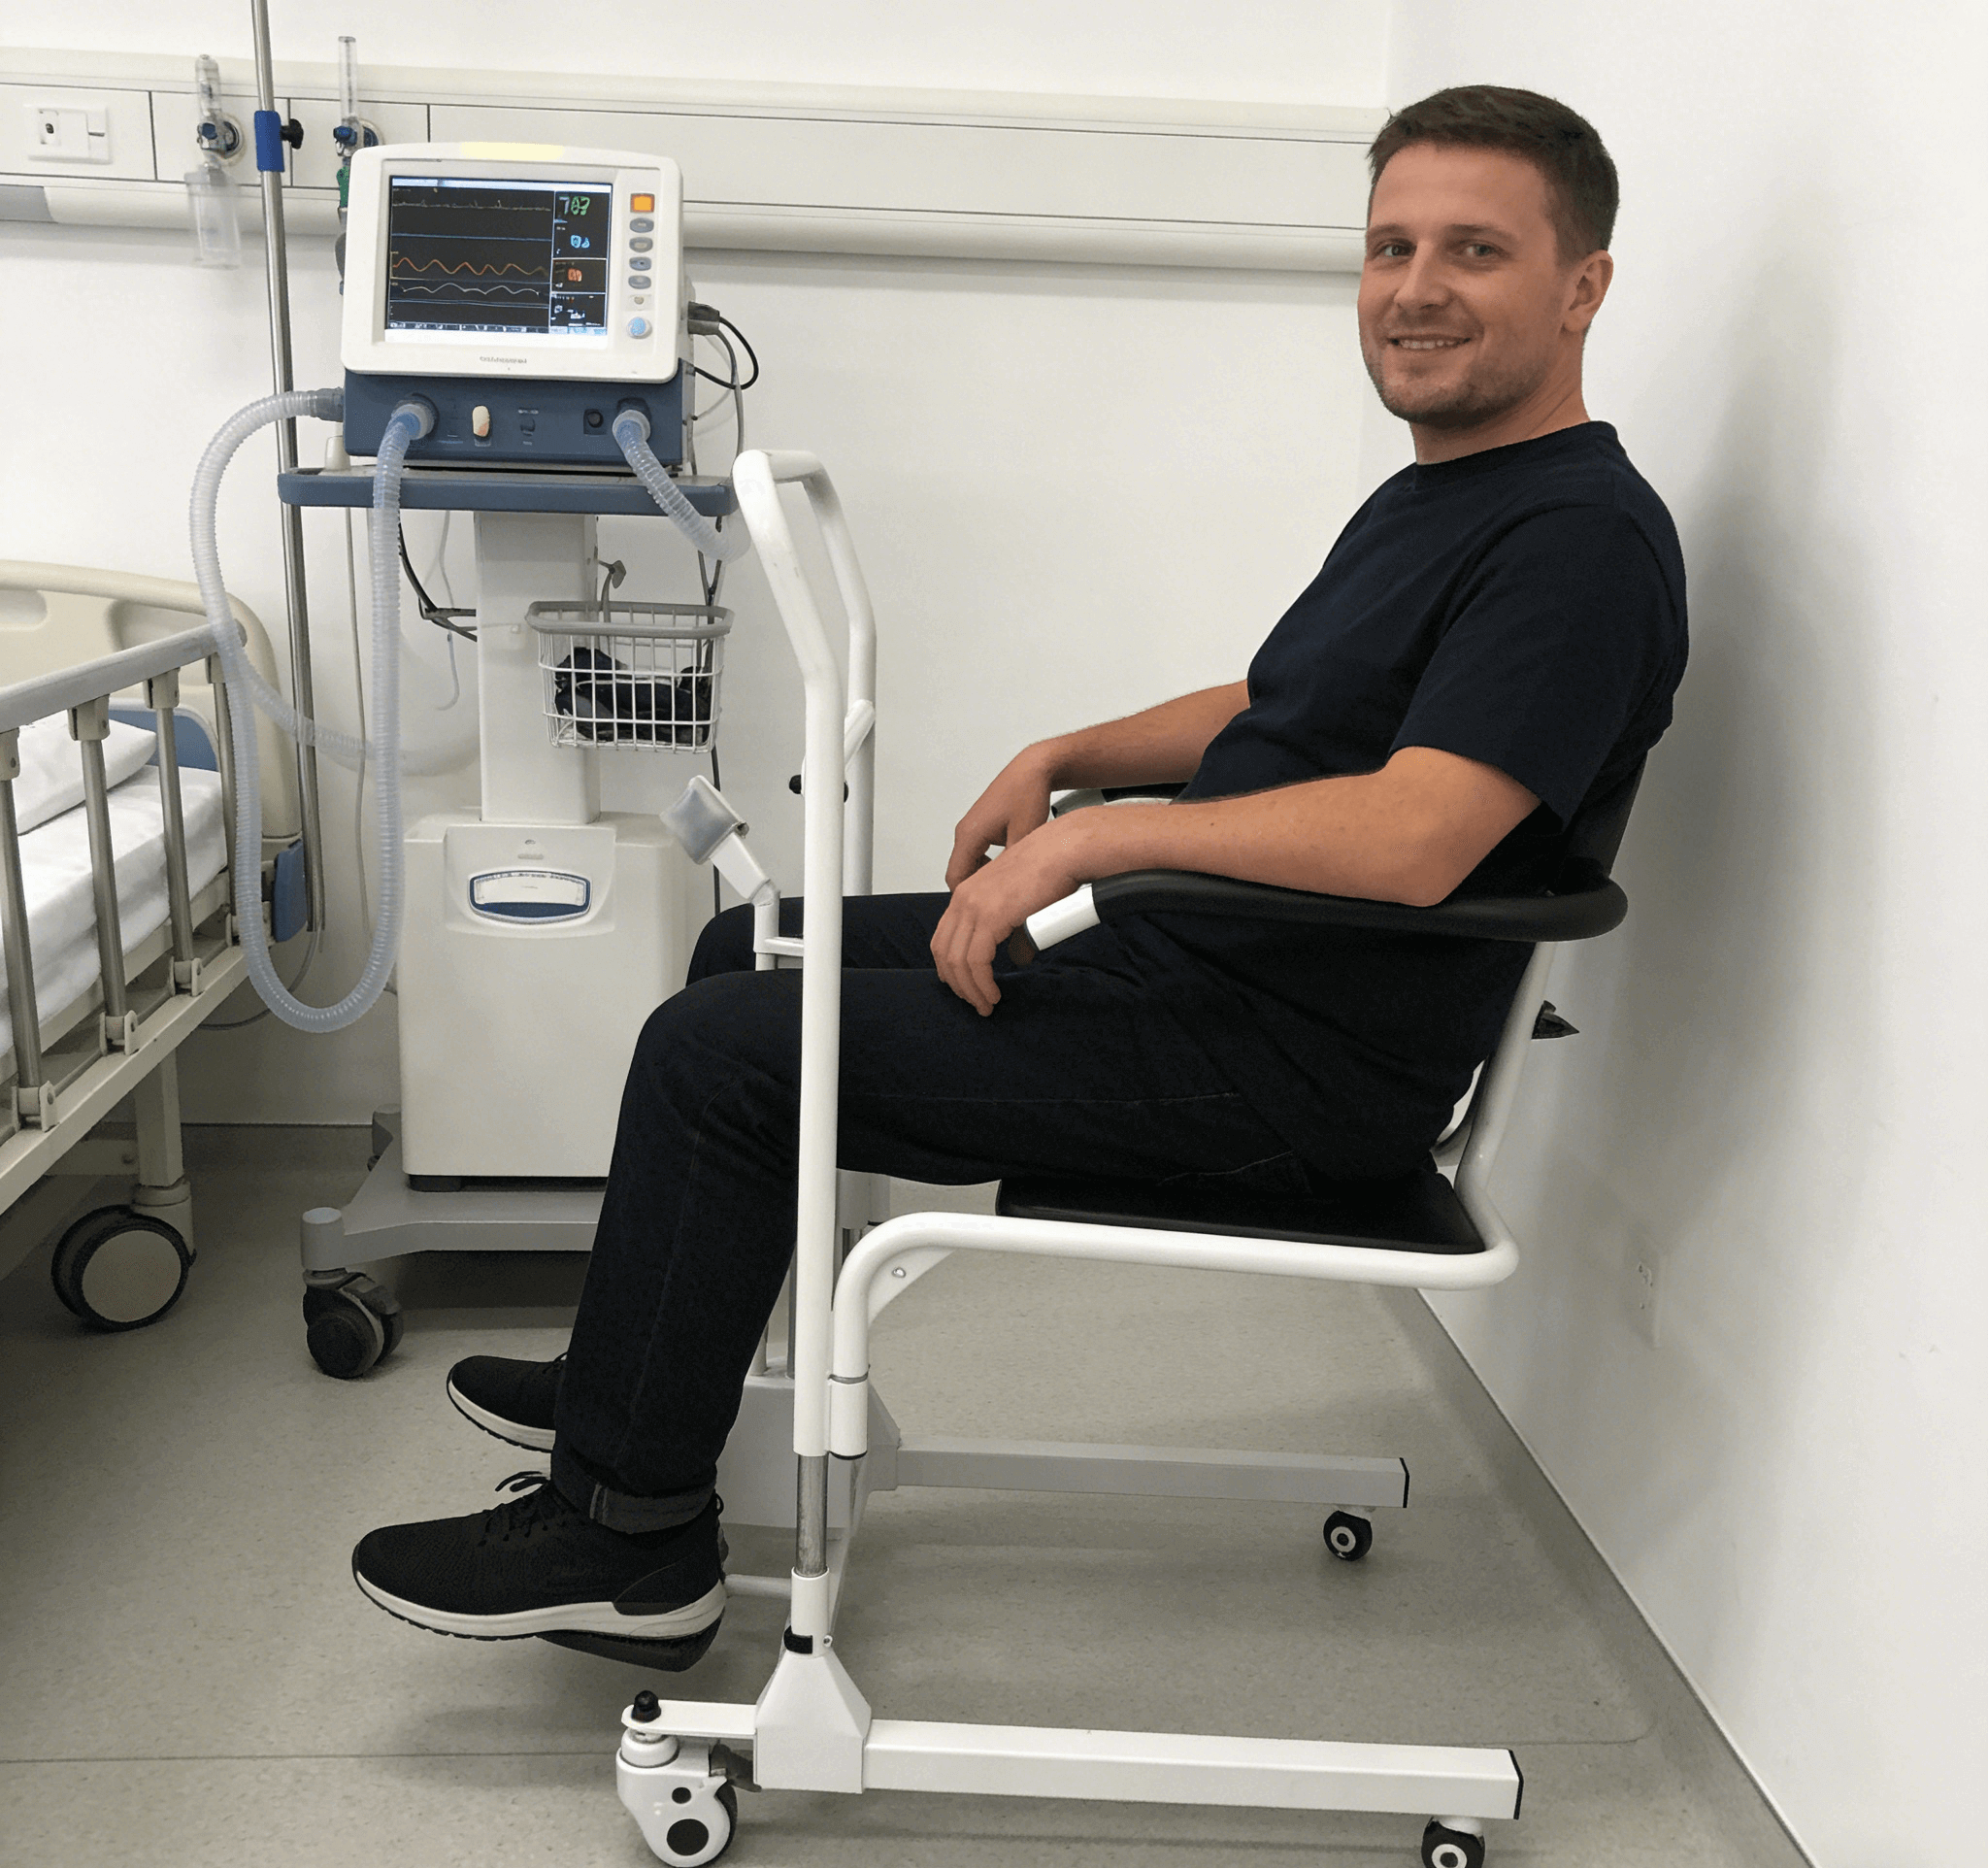
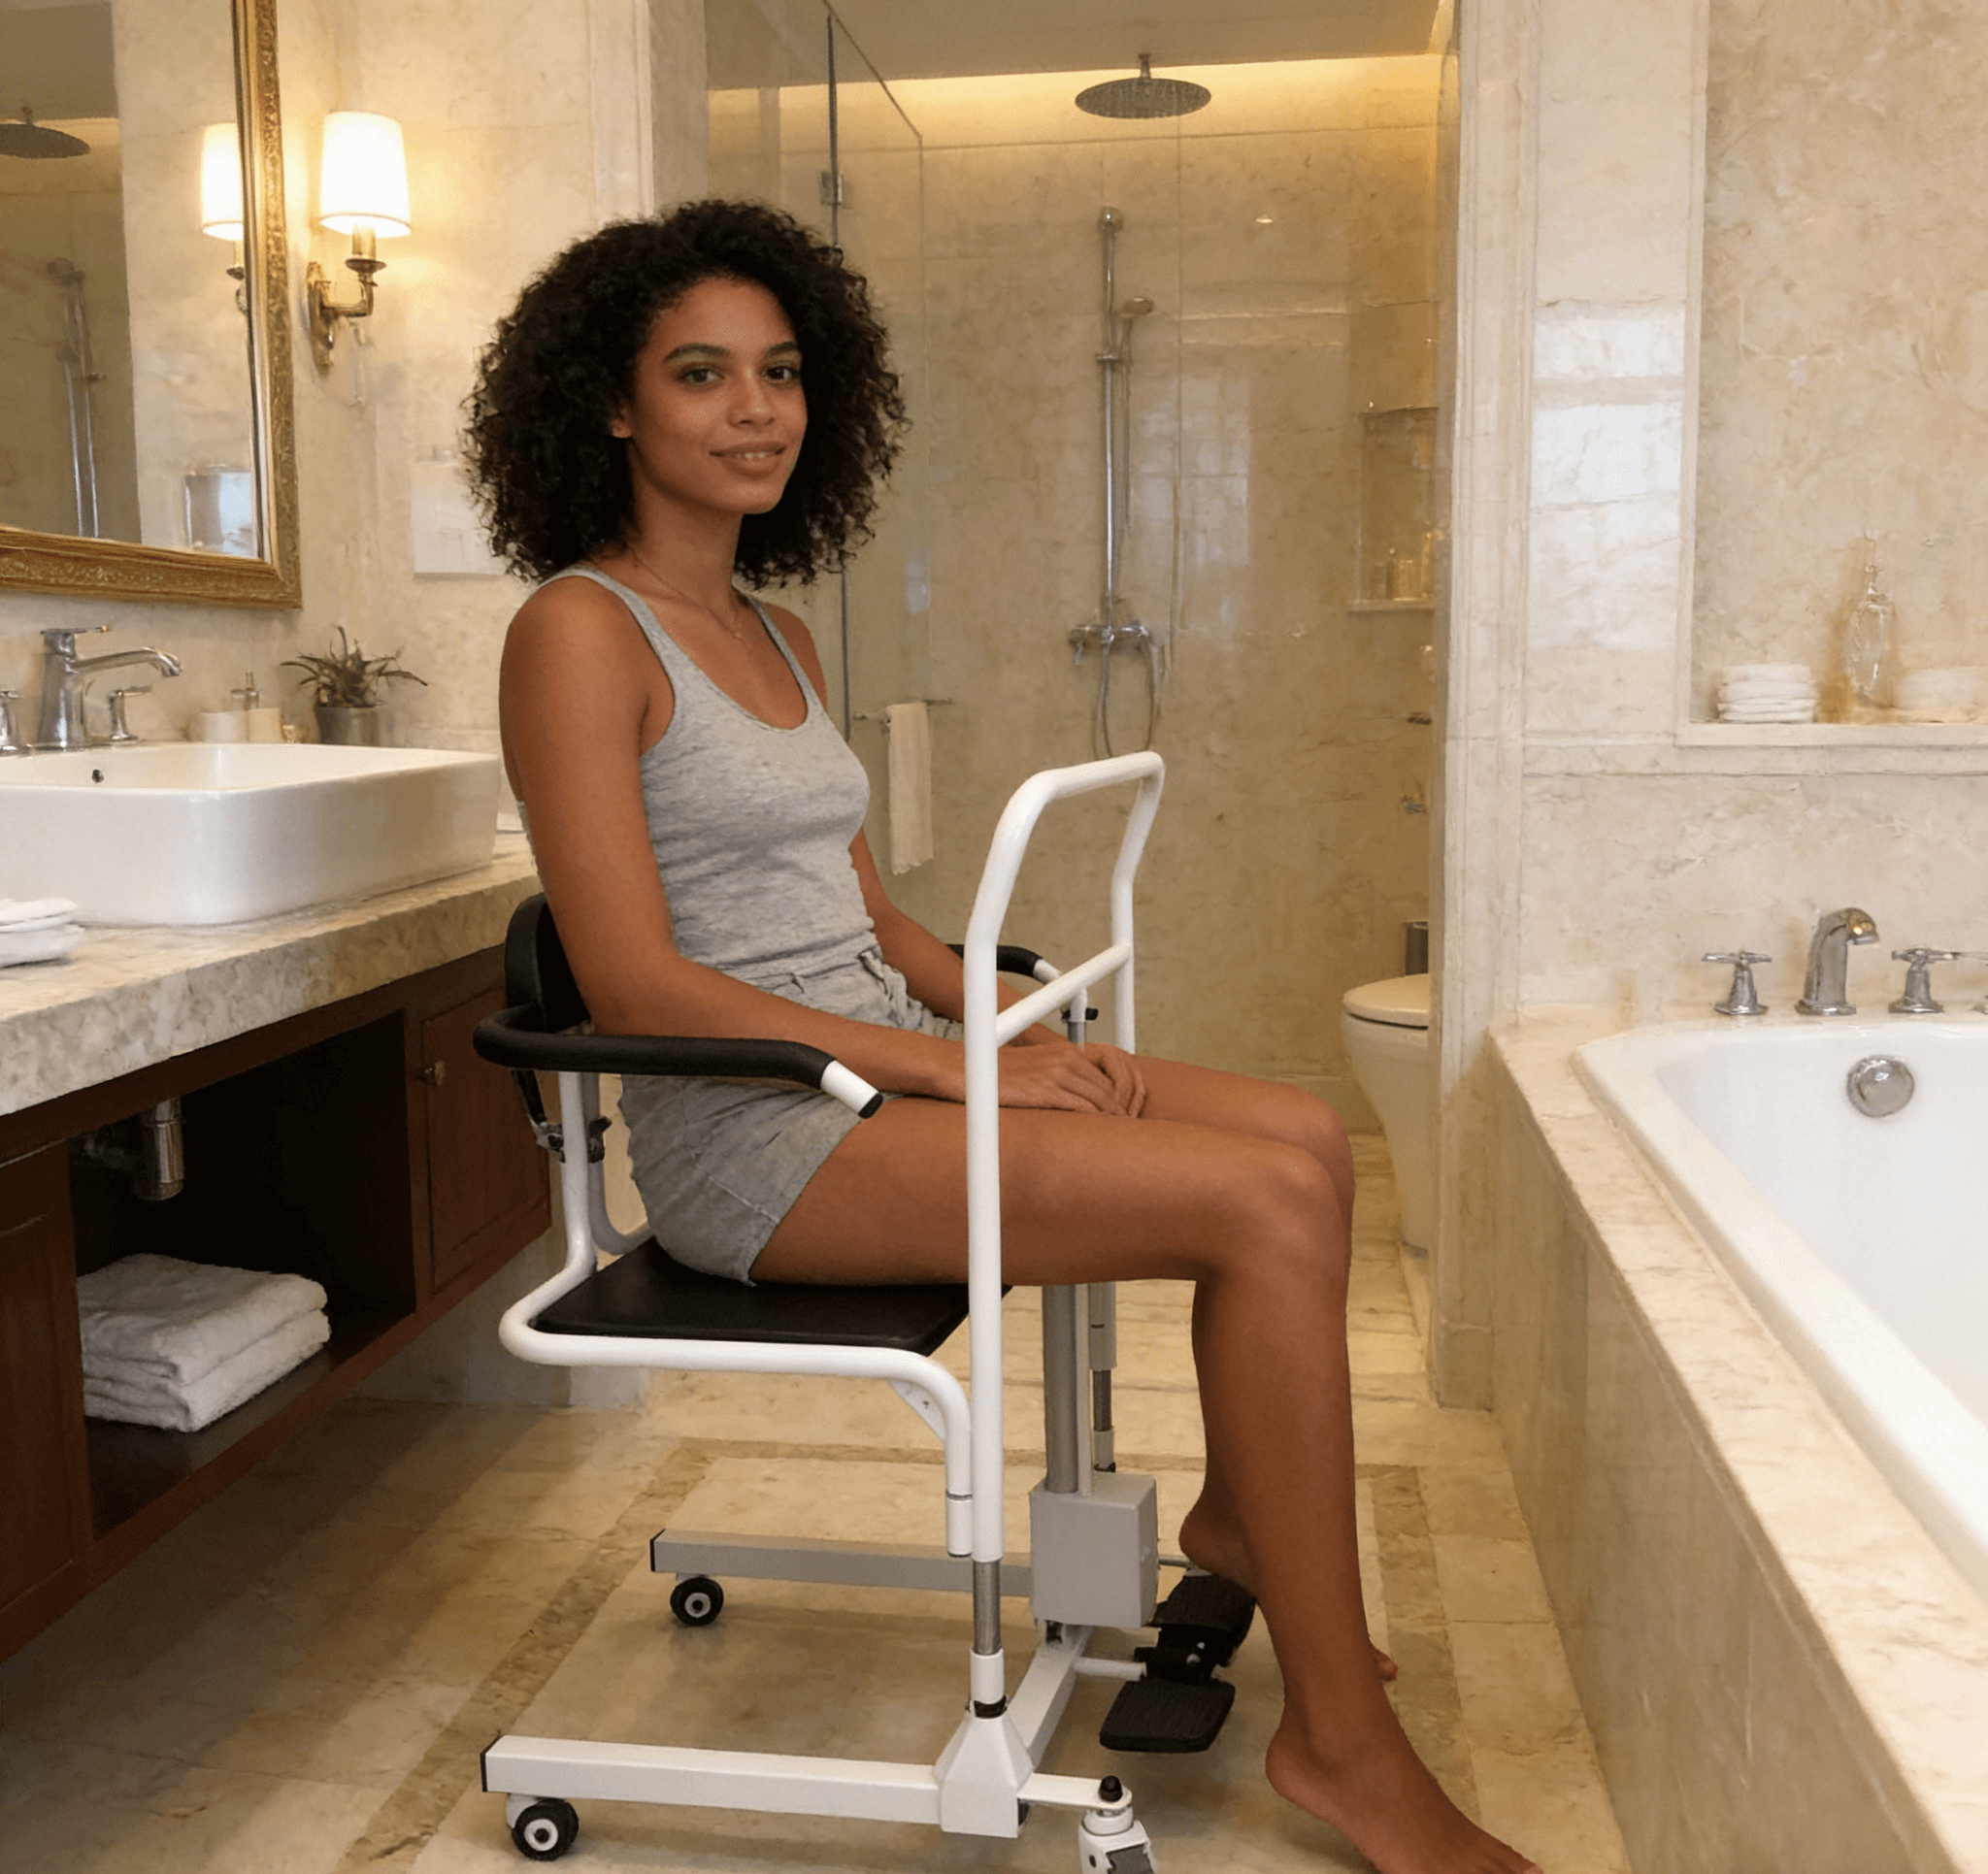
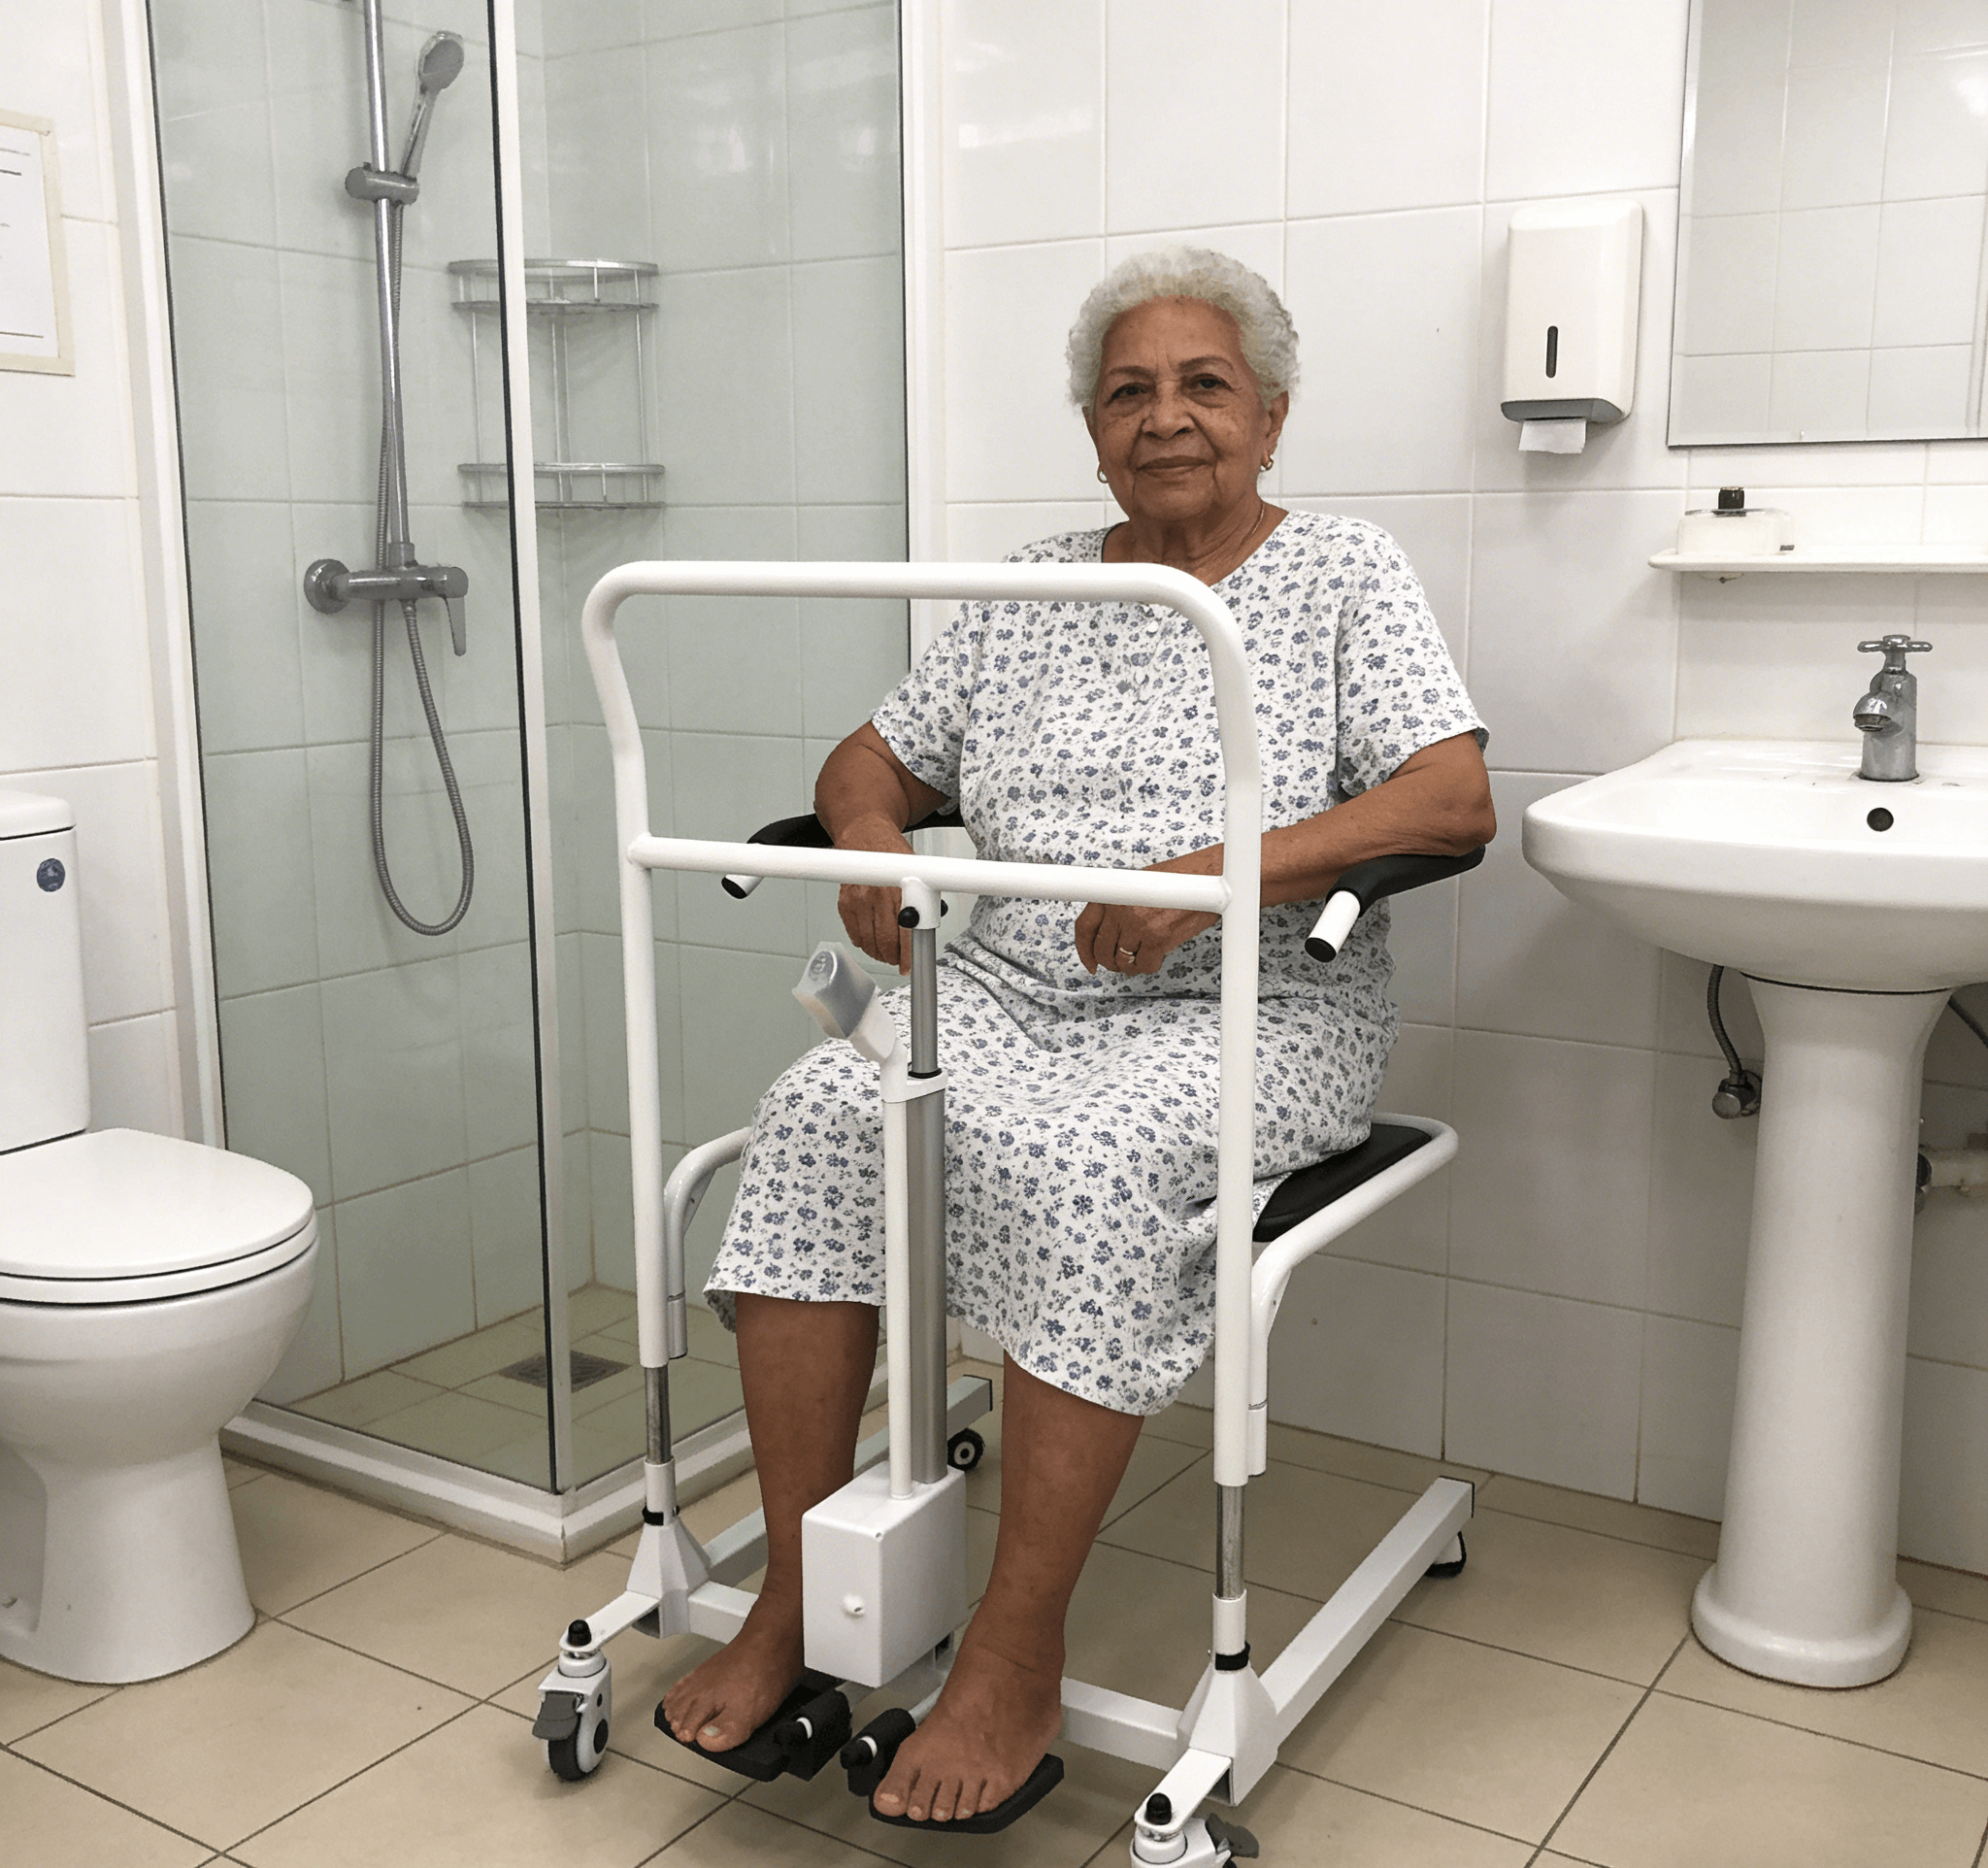
Component familiarization: The demonstrator will introduce each part of the lift one by one—the base, lifting column, boom, hooks, controller, and sling.
Safety inspection:
Inspect the equipment before each use: battery level, base stability, and whether the boom rotates smoothly.
Check the hooks and safety locks: Demonstrate how to confirm that all safety latches are securely locked.
Check the sling: Look for tears, wear, or damaged seams.
Phase 2: Sling Selection and Placement
This is one of the most skill-intensive steps, and the demonstrator will focus on showing:
Choosing the right sling: Select a sling based on the user’s body type and needs (e.g., whether full back support or a headrest is required).
Sling placement techniques:
How to slide the sling smoothly under the user by having them lie on their side.
Ensure the sling’s center line aligns with the user’s spine and the seat portion is positioned under the hips.
How to arrange the sling to eliminate wrinkles, preventing pressure sores and discomfort.
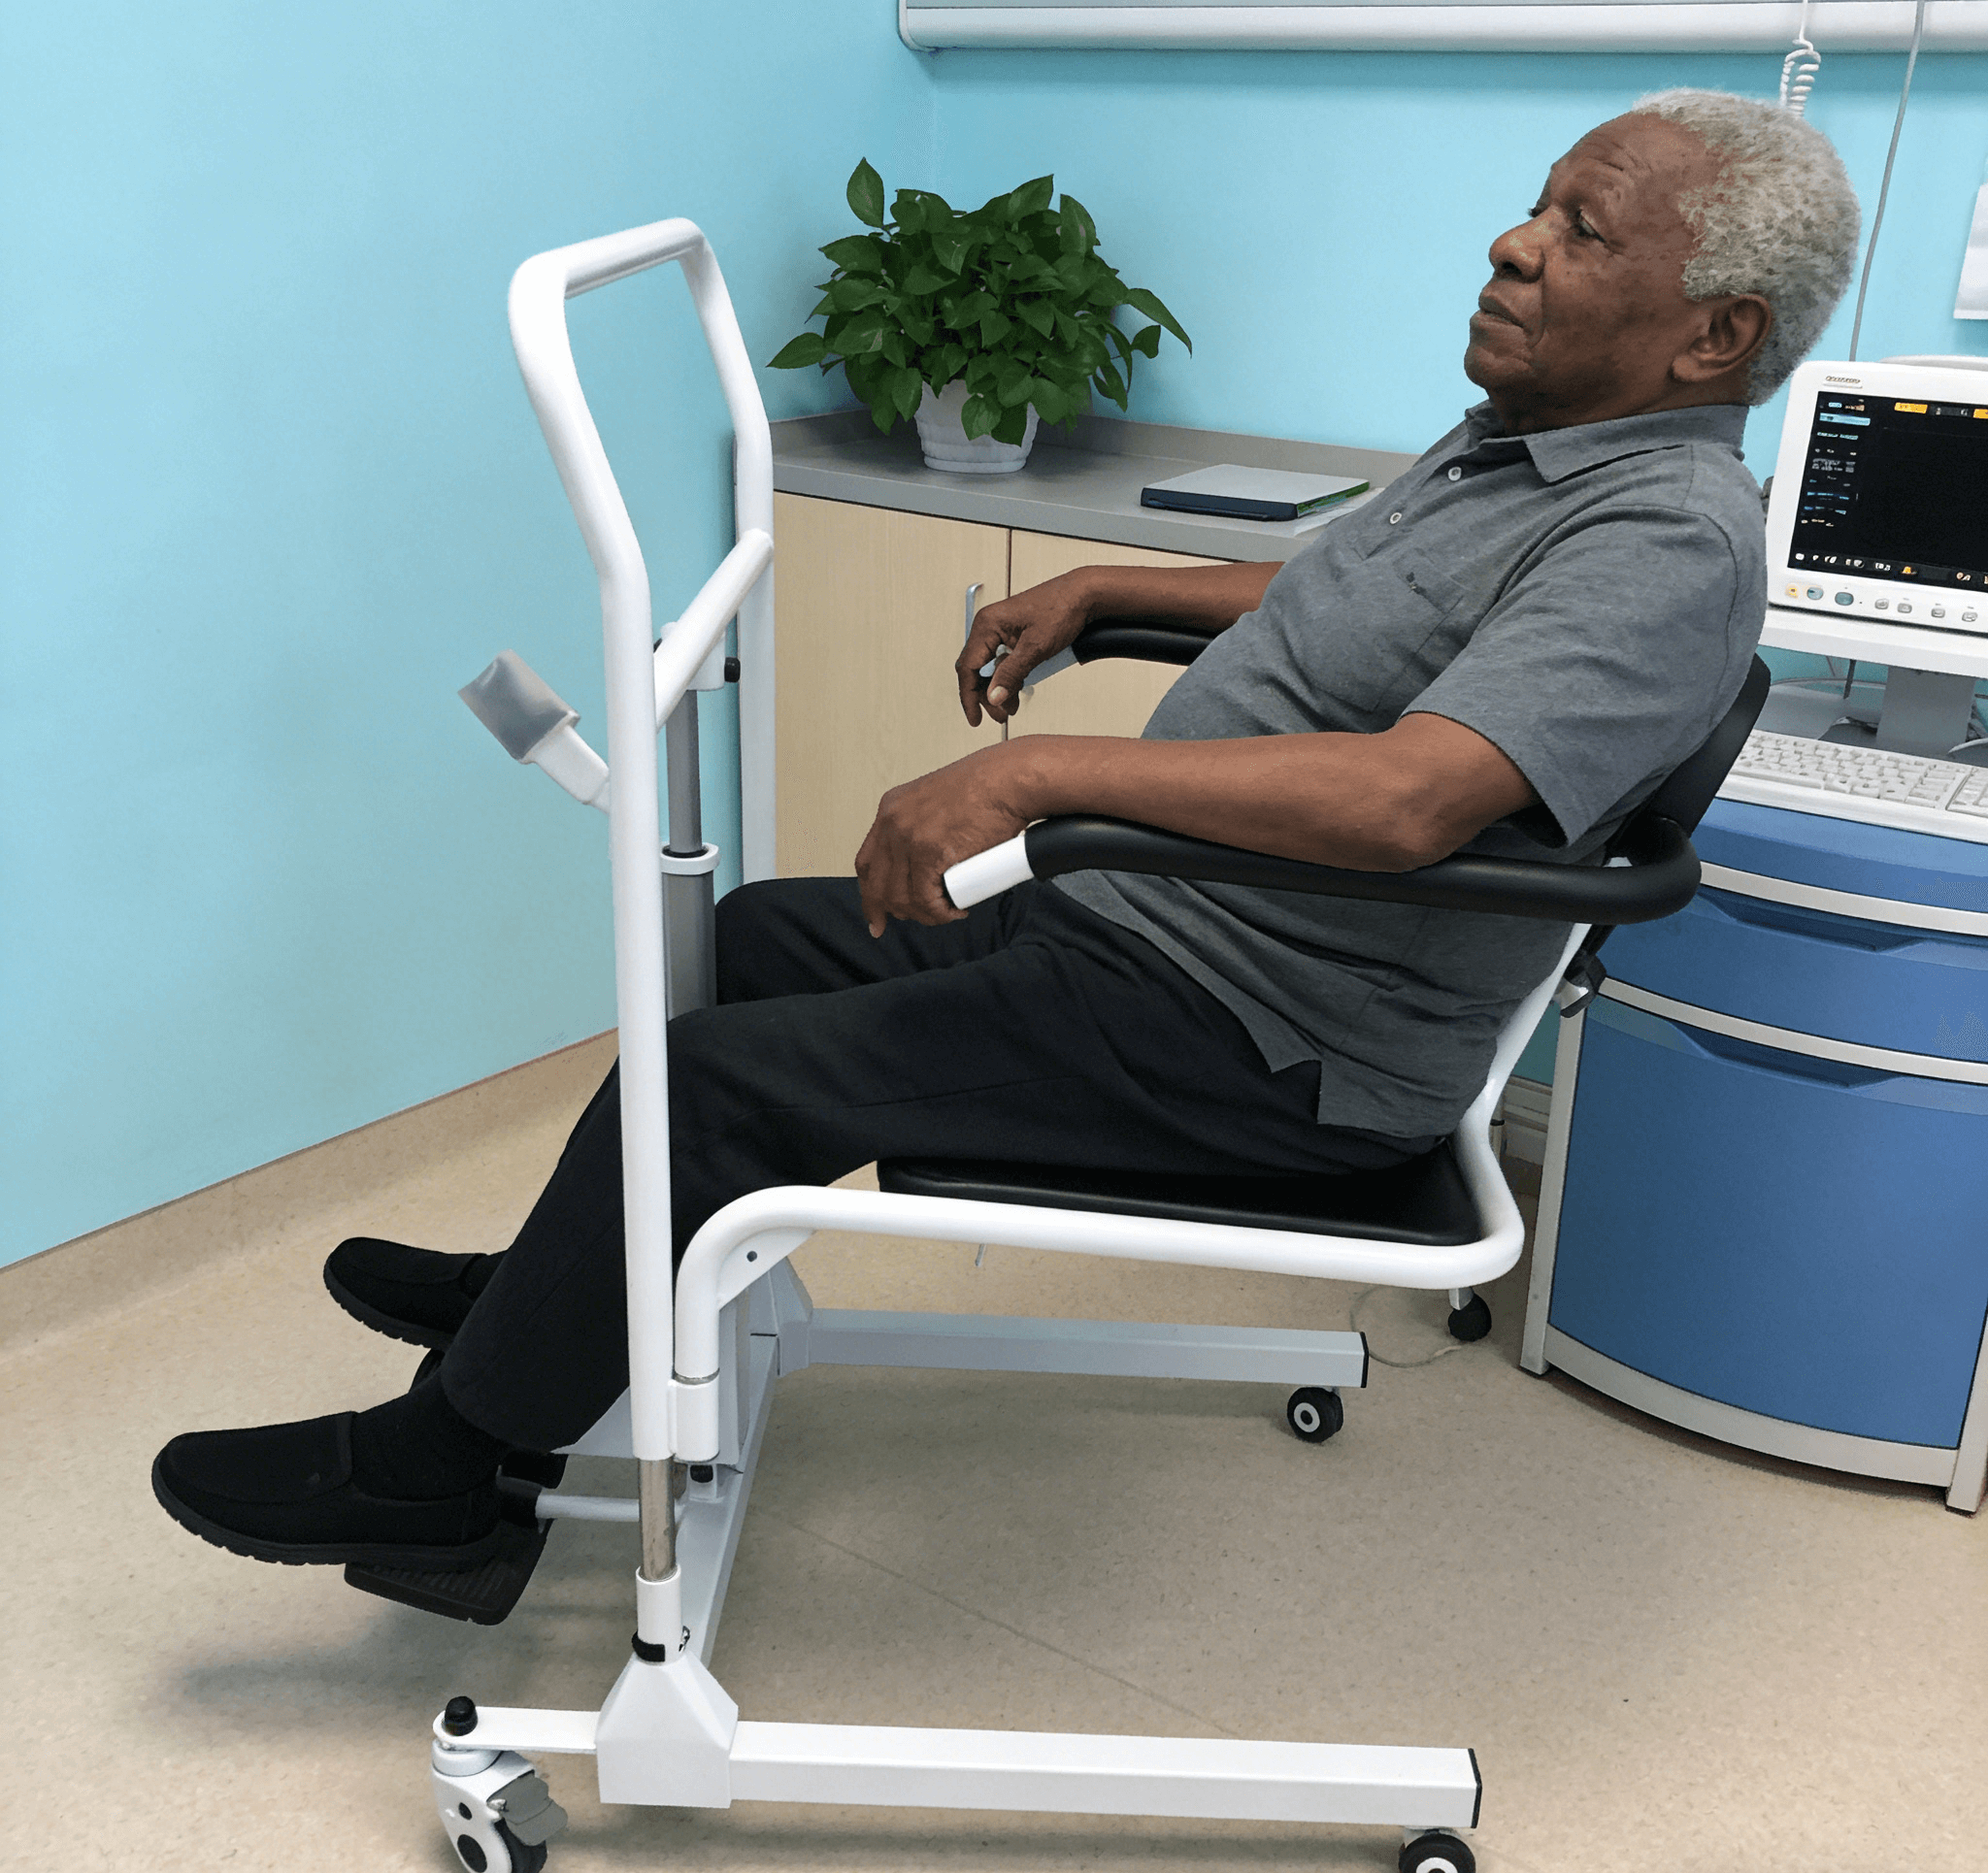
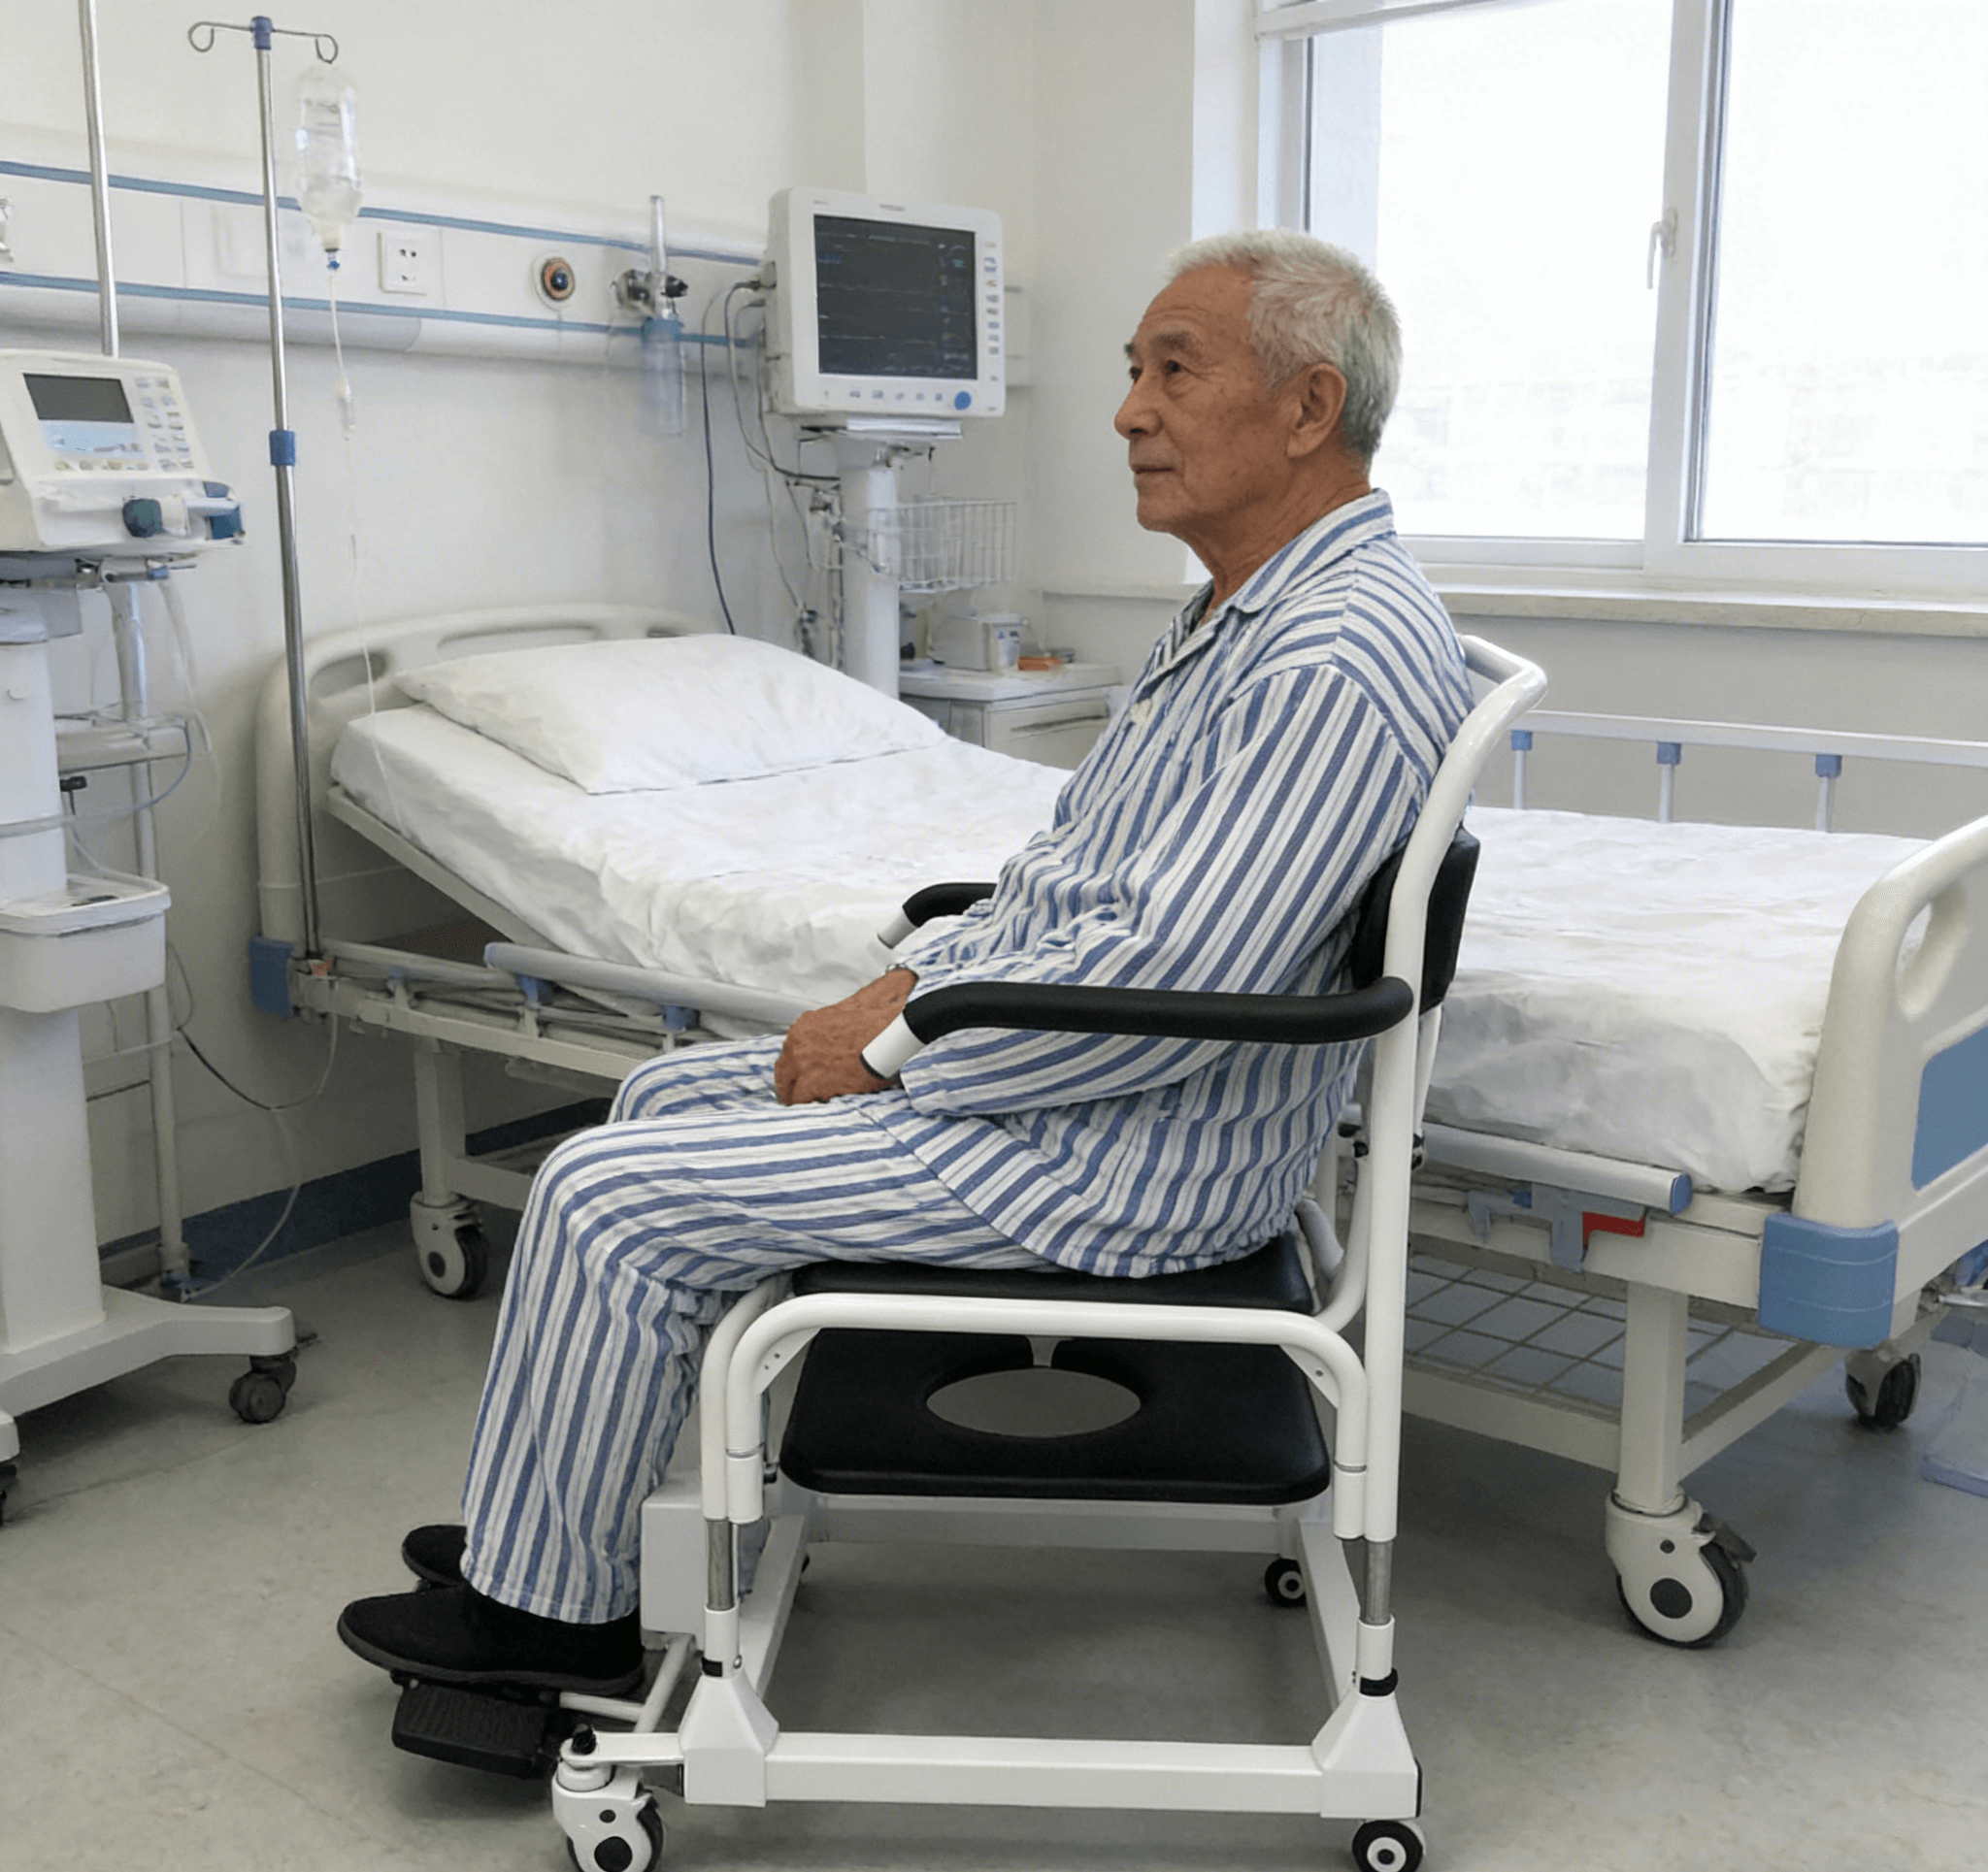
Phase 3: Hands-On Operation Process
The demonstrator will use a mannequin (or a willing real user) to perform a complete transfer process:
Position the lift: Extend the base under the bed and ensure it is fully expanded for stability.
Attach the hooks:
Rotate the boom directly above the user.
Attach the hooks in the correct order (usually shoulders first, then legs, or vice versa).
Emphasis: Demonstrate how to adjust the length of the hook chains so the user remains balanced and horizontal when lifted.
Lifting:
After informing the user, operate the controller smoothly to lift them.
First lift slightly to check balance and comfort, then fully lift to a safe height.
Transfer and placement:
Demonstrate the correct method: Push or pull the lift’s main pole to move it, rather than pulling the boom or the user.
Move the user directly above the wheelchair and lower them slowly and steadily.
During the descent, gently support the user’s back to guide them, ensuring they safely sit deeply into the wheelchair.
Phase 4: Troubleshooting and Emergency Handling
A responsible demonstration must include:
Location and operation of the manual release valve: How to lower the lift manually when the battery is dead.
Solving common problems: Such as stuck hooks or inflexible equipment movement.
Cleaning and maintenance: How to properly clean and disinfect the sling and equipment surfaces.
How to Get the Most Out of a Demonstration?
Whether you are watching an online video or attending an in-person training session, take the initiative to:
For In-Person Training:
Ask questions: Do not hesitate to ask any questions, no matter how simple they may seem.
Get hands-on: Request to personally perform each step, from inspecting the equipment to completing a full transfer.
Simulate scenarios: Practice operating in narrow spaces (e.g., bathroom doorways) and seek guidance.
For Online Videos:
Choose authoritative sources: Watch official videos released by hospitals, occupational therapy associations, or well-known equipment manufacturers (such as Arjo, Invacare).
Take notes: Record key steps and safety points.
Compare with the physical device: While watching the video, compare it with the actual lift you have on hand to deepen your understanding.
Key Reminders for Caregivers
Two-person rule: Many care standards require two trained caregivers to be present when using a lift for transfers.
Communication is paramount: Always communicate with the user, informing them of each step.
Confidence comes from proficiency: Before using the lift with an actual user, practice repeatedly in simulated scenarios until you feel comfortable.
Conclusion
A professional Hoyer Lift demonstration is not a passive viewing experience, but an active process of learning and skill internalization. It serves as a bridge between "owning the equipment" and "using it safely and effectively." Investing time in a thorough demonstration is the most important investment in the user’s safety, the caregiver’s health, and the overall quality of care. Before operating the lift independently, be sure you have fully understood and mastered all the content from the demonstration.